When presented with a challenge to make a quilt 1) to honor Spring’s arrival and 2) to do so in the style of a chosen artist, I decided to create a Spring homage to Matisse.
As Matisse grew older (he lived almost to his 85th birthday), and his health declined, he developed ways to make art even when he was unable to leave his bed and stand at an easel. He painted paper with gouache using various brush techniques. He then free cut the shapes he envisioned from these painted papers and incorporated them in his art.
For this quilt I attempted to emulate Matisse’ process by painting pieces of stabilized white cotton cloth with gouache – one color per piece of cloth. I then free cut shapes that I had previously worked out with sketch according to the scene that I envisioned. I pinned my shapes in place – in layers – then stitched the shapes in place, added some batting and quilted the piece.
In the Spring of 2022, I was fooling around with some of my fabric – cutting shapes, cutting strips and arranging them into more shapes. The resulting images reminded me of the invasion of Ukraine that was dominating the news. I considered that they (the images/shapes) had been informed by what I had been hearing and seeing – and just went with it.
The latest art challenge from Quilts on the Wall was a lot of fun for me to do. The theme was “Soar into Spring’.
We were shown a couple of paintings referencing Spring for inspiration; one being an Henri Matisse collage, Madame Pompadour. That in turn prompted me to tune in to a London School of Drawing zoom workshop entitled Painting with Scissors.
During the workshop we had the experience of free form cutting shapes on painted paper – the way that Matisse did when he made his painted collages later in his painting career. I went with the freeform concept and was further inspired by Matisse’s color palette as I designed and created my challenge piece: Le Printemps de Matisse. 16″ by 12″ Hand dyed cotton.
Le Printemps de Matisse by Guila Greer (all rights reserved)
Late last year I was VERY fortunate to notice that an online class was scheduled to begin in January that seemed perfect and timely for my resolution to improve my work in 2016.
One of my most admired art quilters is teaching it (Elizabeth Barton) and the Class Title: A Master Class in Design for Art Quilters – speaks directly to my own need to ‘polish’ my design skills and to explore alternatives.
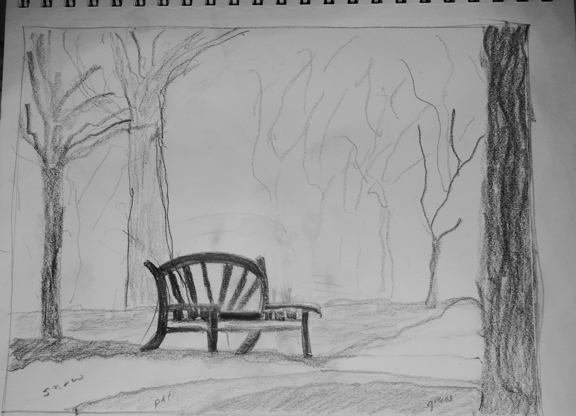
We are delving into a different design concept each month and in January, Elizabeth had us take a fresh look at our use of value. After presenting a couple of possible designs to work with I settled on the following sketch – a sketch that I based on a photograph that I took after a snowfall in Minnehaha Park, Minneapolis.
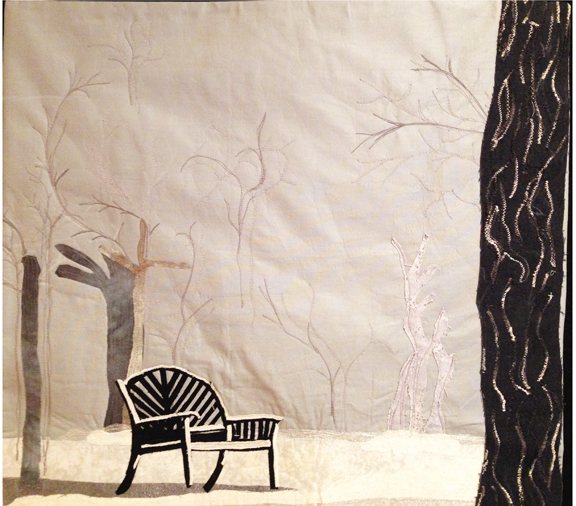
My next step was to gather fabric for possible use in this quilt. The instruction was to use a range of at least 5 values of the same color – preferably a color that included an intense dark value such as black or brown or even navy blue. I selected black, various grays and white. I also wanted there to be added interest with texture. Linen helped with that as did some thread work added later.
Some of the fabrics that I made available for this quilt are shown above. I used dark to light gray cotton threads for stitching plus one variegated thread to thread paint a tree trunk and add texture. I included several of my hand dyed fabrics to the mix.
I ‘cleaned up’ my sketch, enlarged it to actual size, printed it out and created my templates.
In choosing my values for color placement I had to pay attention to how the color value would affect perception of depth and distance. I also wanted to maintain the lonely, slightly haunted mood of the original photo. AND to keep the overall image simple and uncomplicated.
My teacher’s critique immediately pointed out my wobbly bench and I plan to correct that. I also plan to add more fine branches to the background and am going to include some hand stitched branches to the mix.
I think this has turned out to be a great example of how color both interprets and projects mood so vividly! I am tempted to do this same scene, at some point, outfitted in its mid summer finery.
I’ve had this on my “To Do” list for years: literally Finally, after some reading, some dyeing experience and creating some suitable space for the project, I accumulated a few supplies and got started.
100% cotton fabric, prepared for dyeing
resist material such as rubber bands, twine, flat templates in simple shapes
dye bath using Procion MX Indigo color
additives – soda ash, salt –
Synthrapol
mask to cover nose and mouth while handling undissolved dye powder
elbow length rubber gloves
plastic sheeting to protect working surface and floor as needed
The term Shibori refers to a technique used to dye fabric. In Japan, the earliest evidence of its use dates all the way back to the 8th Century! Shibori is a type of resist technique in which the fabric itself is manipulated by sewing or wrapping or folding. When the dye is applied it is unable to reach the areas that have been obstructed by the folds etc. Thus, some very appealing patterns can be generated. I enjoyed this process so much and was able to try out a variety. I folded, fan-folded, flag-folded, bound with rubber bands or twine. I even applied plexiglass shapes to the ends of my folded cloth on several occasions and bound it all together. This variety of Shibori is called Itajime.
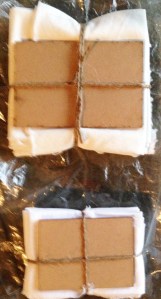
Some bundles of Itajime ready for the dye pot:
It can get a little messy – took me until the next day to get all the blue off my fingers. And yes I did wear rubber gloves. Traditional Shibori uses an Indigo dye that is complicated to use. I achieved my results with a Procion MX dye – the color indigo.
All the Little Bundles of Fabric Sitting in the Dye Bath
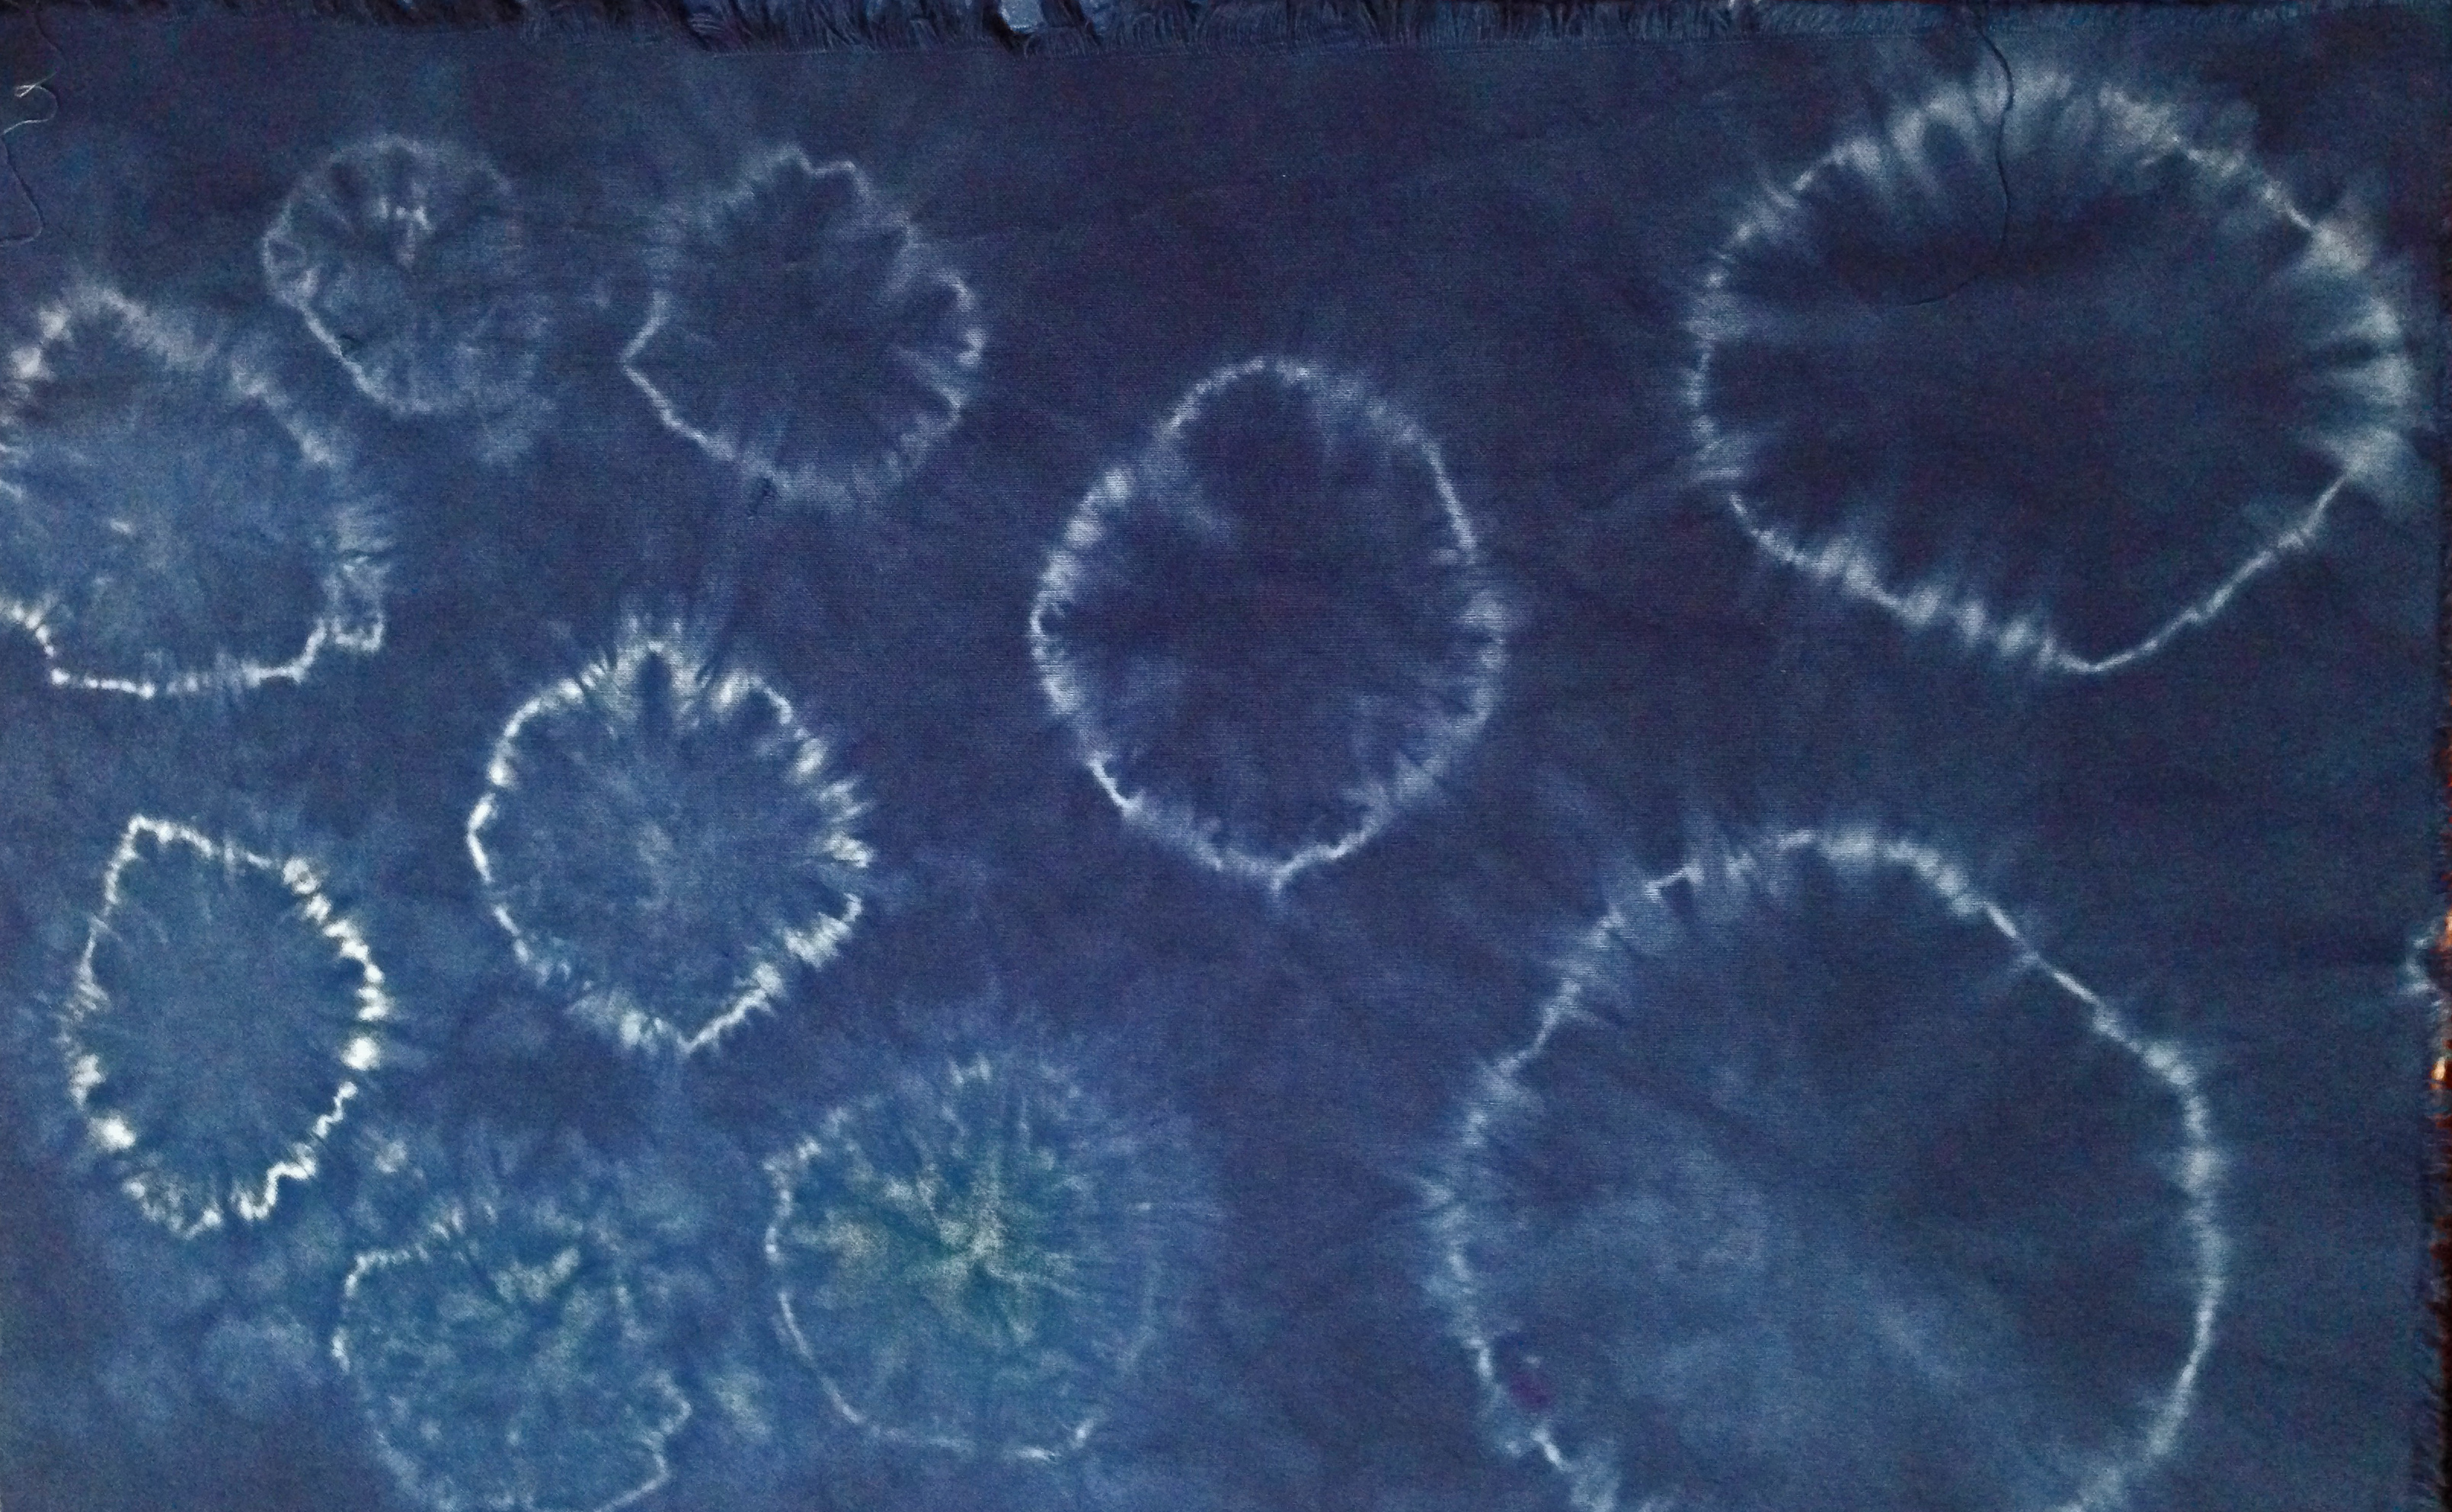
What I loved most? After the fabric bundles had “cured” for many hours, rinsing them off and undoing them for the great reveal! A lot of Shibori is predictable according to the specific technique. But there’s always that serendipity that the individual introduces so that each piece is unique.
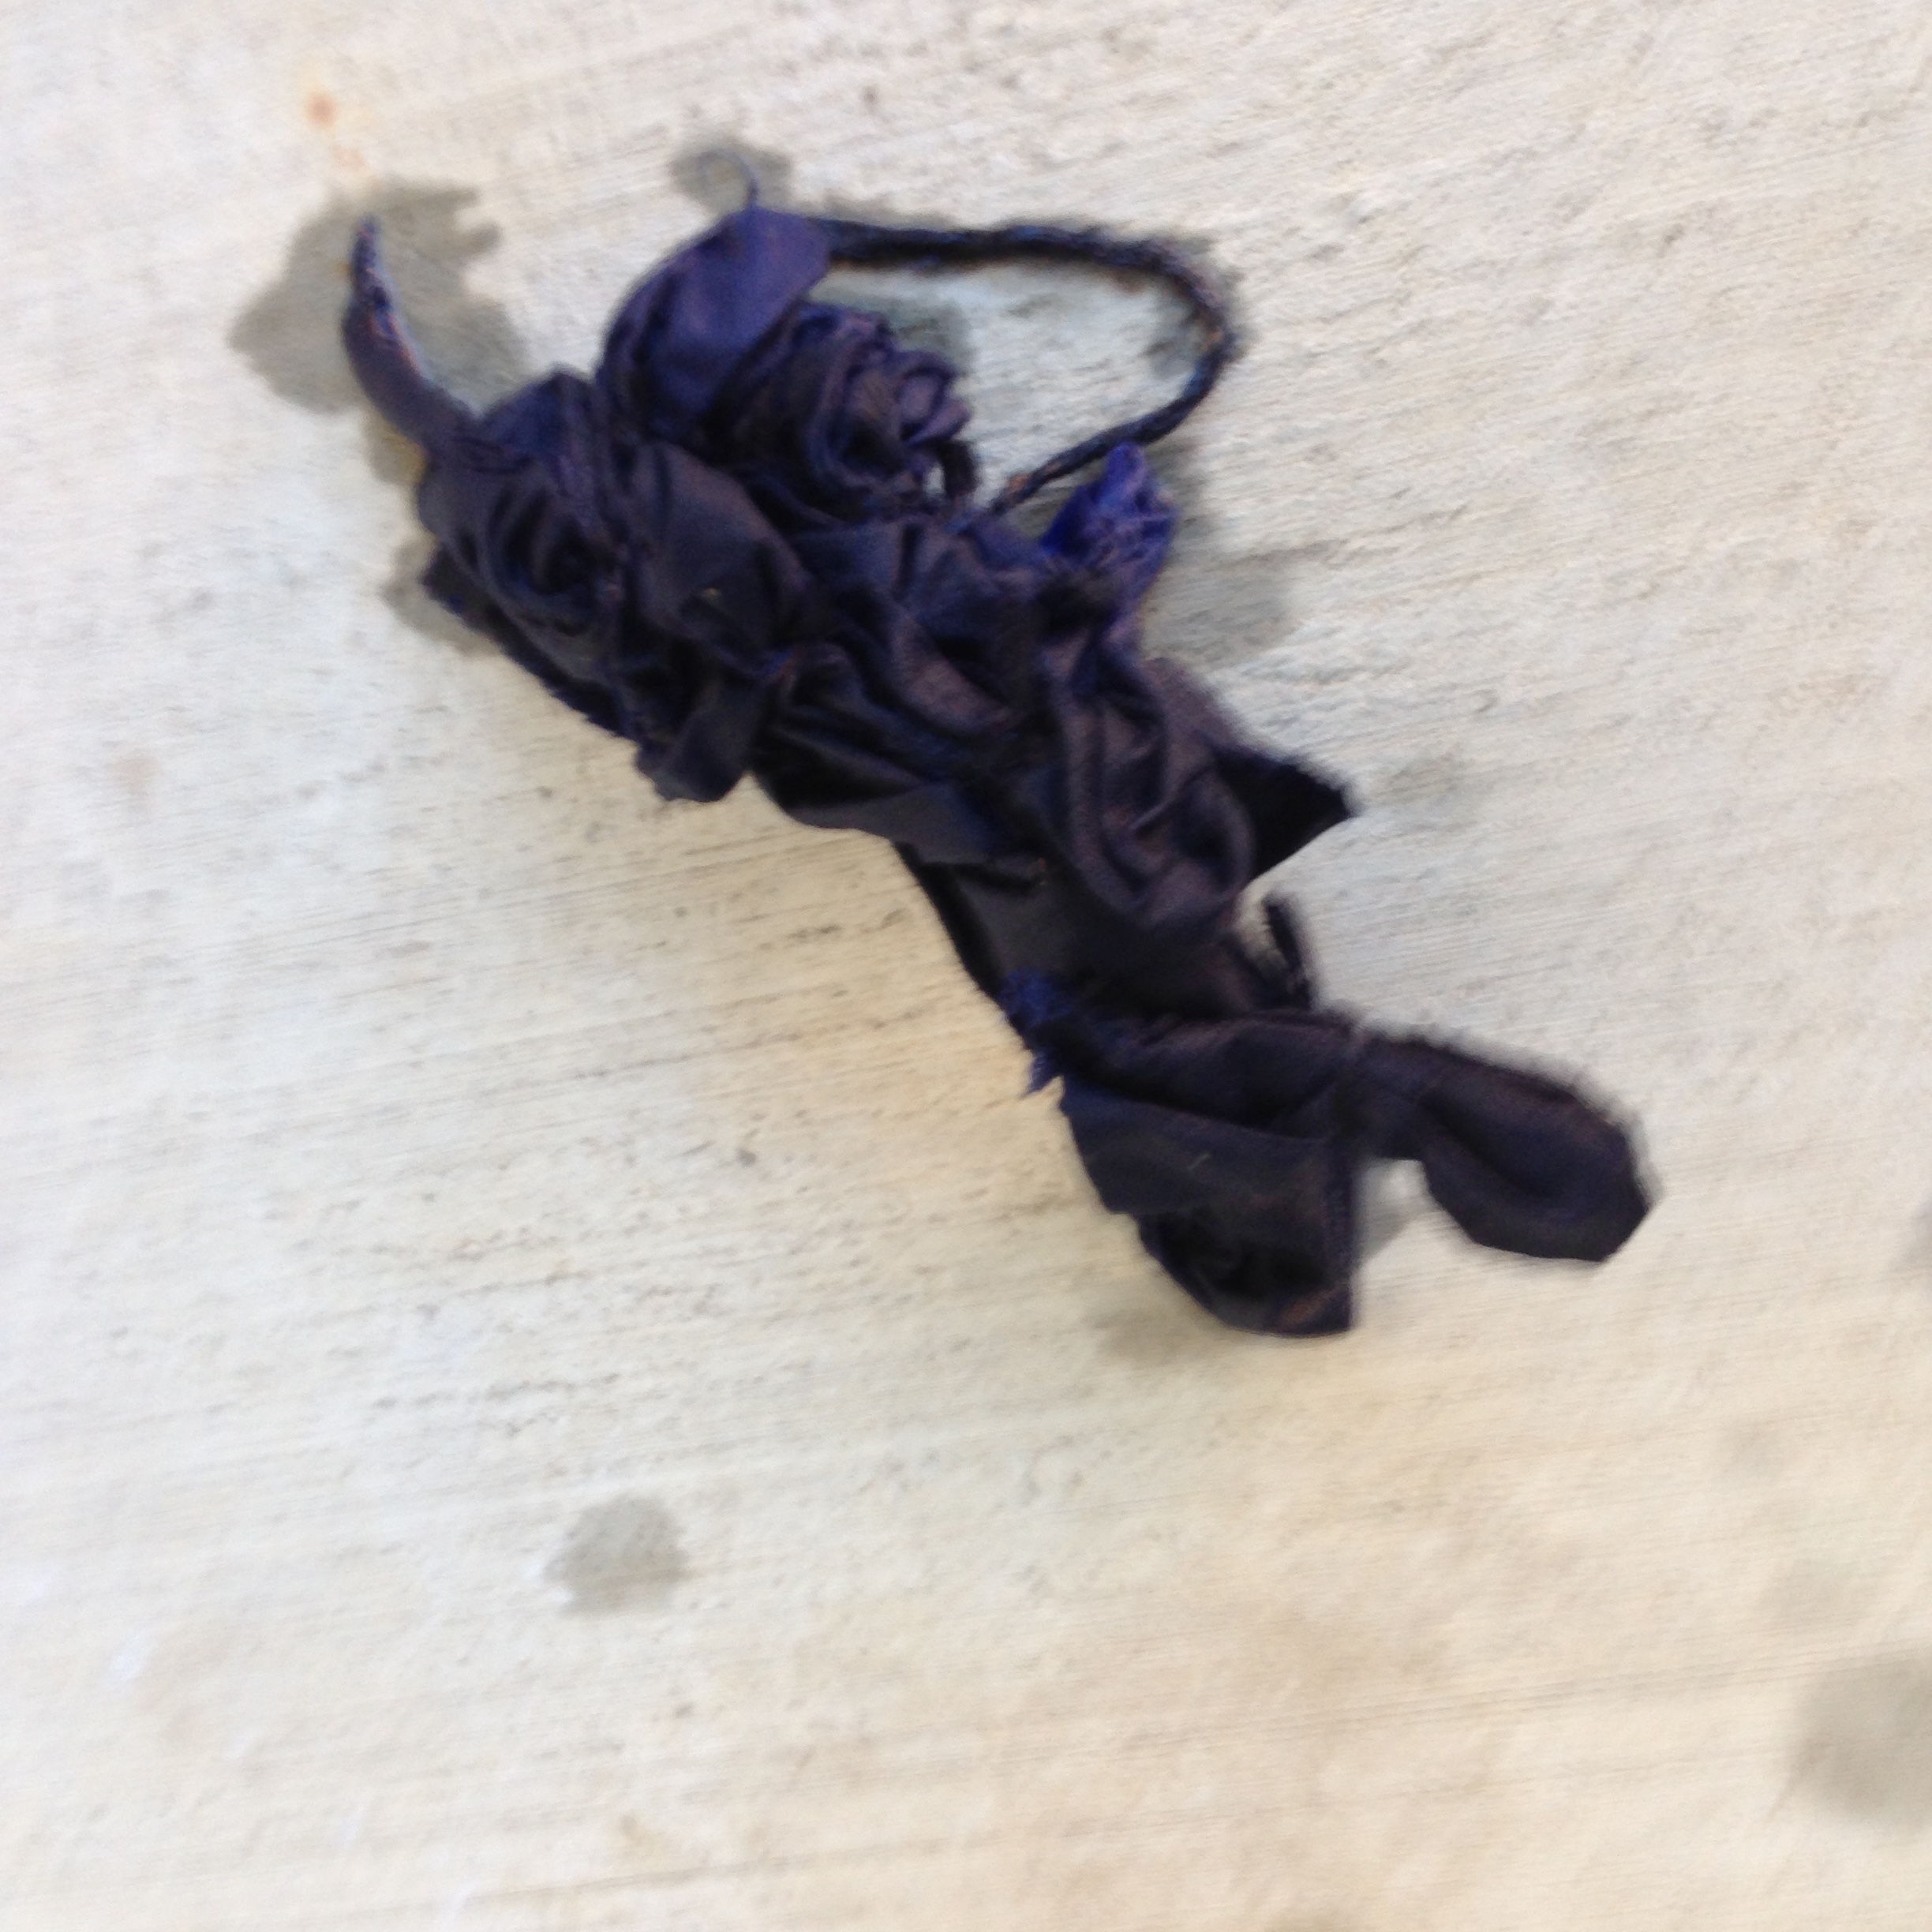
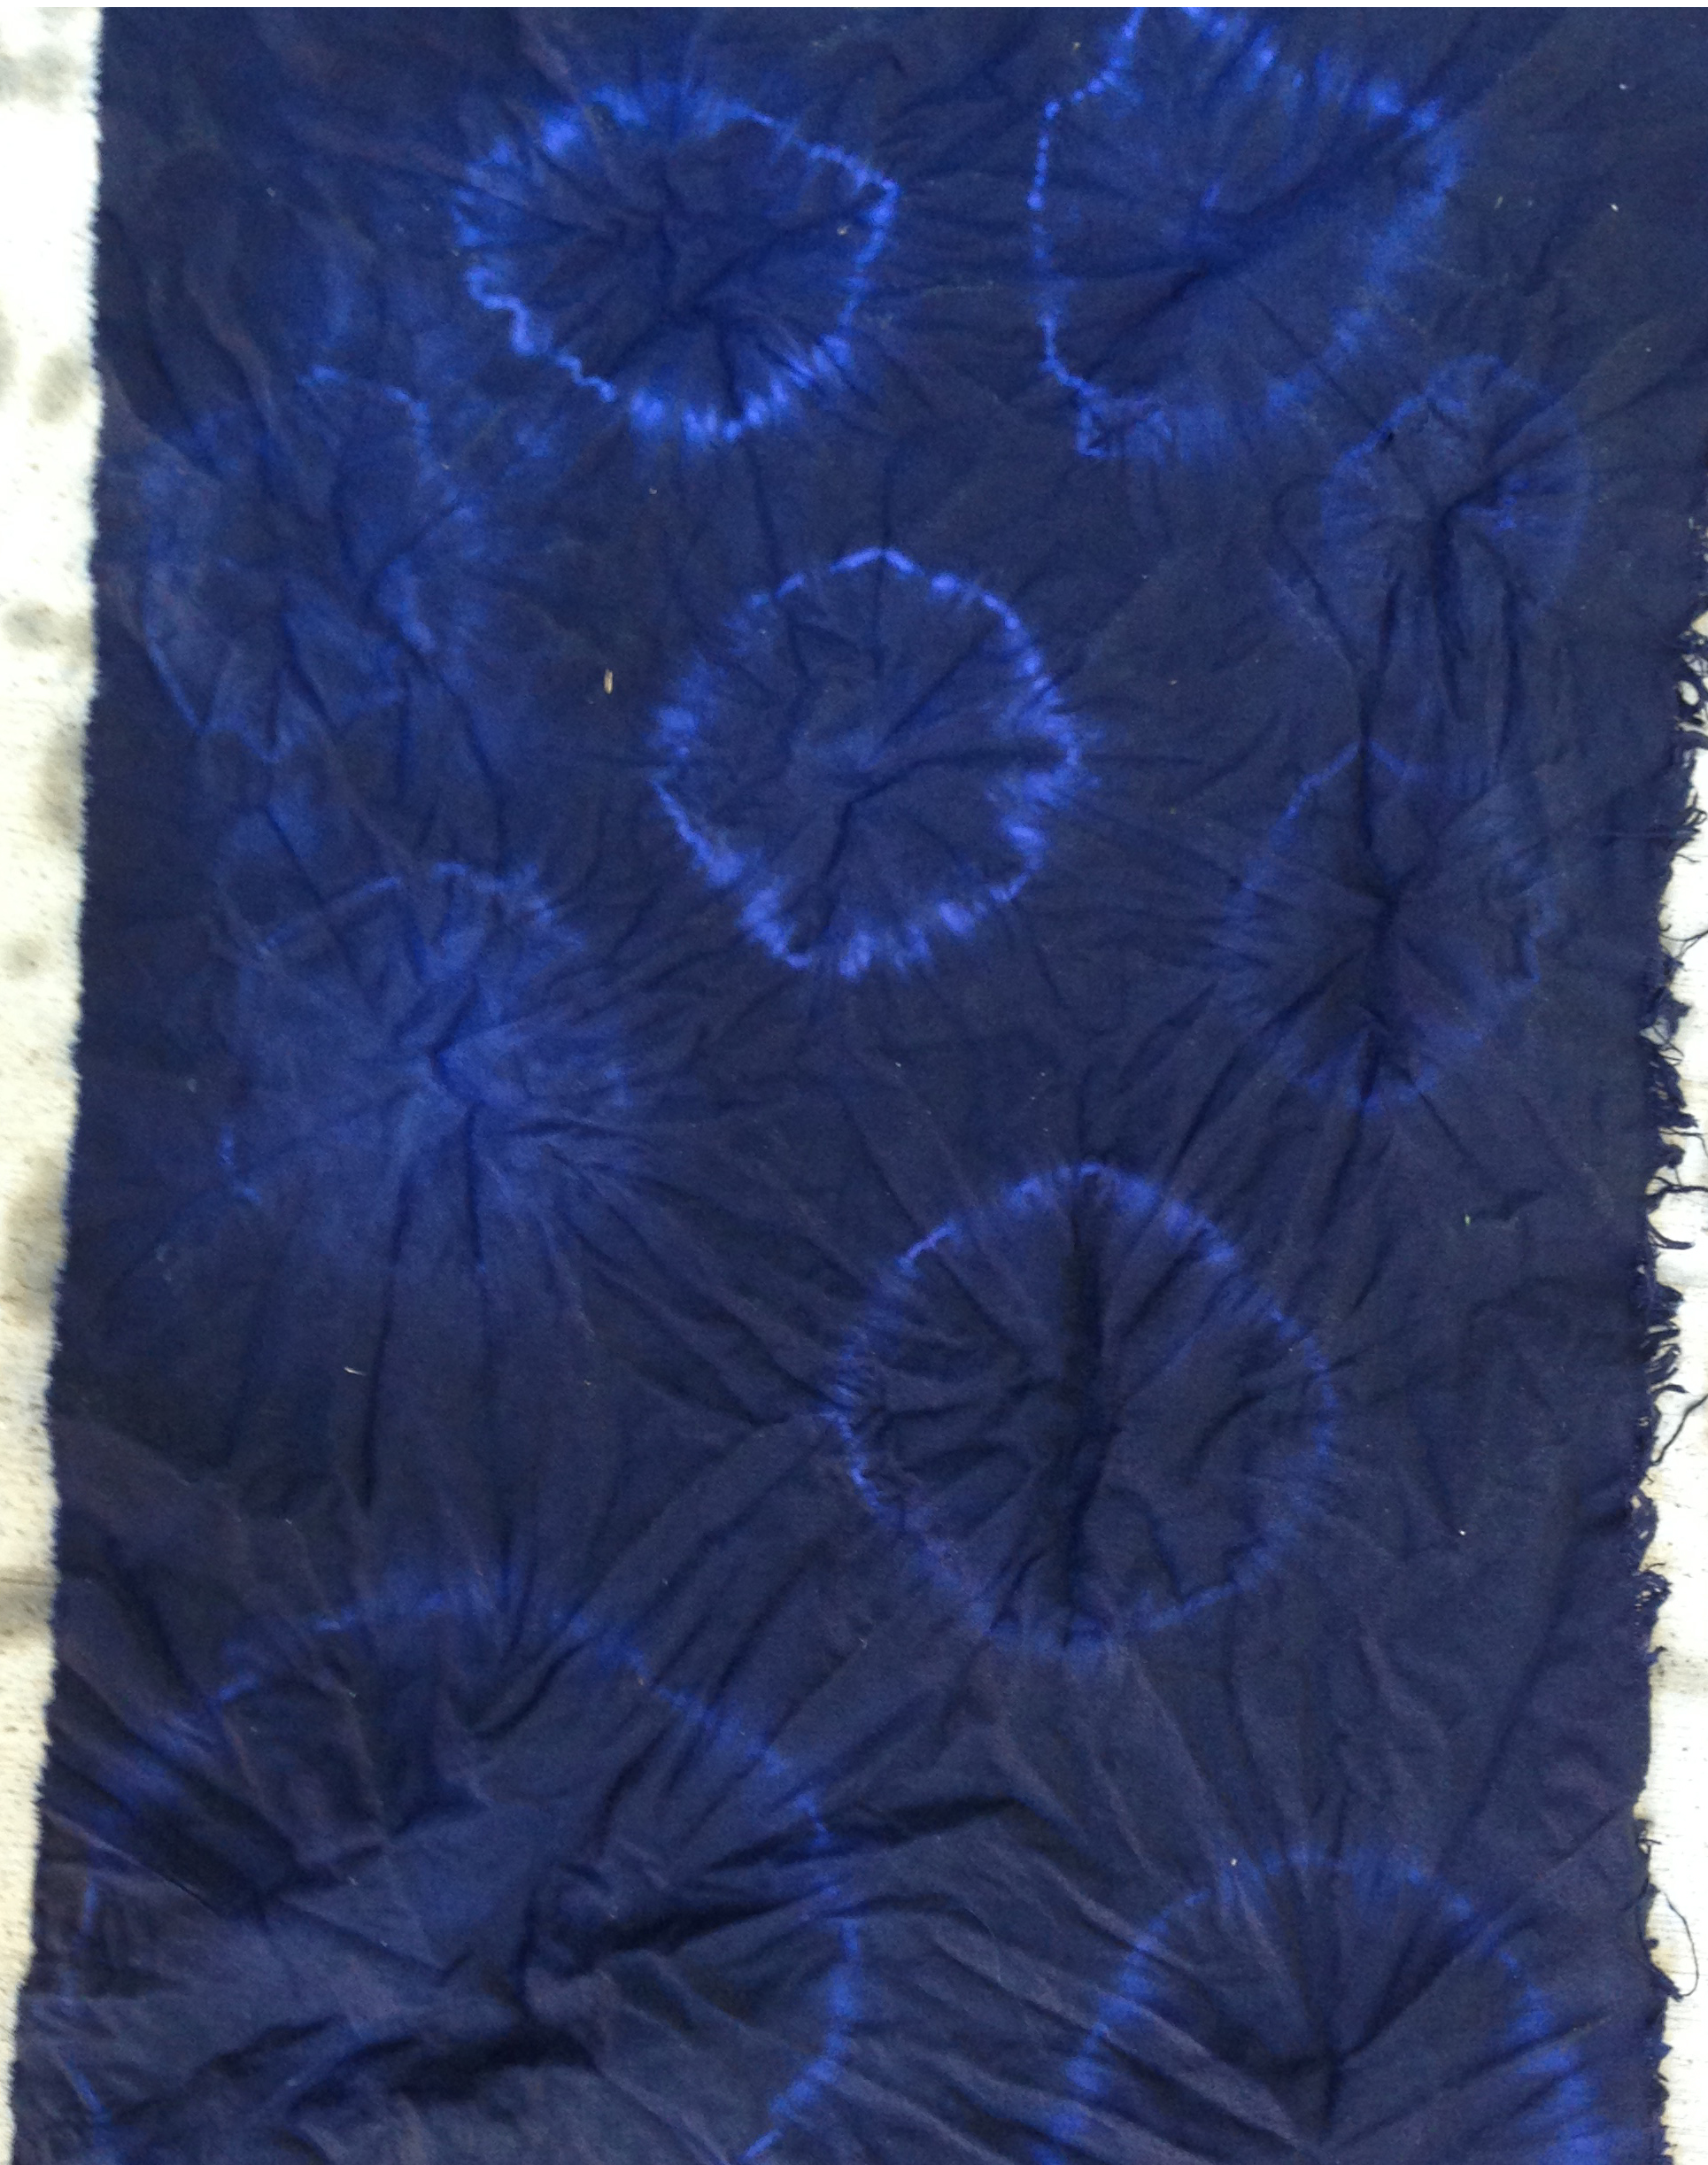
Some of my results showing the bundle after it has ‘cured’ in the dye bath; then the fabric that resulted following unfolding and rinsing with tap water.
Fan Folded, Rolled, Secured with Rubber Bands
Fan Folded, Rolled, Secured with Rubber Bands
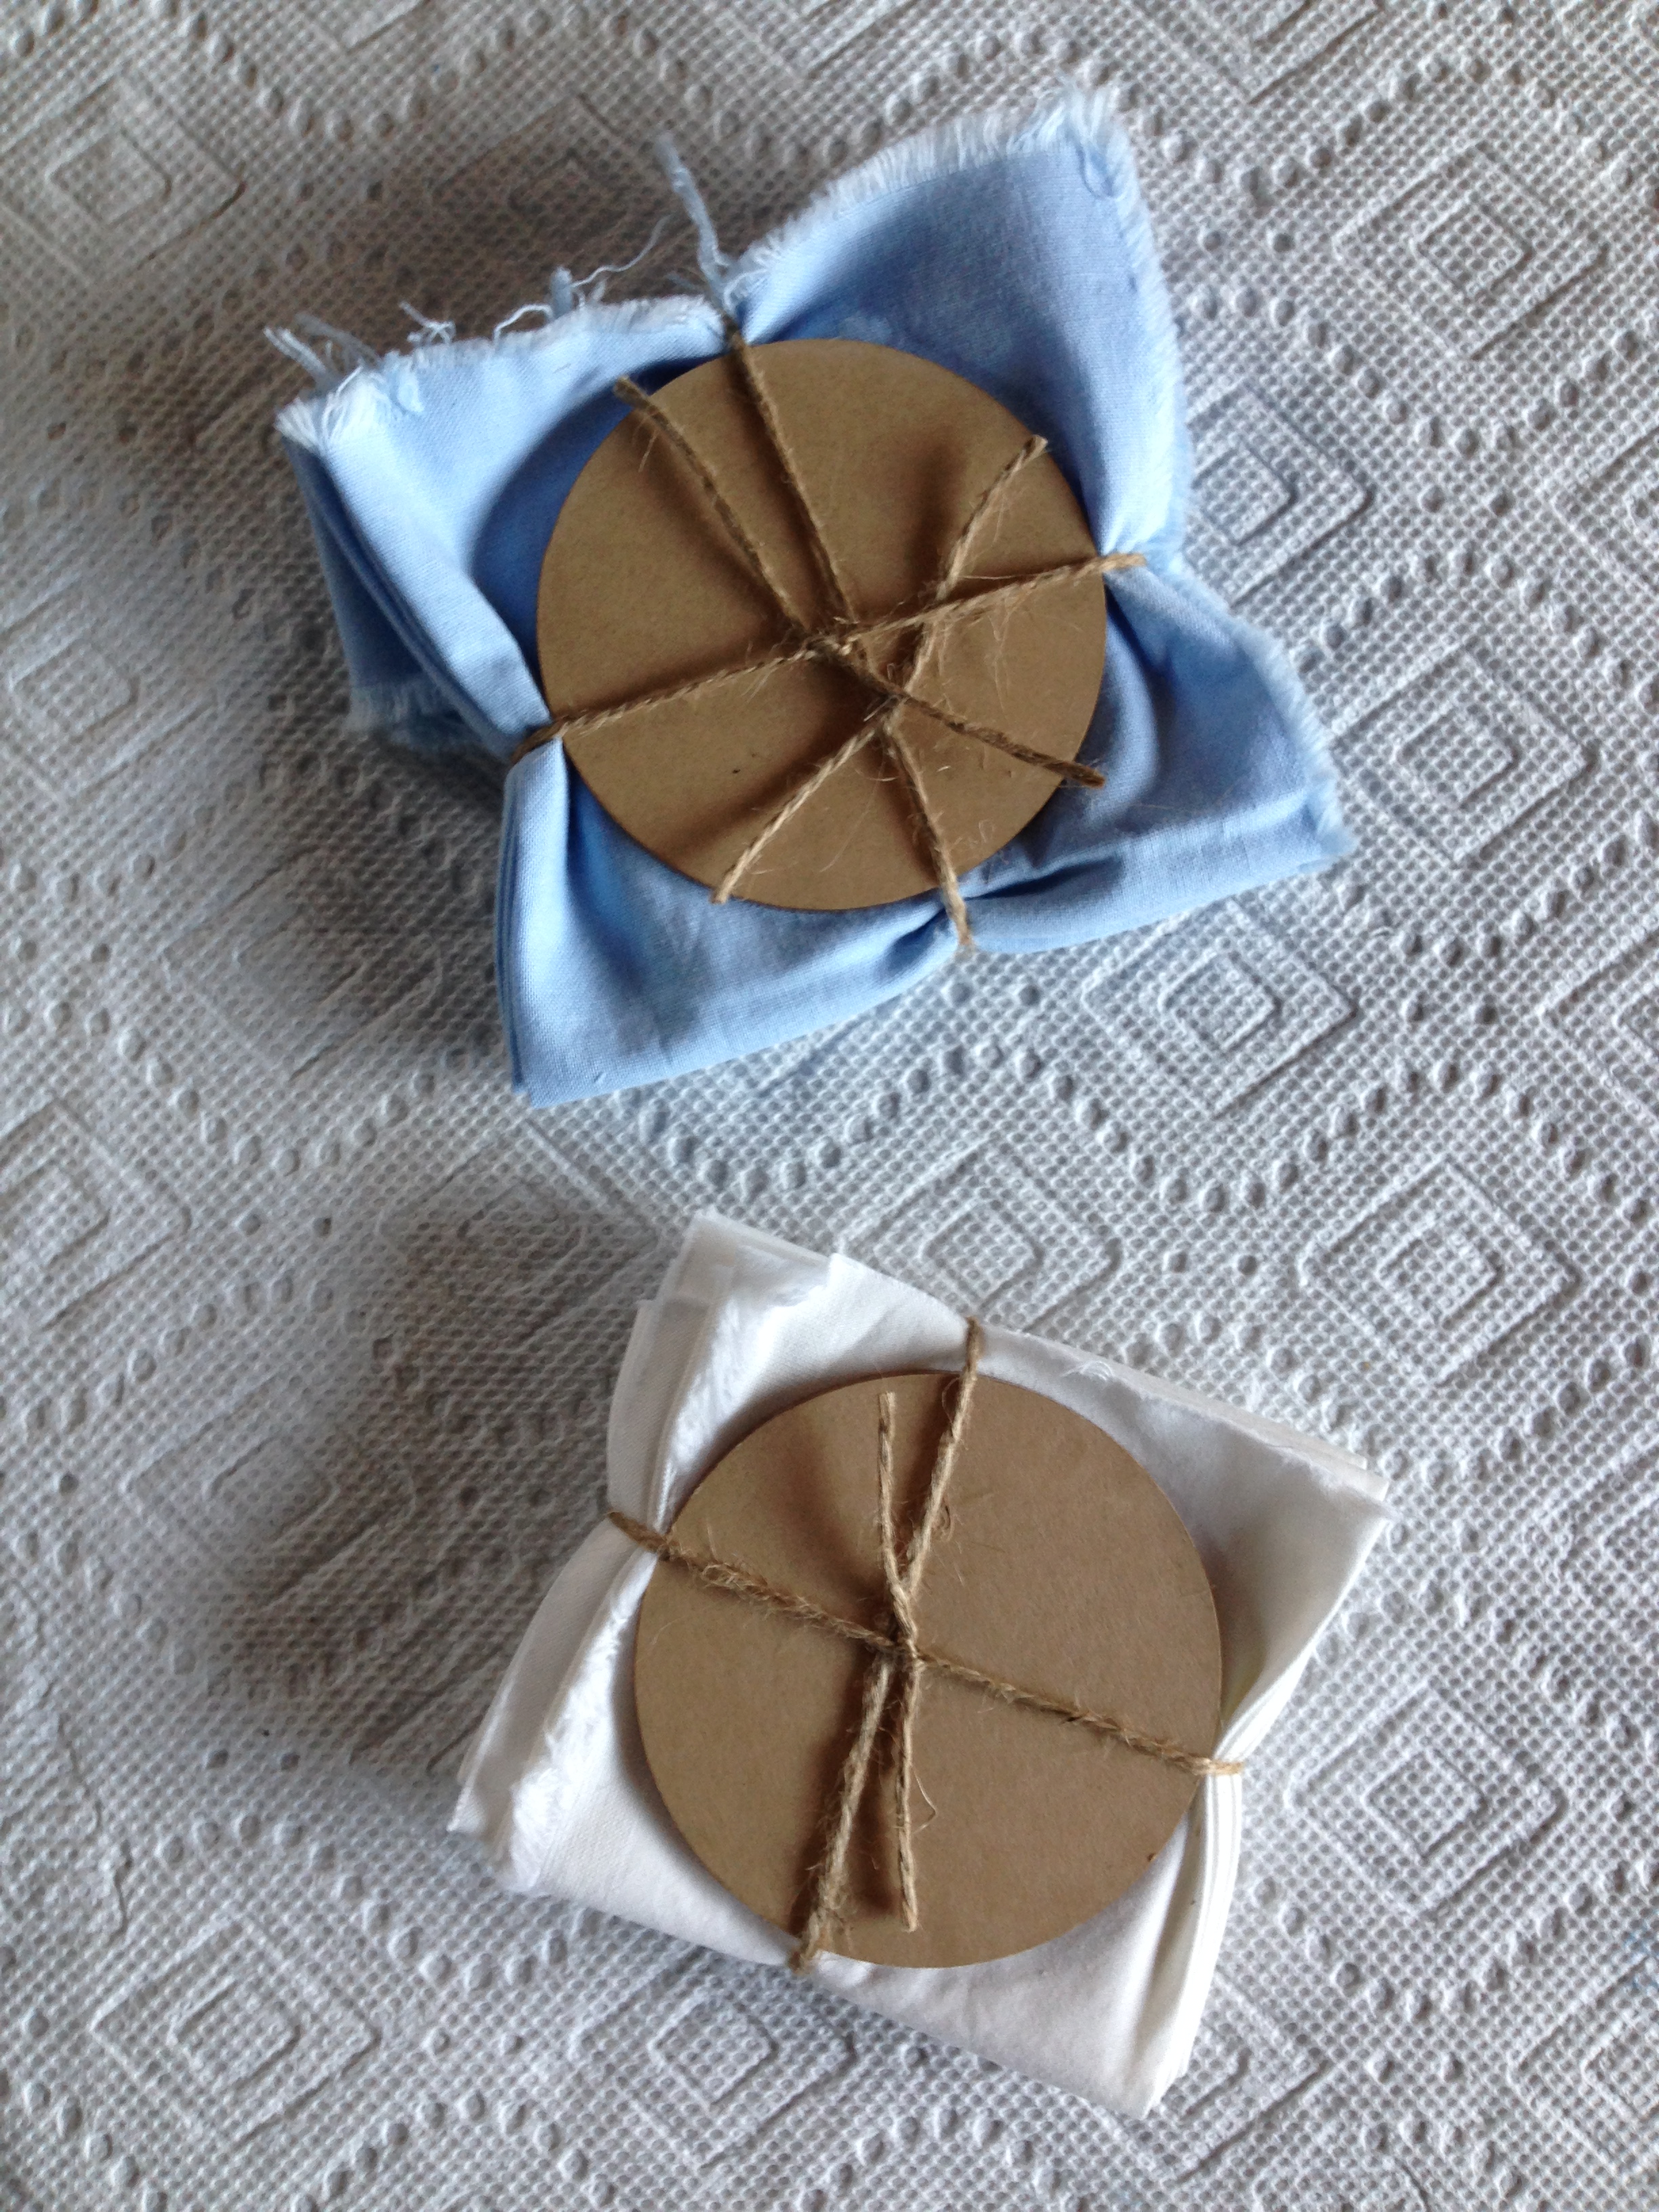
Itajime, Flag Folded with round templates tied on with twine
Itajime, Flag Folded with round templates tied on with twine
Random pieces of the fabric are tied off with twine
Random pieces of the fabric are tied off with twine
Itajime, Fan Folded Fabric, Rectangular Templates attached With Twine
Itajime, Fan Folded Fabric, Rectangular Templates attached With Twine
The colors lightened slightly after washing, drying and pressing. In some cases this added to the definition.
I also threw in a larger piece of fabric “as is” and now have some mottled Indigo fabric in my stash.
Several years ago I spent the greater part of October in Pennsylvania, readying my late mother’s home for sale. As you can imagine, this was difficult work both physically and emotionally.
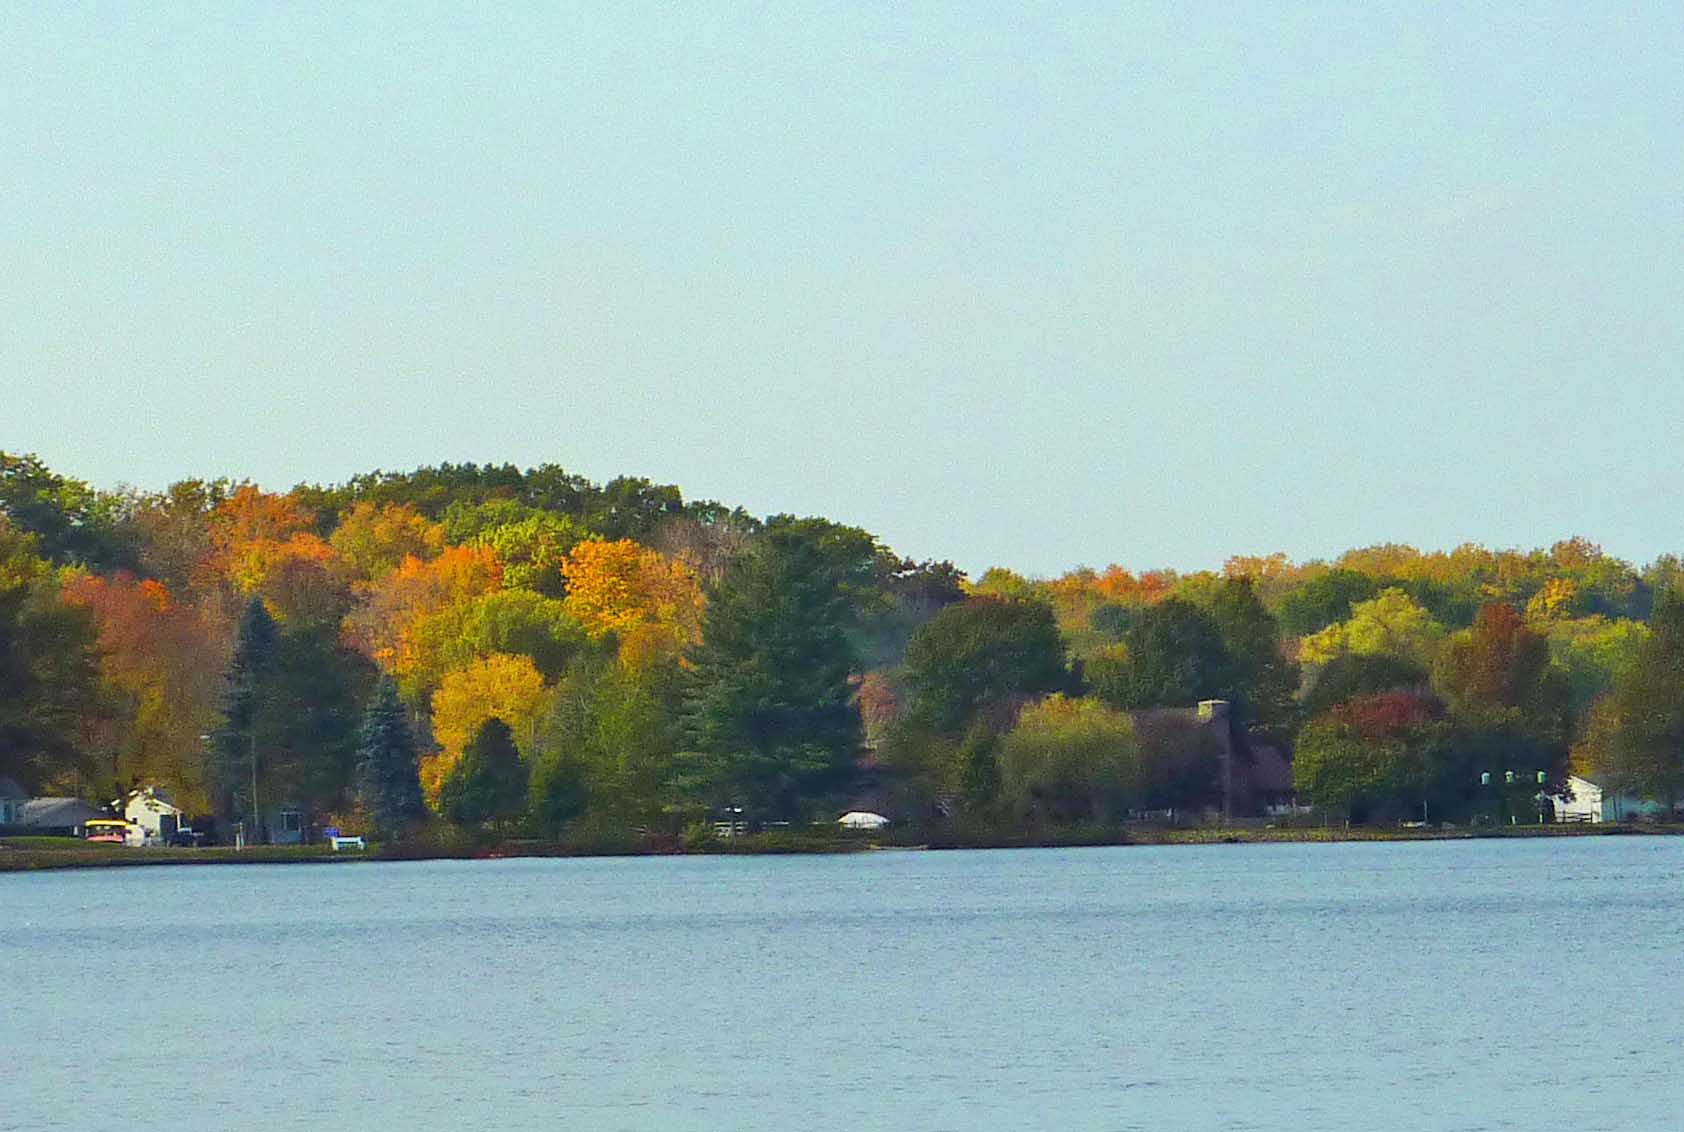
One morning I decided that I needed a day off. I got into Mom’s elderly Oldsmobile and headed out in the general direction of Lake Edinboro, being careful to stick to rural roads.
Looking Across Lake Edinboro
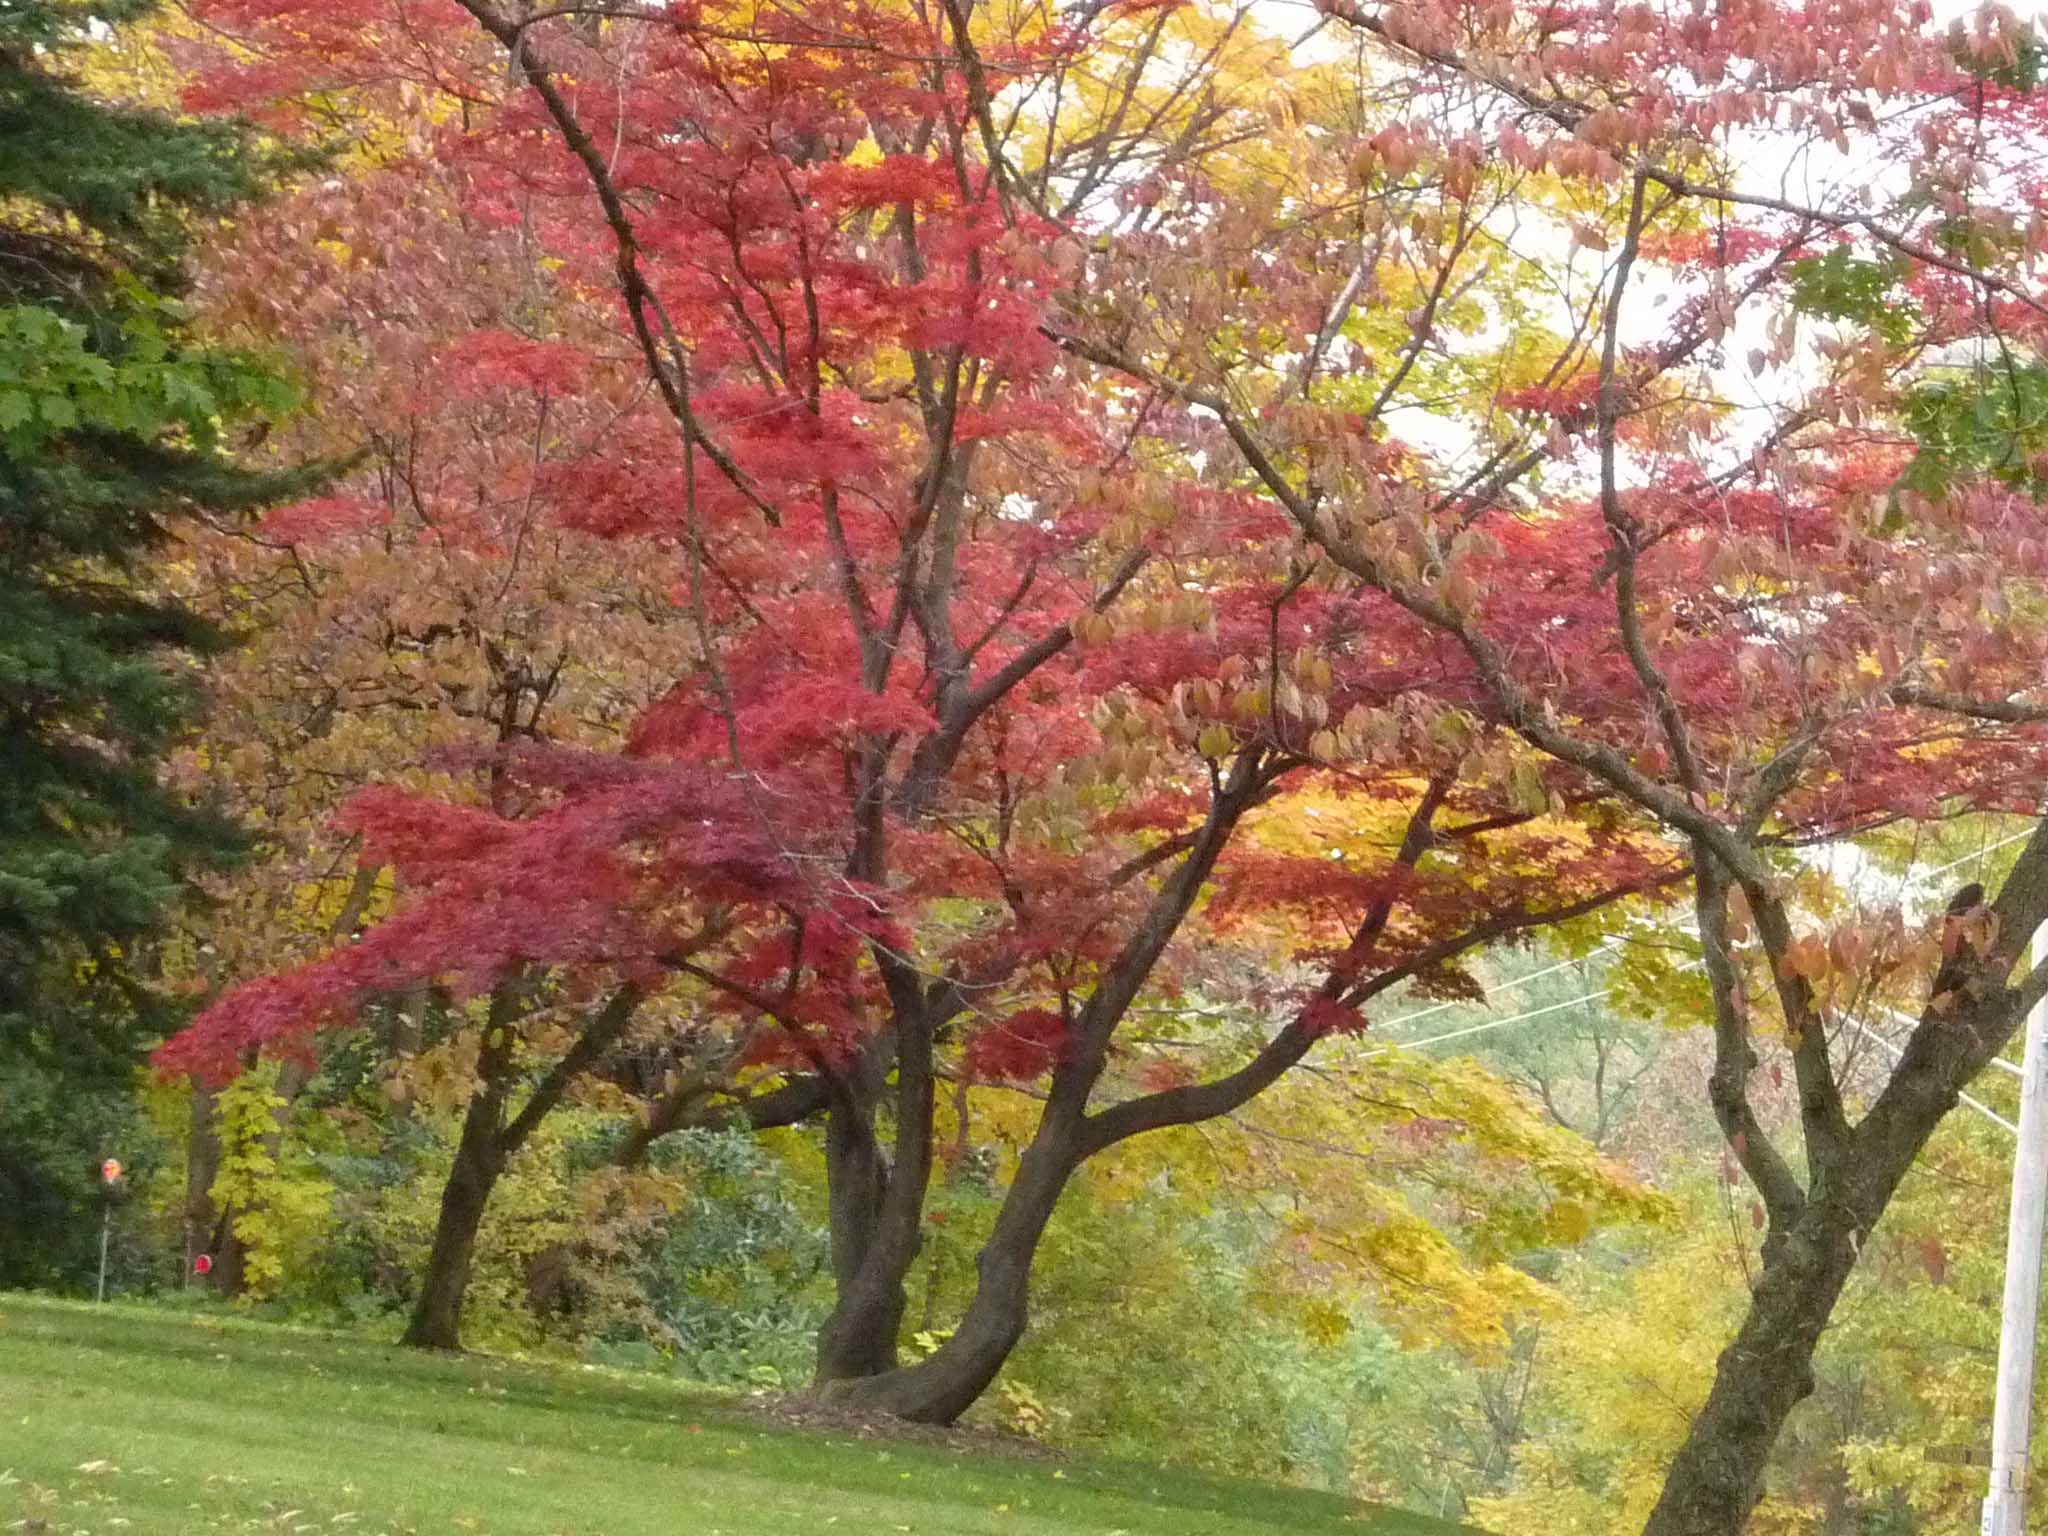
I was greeted with the most beautiful Autumn displays wherever I looked. As I drove I was also treated to glimpses of rural Pennsylvania that were inspiring and refreshing to the eyes of this California girl.
Pennsylvania Highway 99 Travelling South
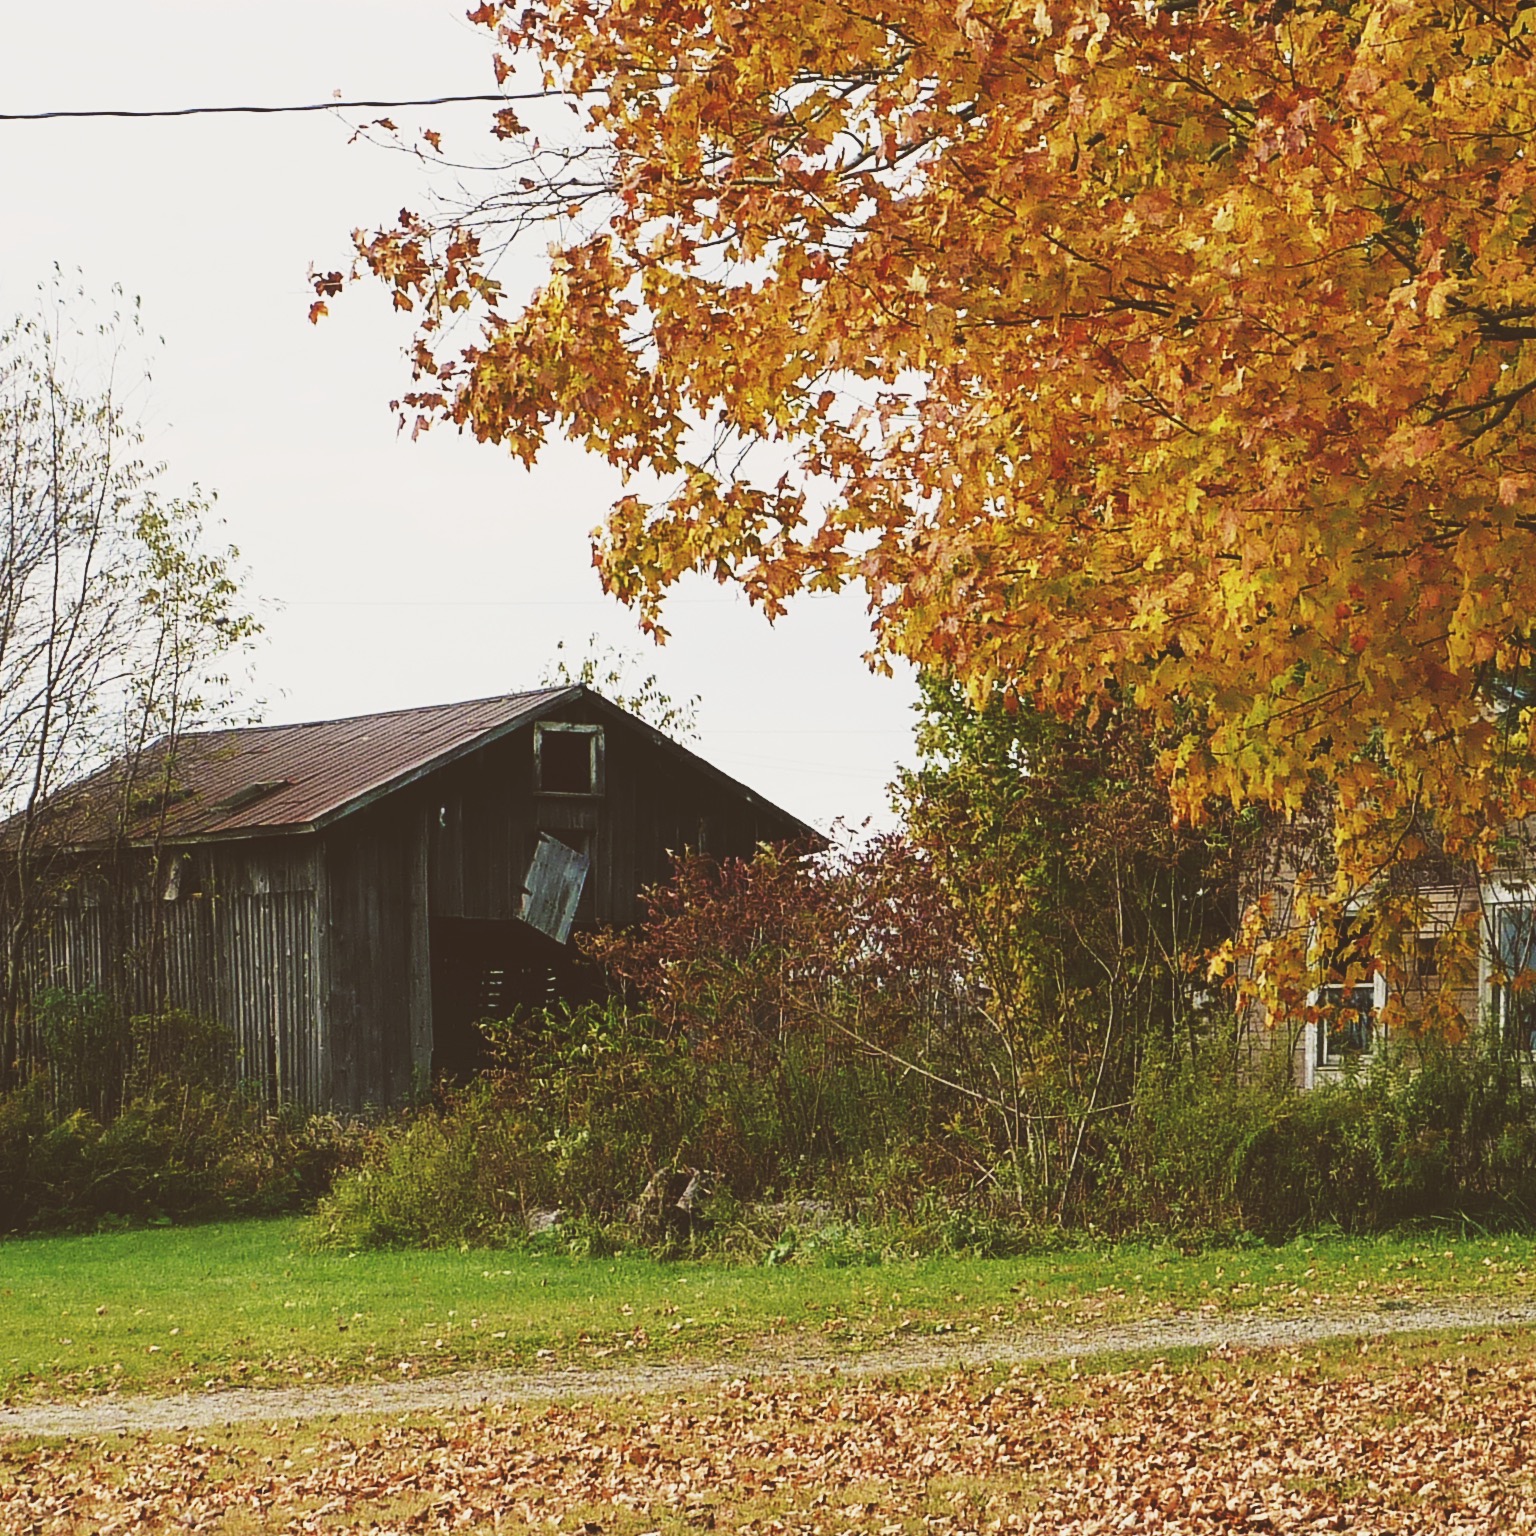
One shabby old barn in particular caught my attention. My camera got a workout.
I was certain that some of these images would one day find their way into my art
Determine which elements to keep in the photo and which to discard. Convert image to grey scale. Convert photo into an image suitable for making templates for quilt
Assemble fabrics for construction. I decided to use my own hand dyes and was successful with the exception of 2 that I found in my stash of commercial fabric. My goal was to use a lot of saturated brilliant color to offset the aged and washed out look of the barn.
Construct a background – All I needed was some fabric suitable for sky and some greens. Most would end up being covered up.
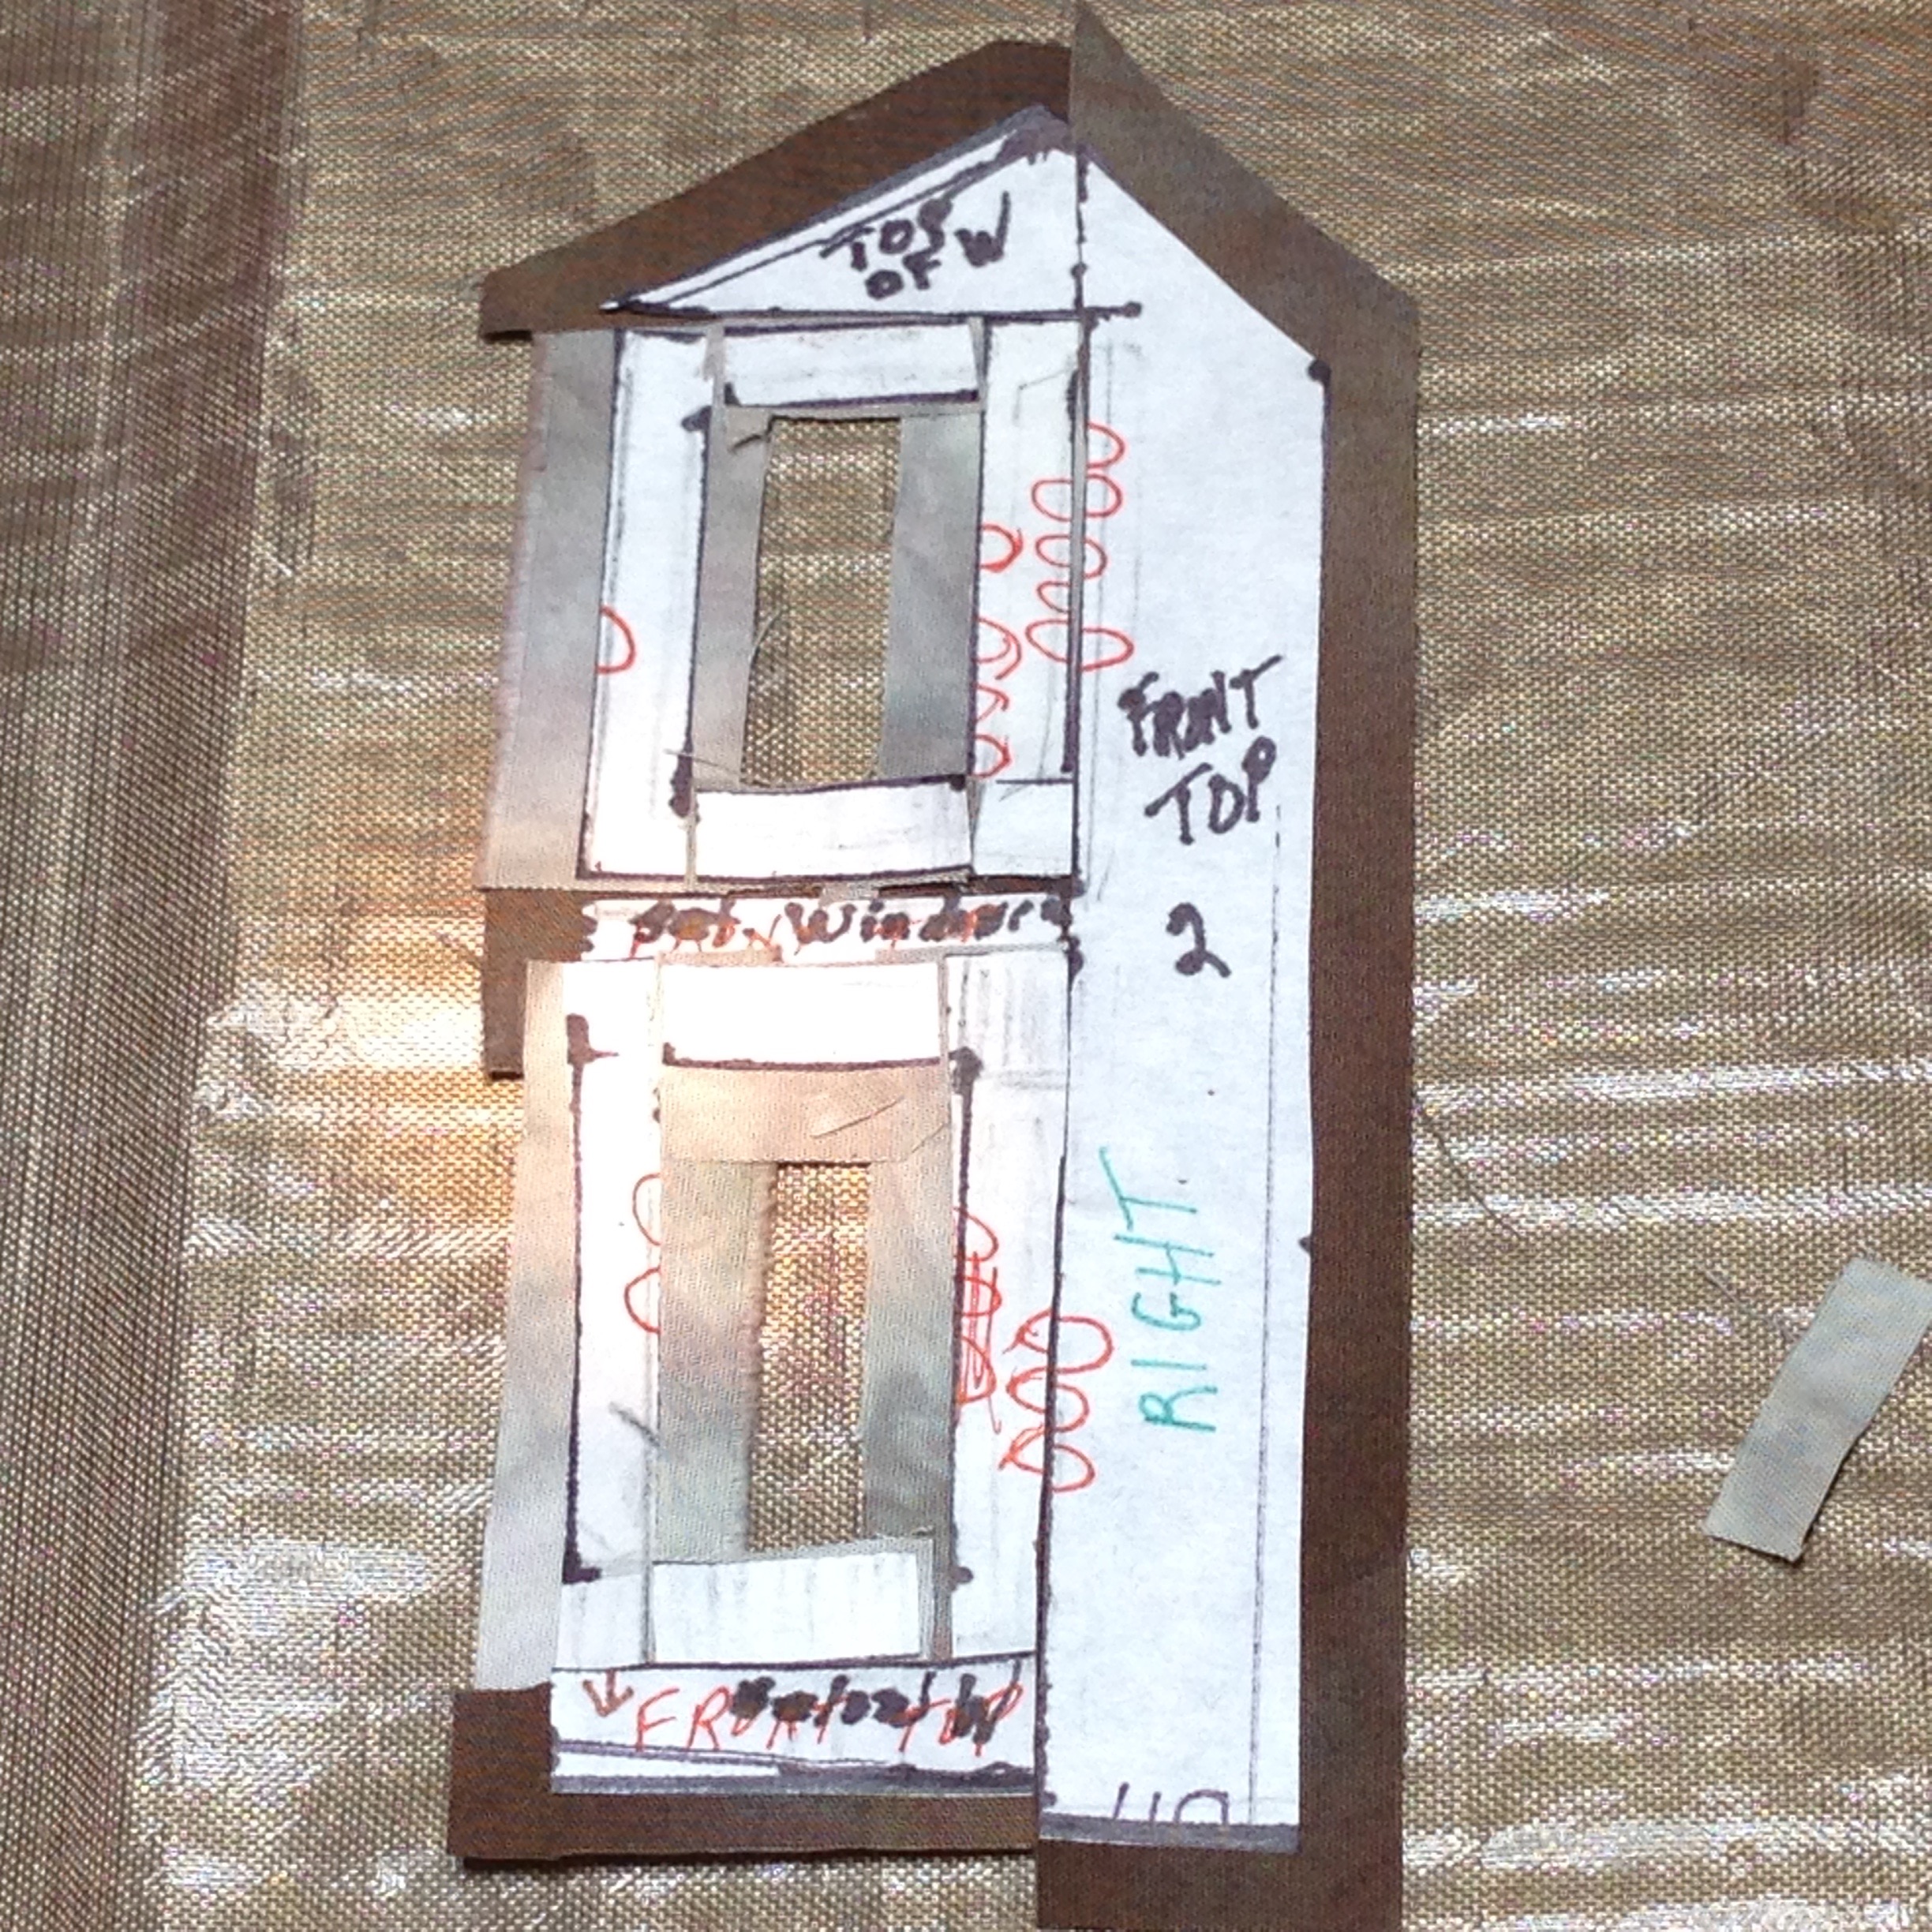
Make the templates and adhere them to the fabric
Barn Window Construction
Determine the order of sewing down all the elements
Thread Paint the details
Sandwich and quilt the quilt
Finish the Edges
Dealing with Setbacks
Of course I was running late finishing the quilt to meet the submission deadline. So I decided to finish it pillowcase style instead of a traditional binding. Well, I tried, but that didn’t work. The quilting was too dense up to the edges and there was no way this quilt was going to be flat with that kind of a backing and edge treatment.
So I had to remove the pillowcase back and come up with something else. I determined that because the barn itself was shabby and had loose boards (think ‘threads’) all over the place, that a casual zig zag finish would be appropriate.
Of course, in the process of “turning the quilt” I had already clipped the corners. But I decided that was just fine. That little imperfection just added to the theme of this dilapidated barn in the midst of the Autumn beauty.
Barn in Autumn
This quilt is part of this year’s SAQA Art Quilt Auction beginning online September 18, 2015
I thought for sure that I had posted about making prayer flags but not so! Prayer flags have a long tradition and they can be seen in many different configurations. There is no right or wrong way. There is a blog devoted to Prayer Flags at : ThePrayerFlagProject.blogspot.com There you will find tutorials and many examples of how various artists have interpreted and created their own Prayer Flags. (mine are posted in March this year 2015)
I had thought about making and hanging some flags for well over a year and was waiting to be inspired it seems 🙂 A few months ago I was walking down the aisle of a local craft shop and found a package of burlap banner shaped pieces in the clearance section. The first thing that I thought of was that they would be perfect for Prayer Flags. And if I messed up, then the investment was minimal.
There were four of these burlap shapes in front of me looking like this:
each measured 5 1/2 ” by 7 1/2 “
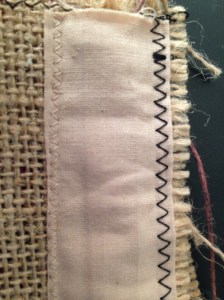
The first thing that I did before anything else was to stay stitch inside all the edges of all the flags to minimize fraying. Burlap frays. I didn’t mind that, It enhanced the rustic look that I was trying to achieve. But I did want to contain the amount. I used black thread and a zig zag stitch and stitched each flag on every side about 1/4 inch in from the edge.
I figured there was no hiding of the stay stitching so I incorporated it into the overall design
You are goiing to need to attach a narrow muslin sleeve to the top. Do that now by machine UNLESS you are going to use that top space for your hand stitching later. In which case you will attach the sleeve as the last step with each flag.
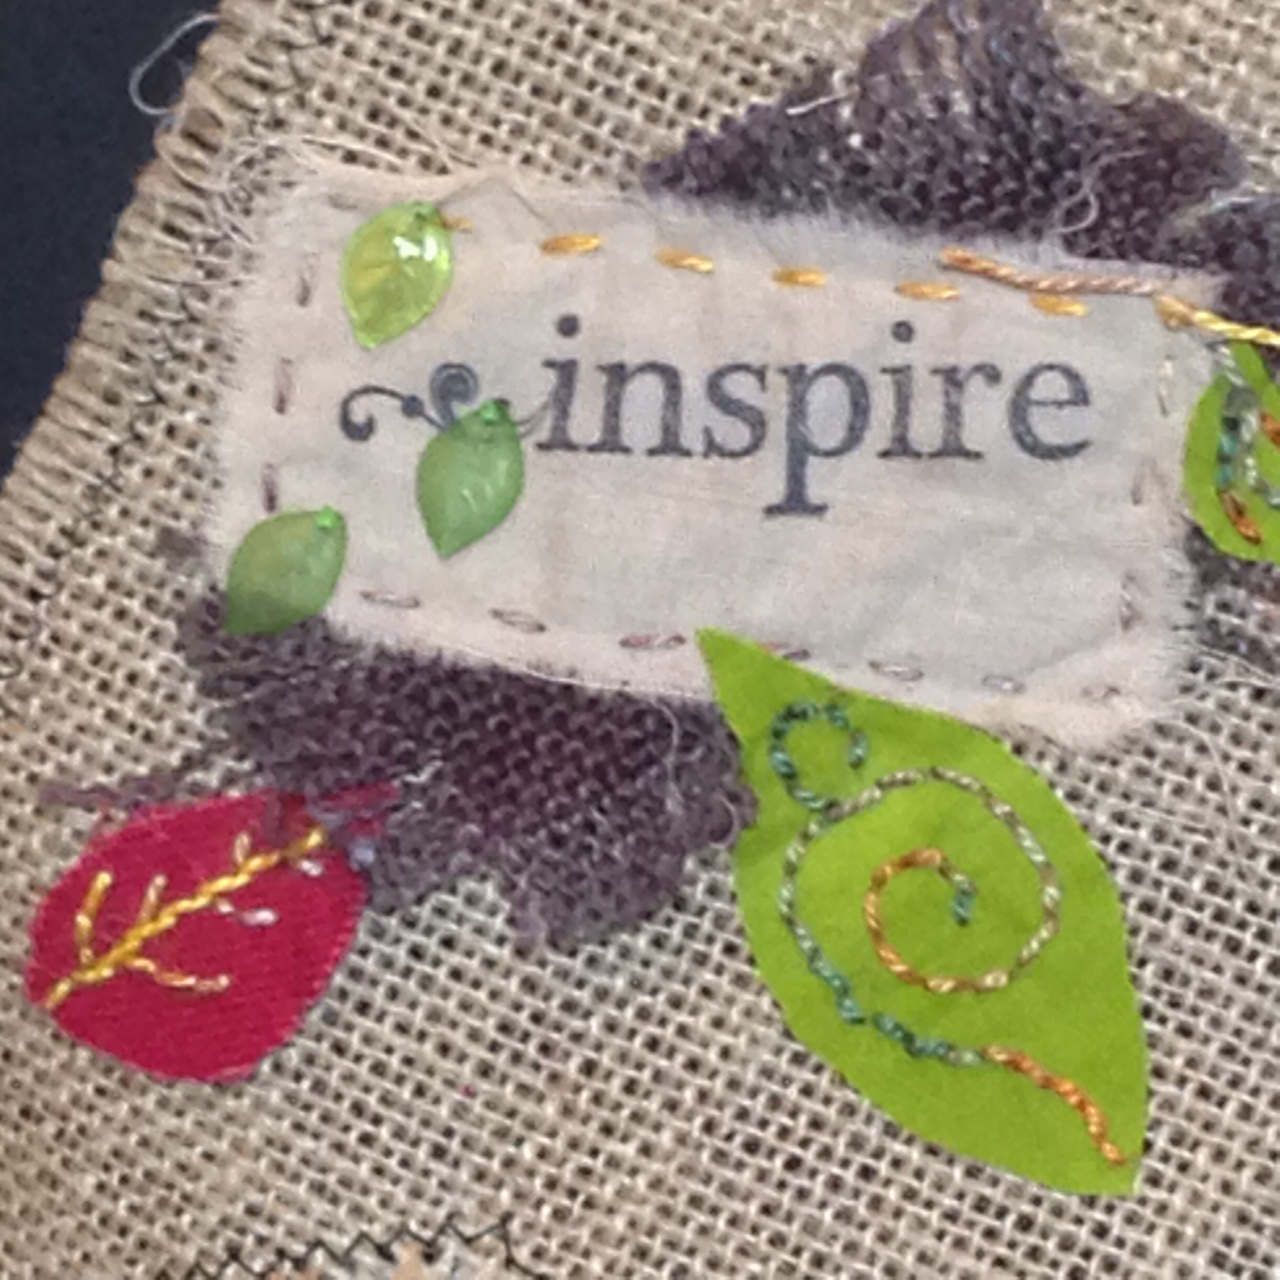
Gather your fabrics and threads and design your flags. I used muslin for the inspirational words, and a variety of fabrics: cheesecloth, bits of organza, felt, burlap. Use whatever your design calls for!
I also added a few beads, some ribbon and buttons and hand stitched with embroidery cotton of various sizes.
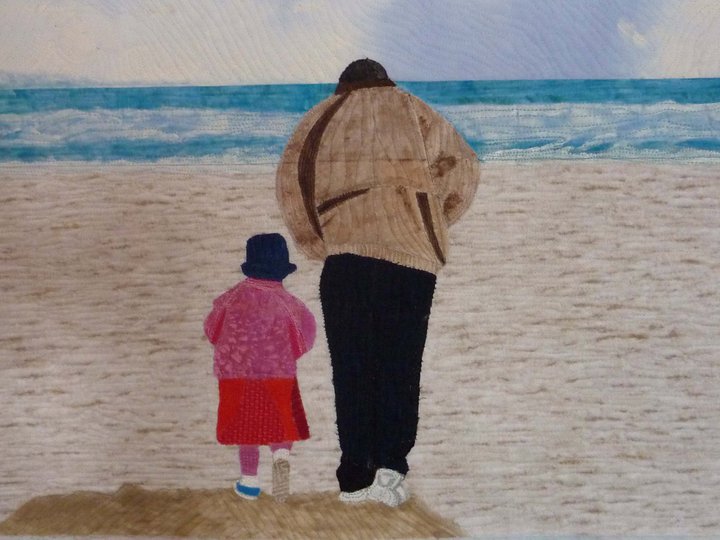
Years ago I took a photo of my husband and oldest granddaughter walking on the beach. I always loved that photo and knew that someday I would do something special with it. After learning more about making pictorial quilts, including a workshop with Wendy Butler Berns, I made this quilt.
I enjoyed the process of making it immensely – and loved quilting it with silk thread. I used Superior’s Kimono #100, a very fine thread.
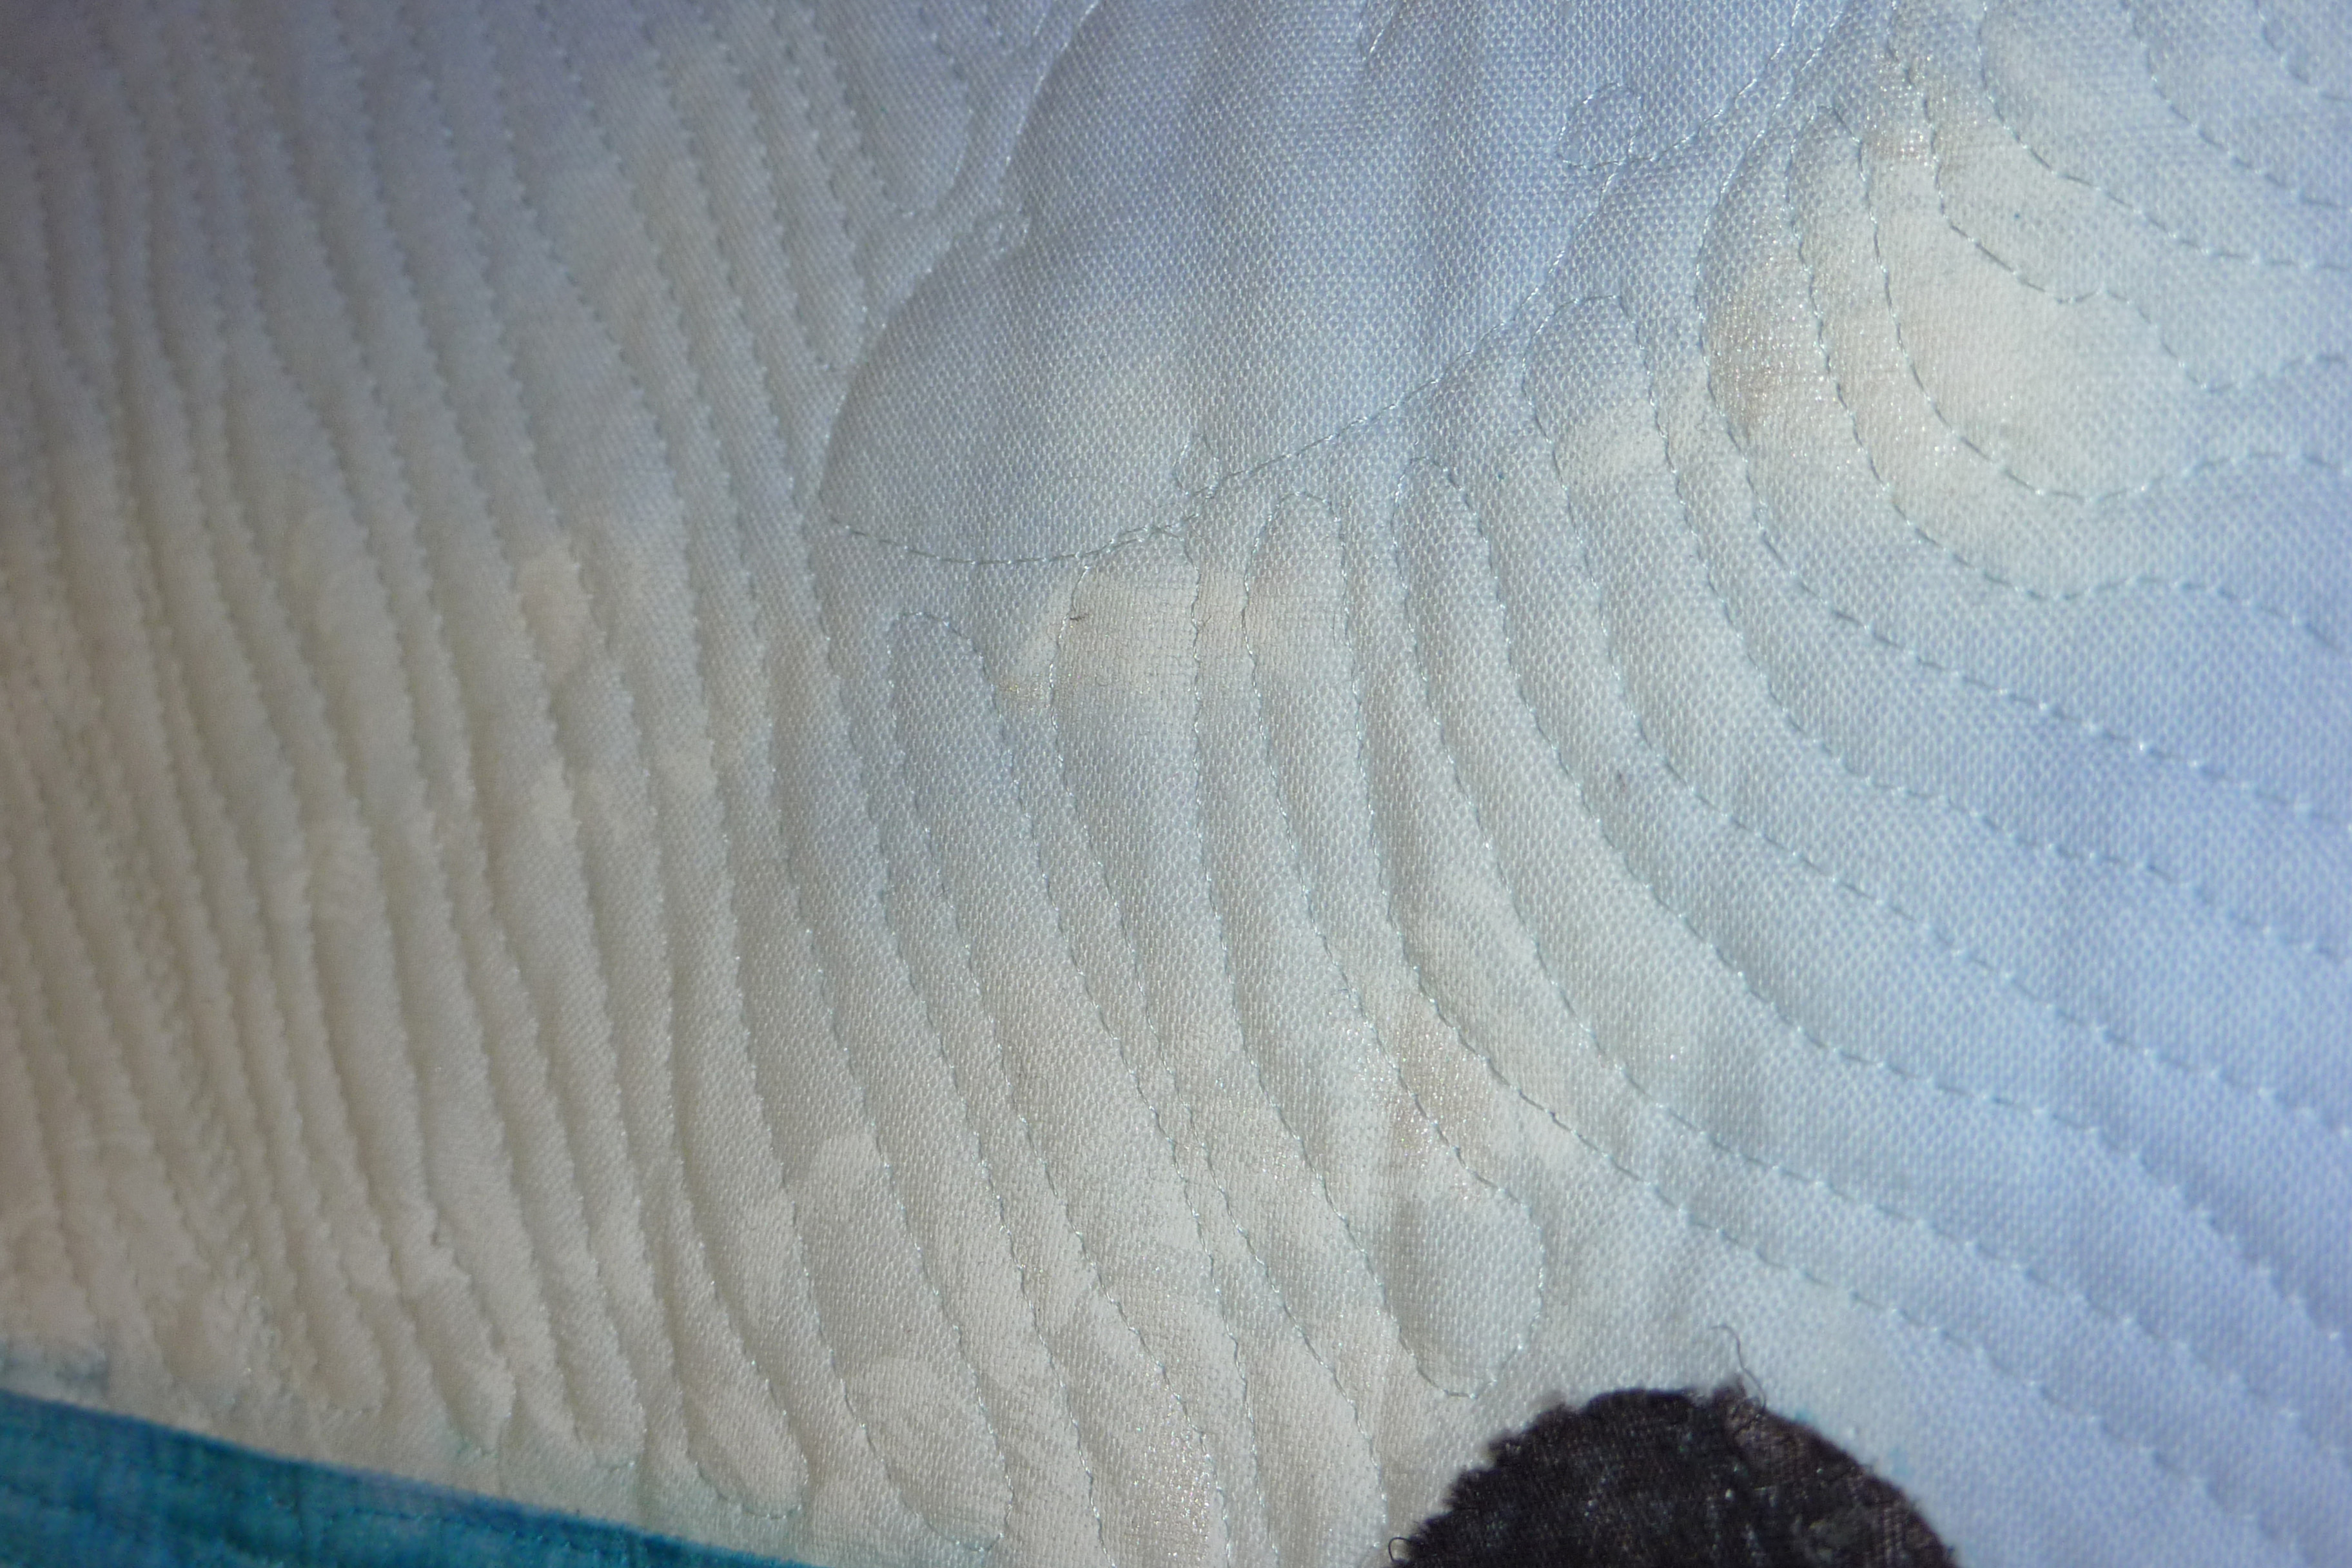
Detail 1
Detail 2
detail 3
Detail 4
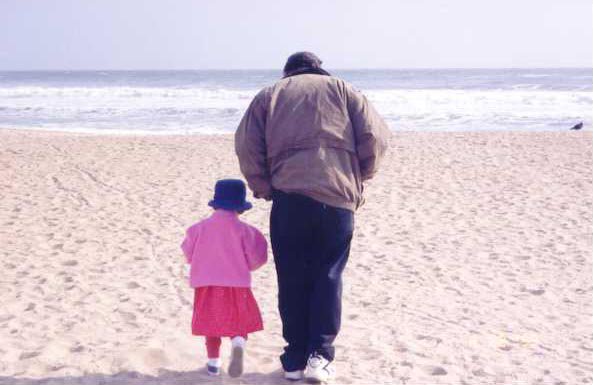
And this is the photo that I took when my granddaughter was only 2 years old. She is now a senior in high school !
Make your own decorative pillow. You will paint your own fabric and embellish it with stitching and beads. The class is on the schedule at Baron’s Sewing Center in Woodland Hills for Tuesdays January 14 and January 21st 2014
6 pm until 9 pm
(6 Hours total – 3 hours each day)
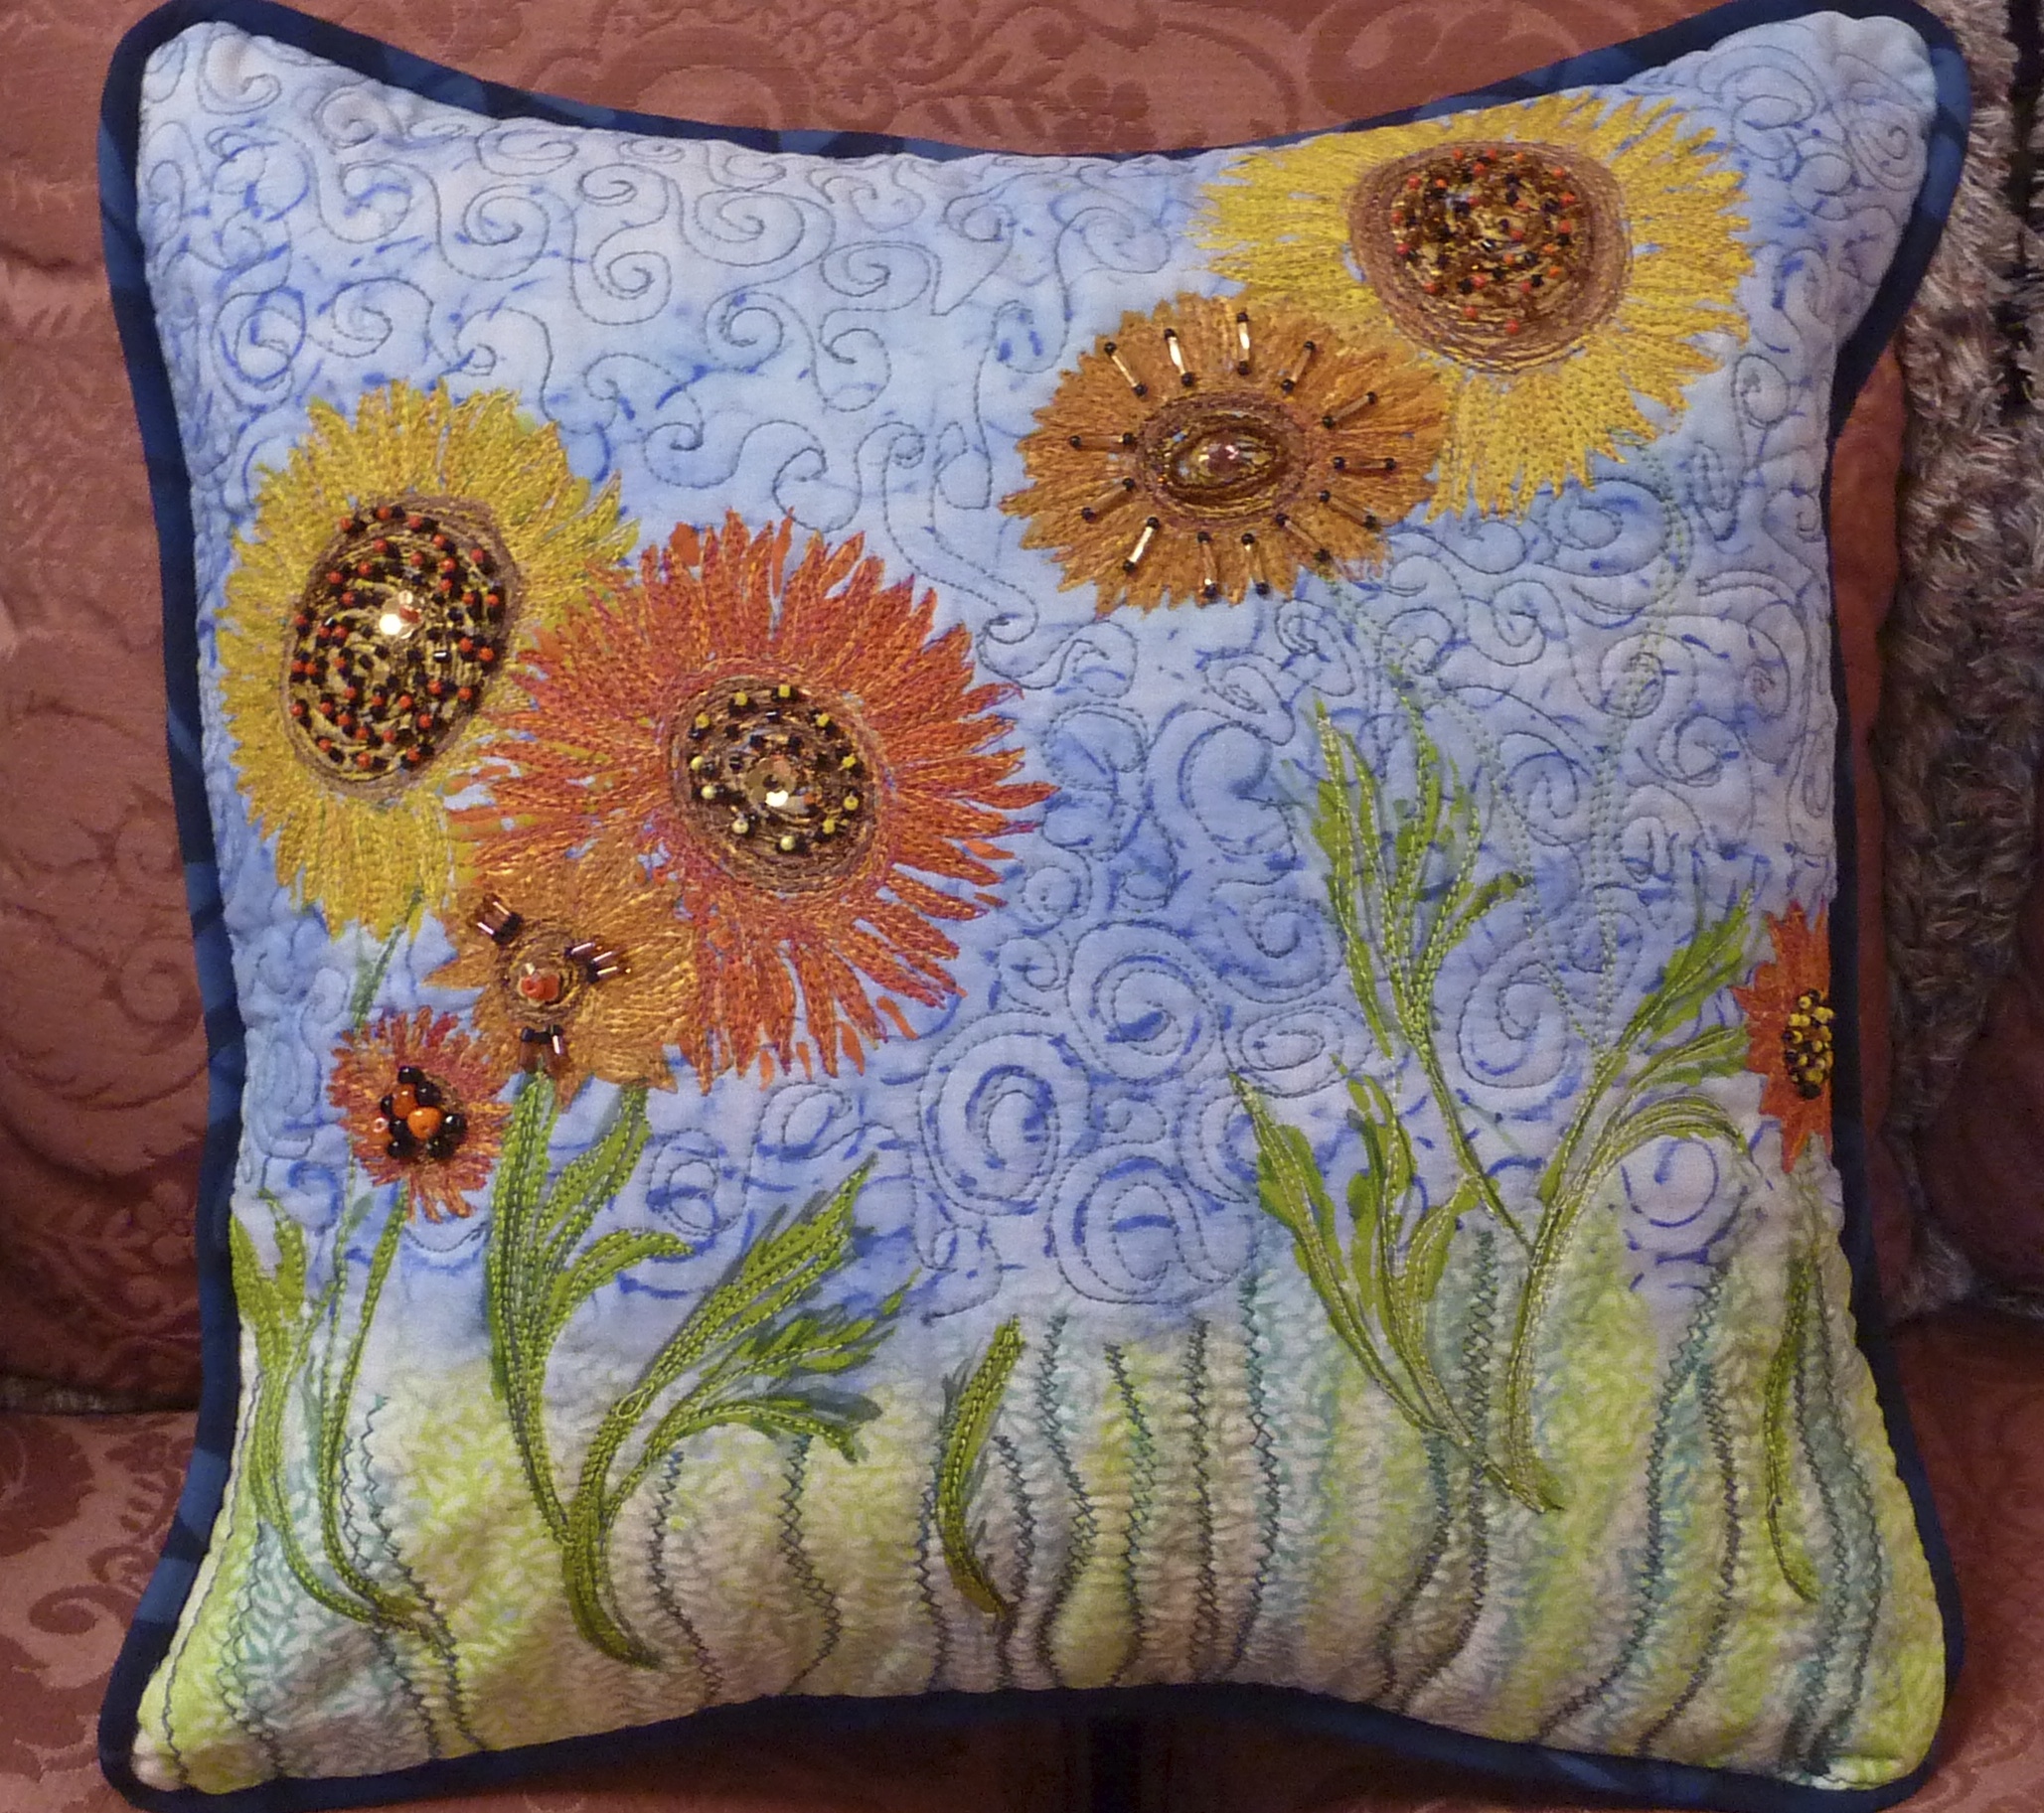
You can create your own design or fashion your pillow along the lines of this one that I made for this class.
I started with a piece of white PFD Kona cotton and painted the background with an acrylic wash of color. Next I painted the flowers and layered the piece with batting and lining. Then the REAL fun began as I used thread painting to add depth and texture to the design. Here’s where you can really let yourself experiment with color and various thread weights. I particularly liked the look of some variegated 30 wt. thread.
When I declared the thread painting “done” I got out my beads and went to town! Because this will be used for “show and tell” in class I wanted to be sure to incorporate several basic beading stitches. I used moss stitch, scatter stitch, seed stitch, bugle pathways, back stitch and stacked stitch.
My goal was to achieve a vibrant mix of color, texture and bling.
Call Baron’s today to sign up – This is a FUN class.
Make your own decorative pillow. You will paint your own fabric and embellish it with stitching and beads. The class is on the schedule at Baron’s Sewing Center in Woodland Hills for Tuesdays November 12th and November 19th
6 pm until 9 pm
(6 Hours total – 3 hours each day)
You can create your own design or fashion your pillow along the lines of this one that I made for this class.
I started with a piece of white PFD Kona cotton and painted the background with an acrylic wash of color. Next I painted the flowers and layered the piece with batting and lining. Then the REAL fun began as I used thread painting to add depth and texture to the design. Here’s where you can really let yourself experiment with color and various thread weights. I particularly liked the look of some variegated 30 wt. thread.
When I declared the thread painting “done” I got out my beads and went to town! Because this will be used for “show and tell” in class I wanted to be sure to incorporate several basic beading stitches. I used moss stitch, scatter stitch, seed stitch, bugle pathways, back stitch and stacked stitch.
My goal was to achieve a vibrant mix of color, texture and bling.
Call Baron’s today to sign up – This is a FUN class.


 sleeve to the top. Do that now by machine UNLESS you are going to use that top space for your hand stitching later. In which case you will attach the sleeve as the last step with each flag.
 I also added a few beads, some ribbon and buttons and hand stitched with embroidery cotton of various sizes.