Art, Art Quilt, Dharma Trading, Fabric Dyeing, Fiber Art, Hand Dyed Fabric, Indispensable Tools, Mixed Media, Pro Chemical & Dye, works in process

I Love What I Do!!!

hand dye multiOften. to get the look that I’m after for an art piece,  I have to dye my own fabric.  Now, that’s not something that I see an a hardship – although it is a lot of work:  messy work.  Especially now that I have my own studio with a SINK!!  And there was a reason I wanted to leave the concrete floors “as-is”  during the garage conversion.

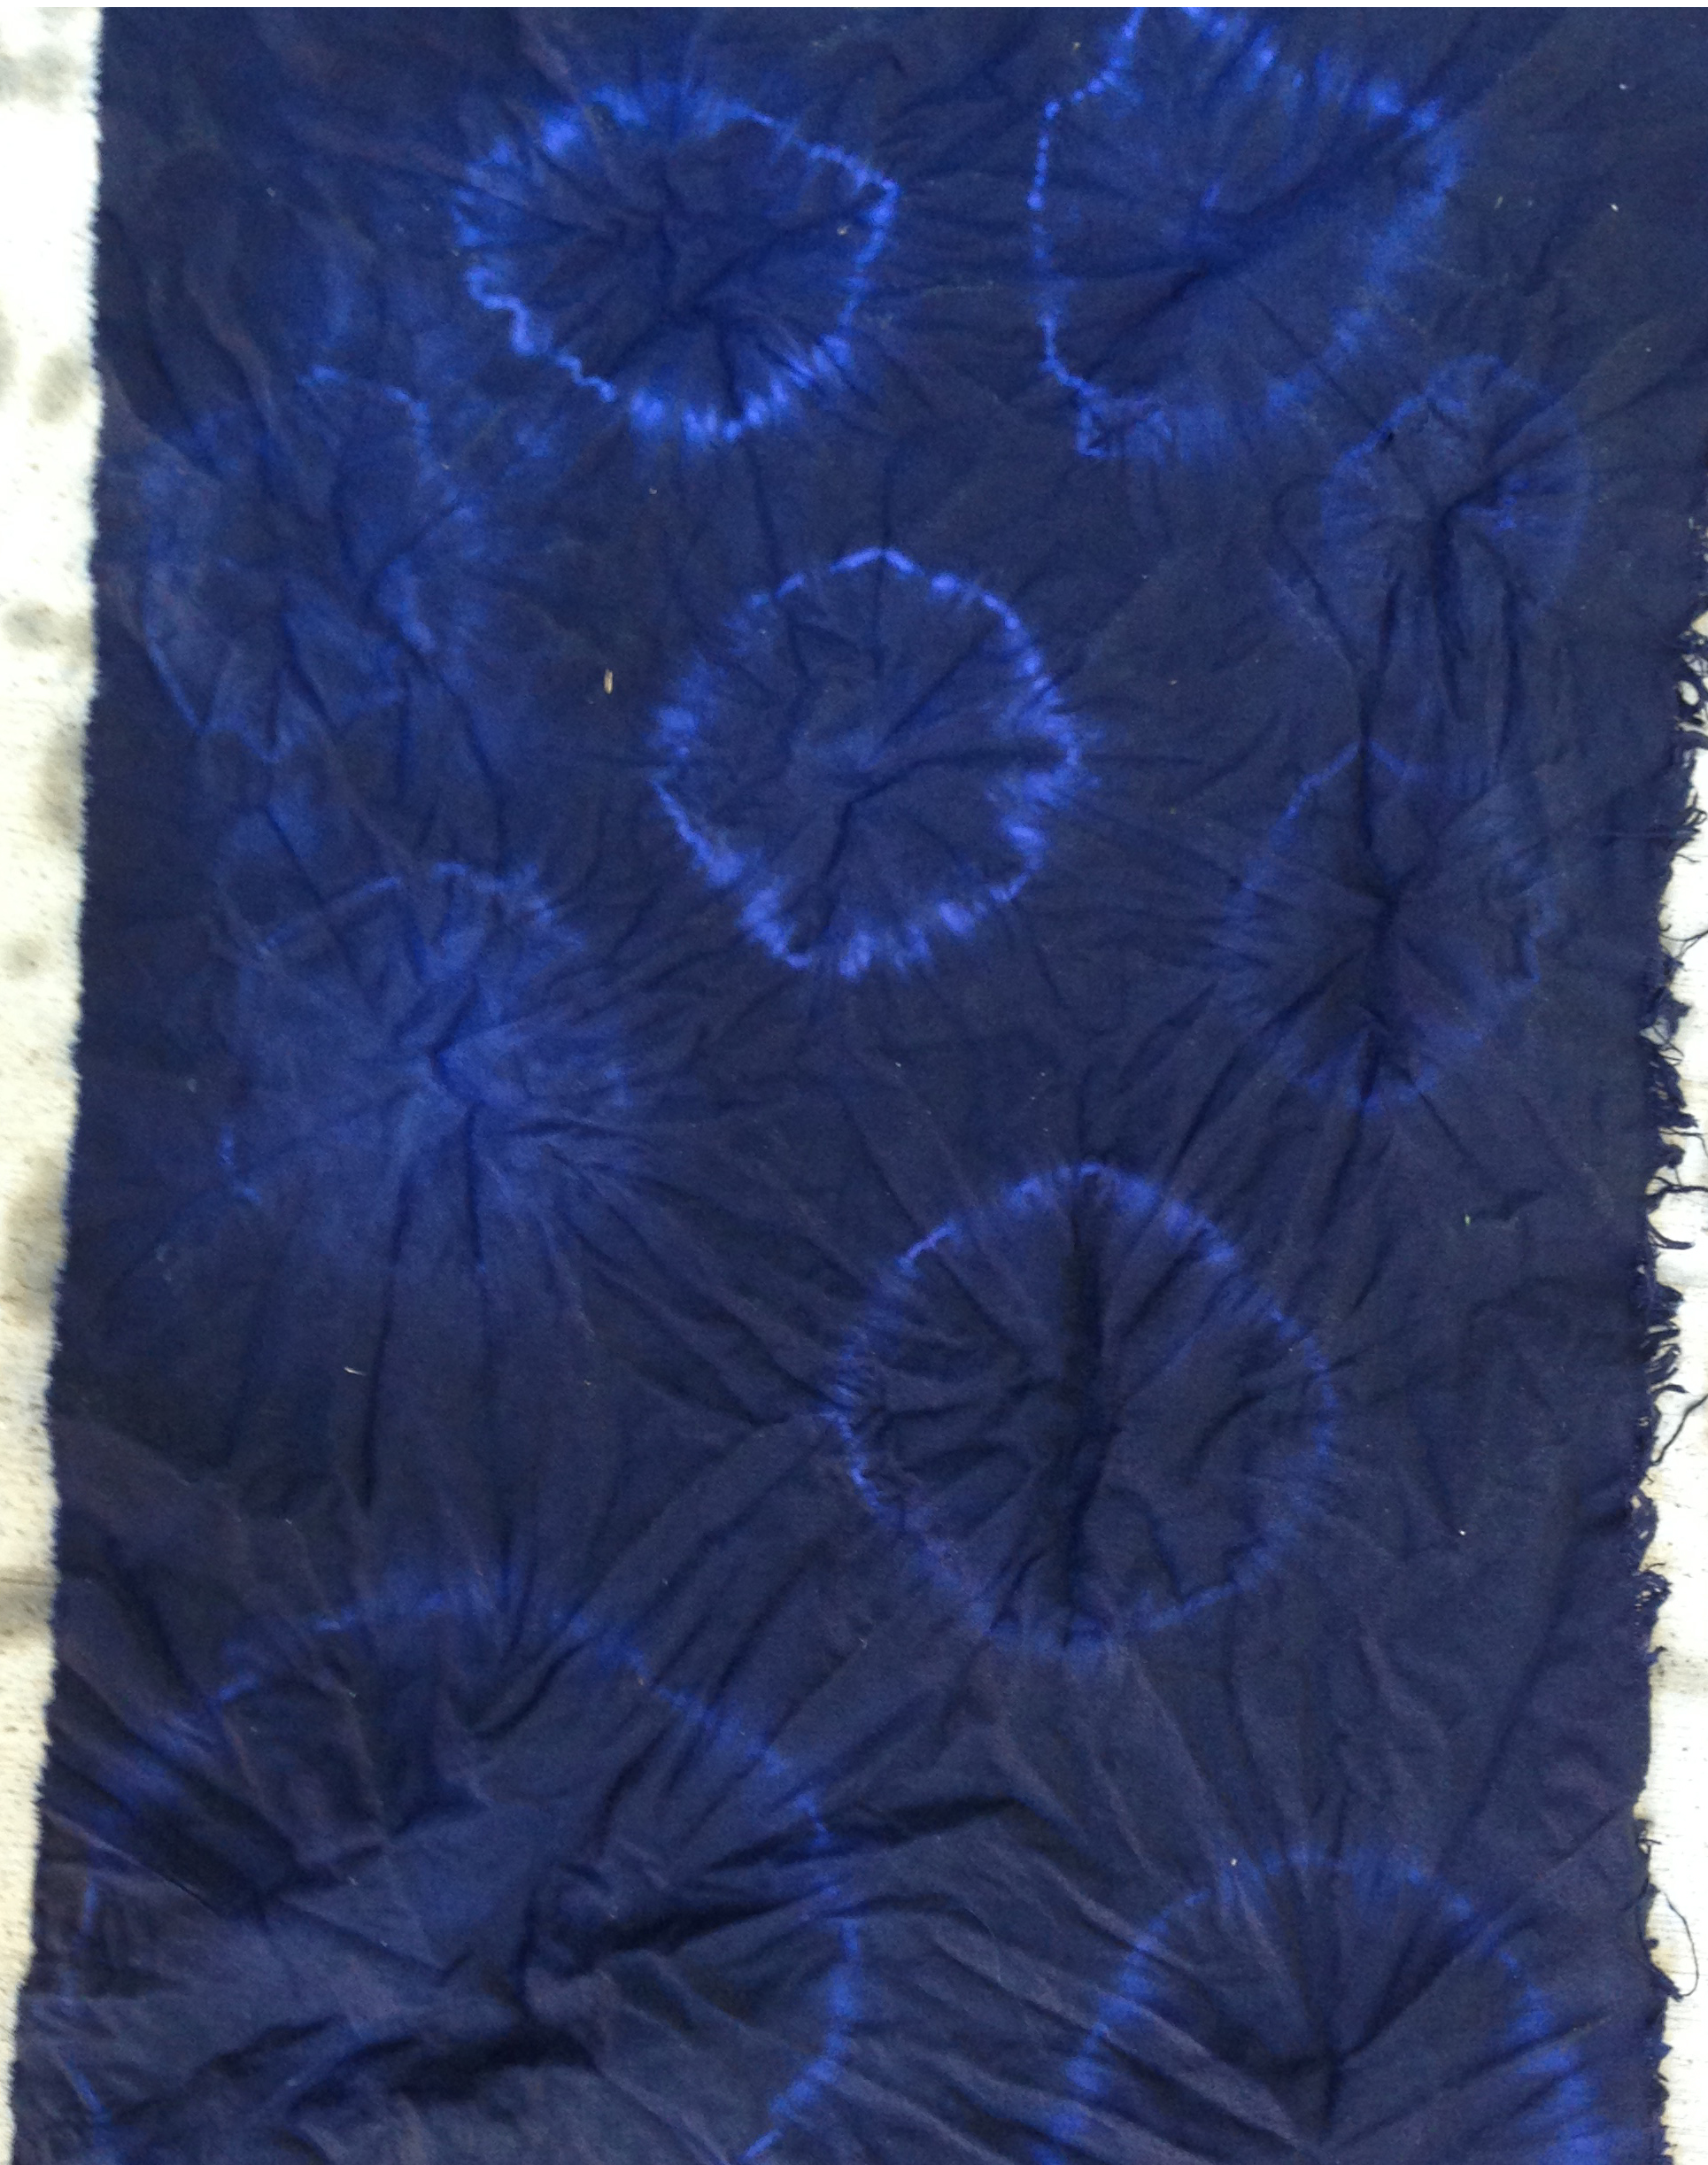
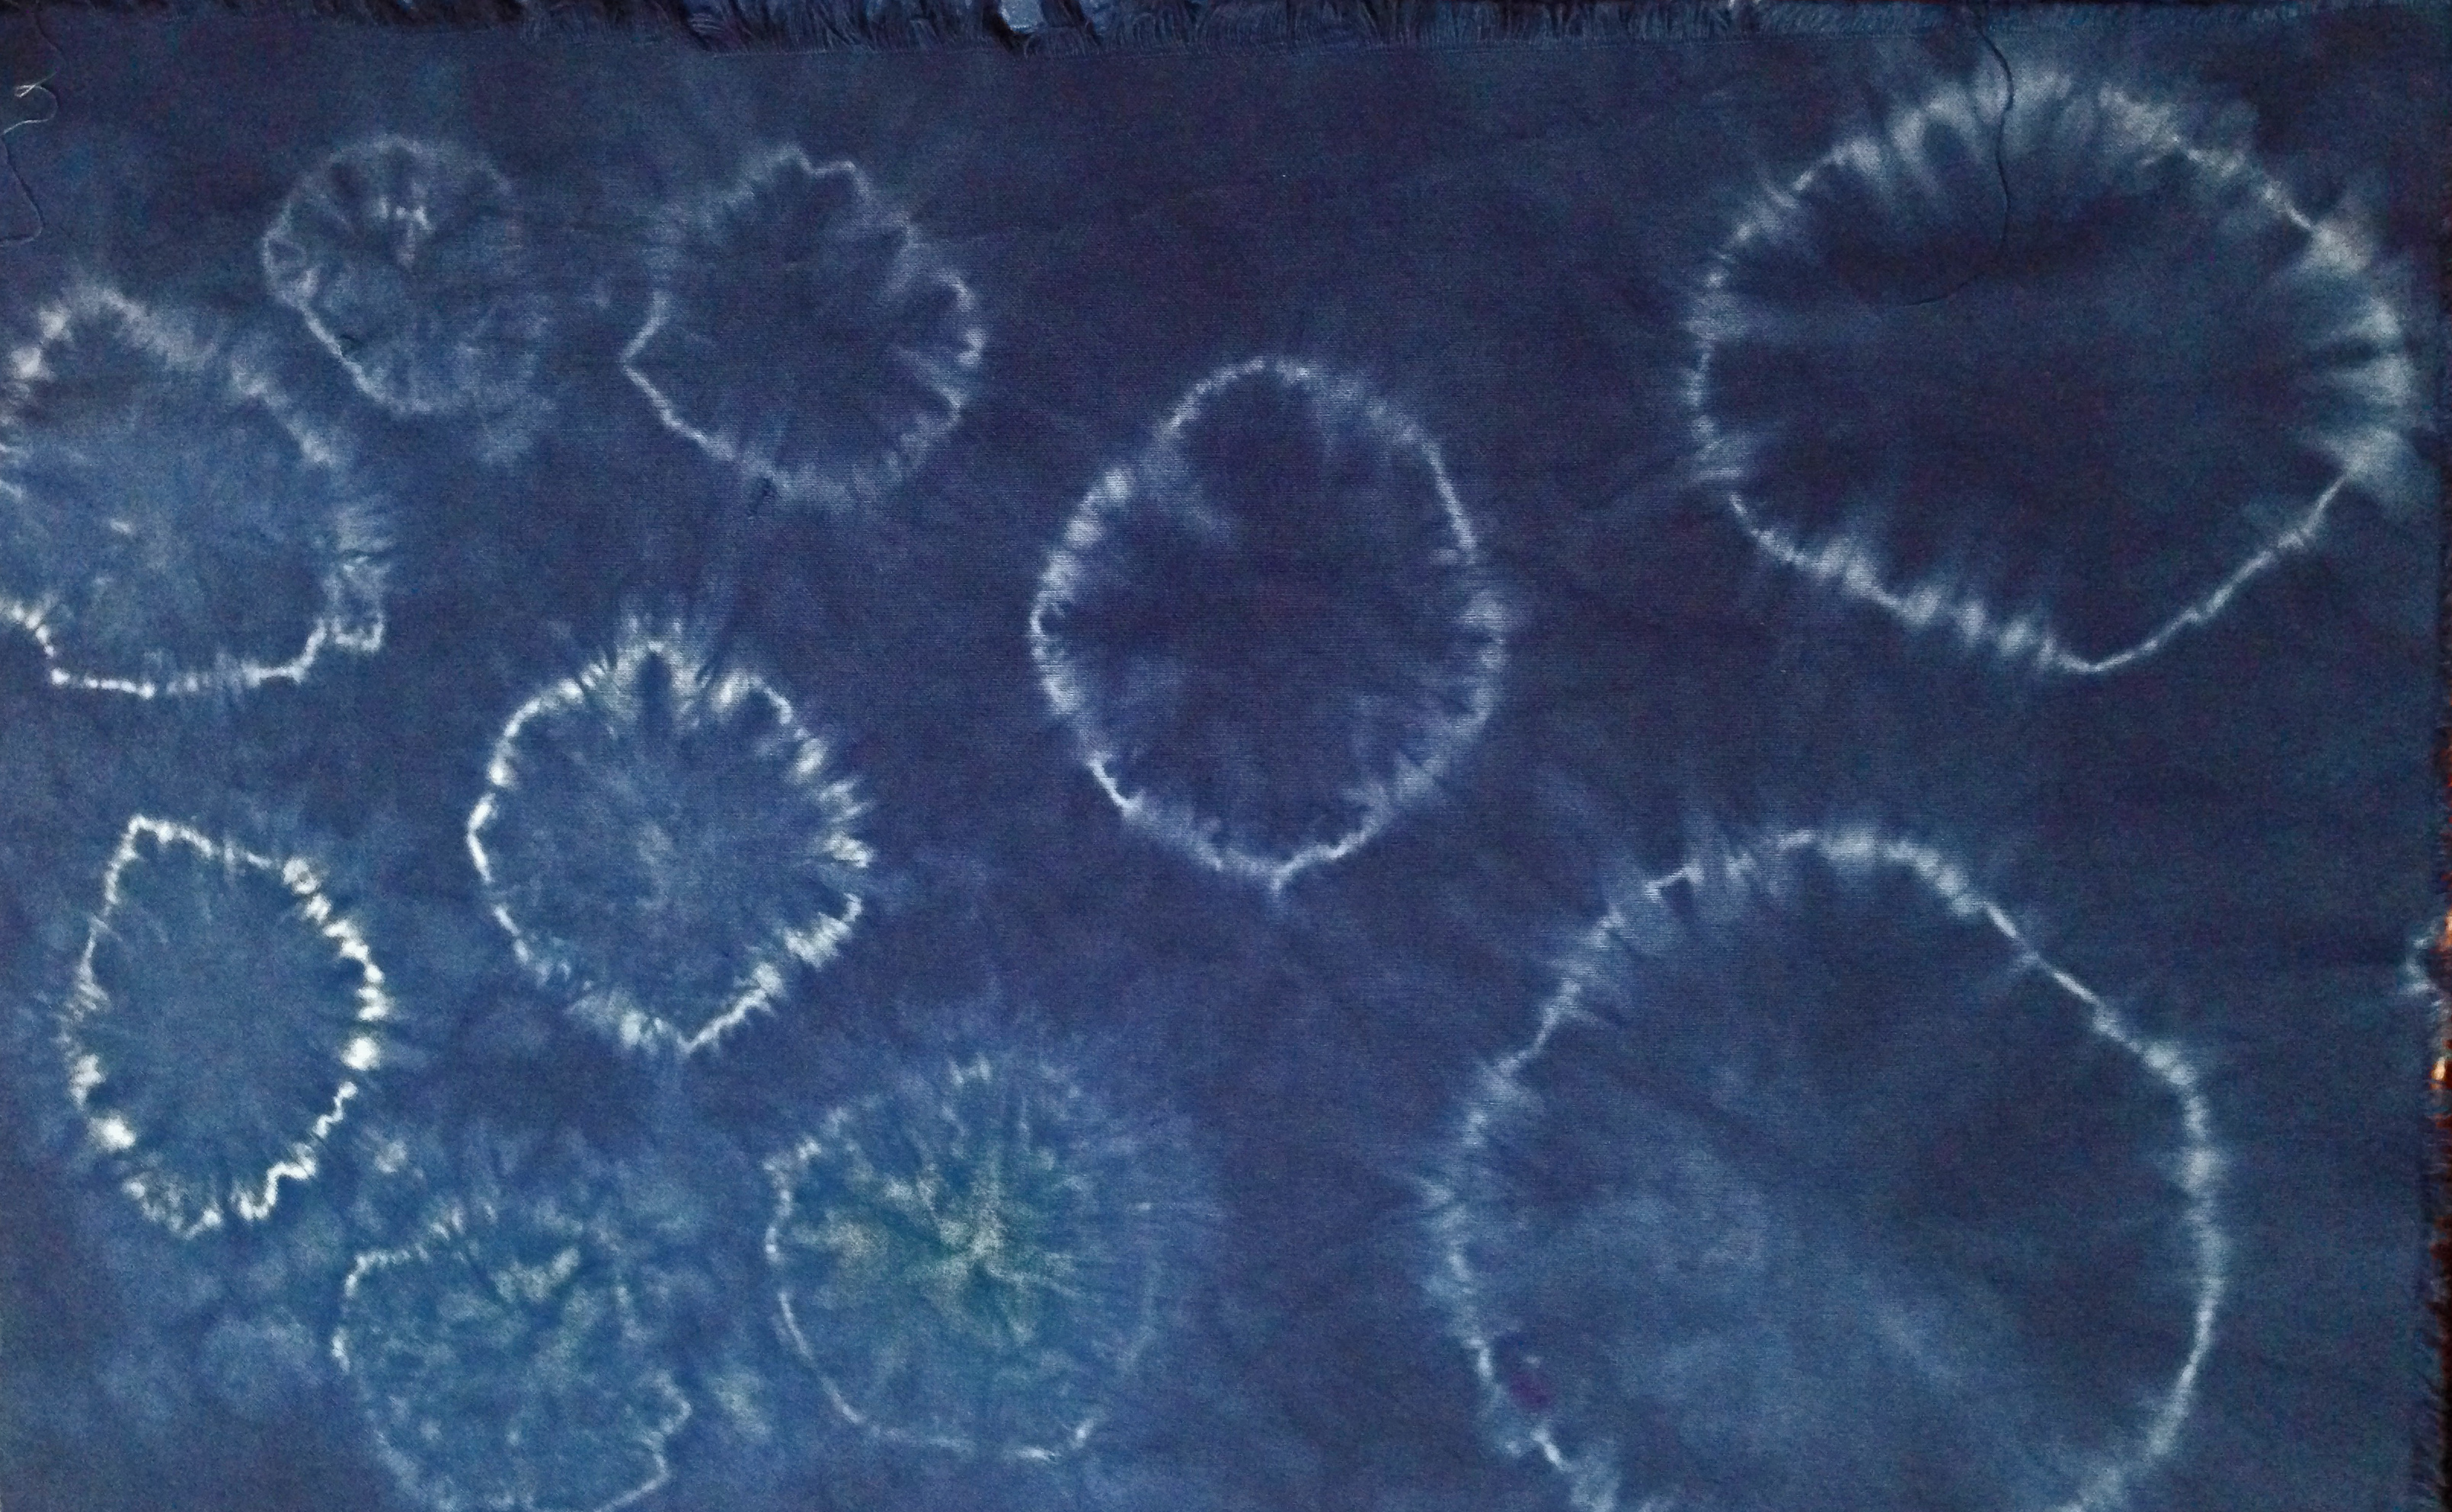
So last night I tackled the job at hand and set about to dye several lengths of fabric for a couple of upcoming quilts.  The fabrics were all immersed in their respective color baths and I left them to cure overnight.  This morning, after oohing and aahing at the lineup of color on my worktable, I took the fabric/dyebath containers to the sink one by one to do the rinsing.

So far I’ve discovered that when rinsing “Deep Space” (Dharmatrading),  I rinsed out Purple; when rinsing “Emerald Green” (from Pro Chemical & Dye),  I rinsed out Turquoise, and while I swished around the “Gunmetal Gray” (Dharmatrading),  RED water drained away!

Well, I do realize that a lot of these dyes are mixtures – but I’m always delighted when I see the elements right in front of my eyes.

I’m reminded of being 10 years old and playing with my chemistry set.  This was my favorite toy as a kid.  Mostly I loved mixing the chemicals to see what color I could get.

I LOVE what I do!

Art, Art Quilt, Fiber Art, Hand Dyed Fabric, Quilts

The Value of Value

Late last year I was VERY fortunate to notice that an online class was scheduled to begin in January that seemed perfect and timely for my resolution to improve my work in 2016.

One of my most admired art quilters is teaching it (Elizabeth Barton) and the Class Title:  A Master Class in Design for Art Quilters – speaks directly to my own need to ‘polish’ my design skills and to explore alternatives.  

We are delving into a different design concept each month and in January, Elizabeth had us take a fresh look at our use of value.   After presenting a couple of possible designs to work with I settled on the following sketch – a sketch that I based on a photograph that I took after a snowfall in Minnehaha Park, Minneapolis.

JAN GG Sketch 2

My next step was to gather fabric for possible use in this quilt.  The instruction was to use a range of at least 5  values of the same color – preferably a color that included an intense dark value such as black or brown or even navy blue.   I selected black, various grays and white.  I also wanted there to be added interest with texture.  Linen helped with that as did some thread work added later.

P1000078

Some of the fabrics that I made available for this quilt are shown above.  I used dark to light gray cotton threads for stitching plus one variegated thread to thread paint a tree trunk and add texture.  I included several of my hand dyed fabrics to the mix.

I ‘cleaned up’ my sketch, enlarged it to actual size, printed it out and created my templates.

In choosing my values for color placement I had to pay attention to how the color value would affect perception of depth and distance.  I also wanted to maintain the lonely, slightly haunted mood of the original photo.   AND to keep the overall image simple and uncomplicated.

JAN GG FIN

My teacher’s critique immediately pointed out my wobbly bench and I plan to correct that. I also plan to add more fine branches to the background and am going to include some hand stitched branches to the mix.

I think this has turned out to be a great example of how color both interprets and projects mood so vividly!   I am tempted to do this same scene, at some point, outfitted in its mid summer finery.

Art, Fiber Art, Hand Dyed Fabric

Adventures in Shibori Dyeing

I’ve had this on my “To Do” list for years: literally Finally, after some reading, some dyeing experience and creating some suitable space for the project, I accumulated a few supplies and got started.

  • 100% cotton fabric, prepared for dyeing
  • resist material such as rubber bands, twine, flat templates in simple shapes
  • dye bath using Procion MX Indigo color
  • additives – soda ash, salt –
  • Synthrapol 
  • mask to cover nose and mouth while handling undissolved dye powder
  • elbow length rubber gloves
  • plastic sheeting to protect working surface and floor as needed

The term Shibori refers to a technique used to dye fabric.   In Japan, the earliest evidence of its use dates all the way back to the 8th Century!
Shibori is a type of resist technique in which the fabric itself is manipulated by sewing or wrapping or folding. When the dye is applied it is unable to reach the areas that have been obstructed by the folds etc. Thus, some very appealing patterns can be generated.
I enjoyed this process so much and was able to try out a variety. I folded, fan-folded, flag-folded, bound with rubber bands or twine. I even applied plexiglass shapes to the ends of my folded cloth on several occasions and bound it all together. This variety of Shibori is called Itajime.

Some bundles of Itajime ready for the dye pot:

Itajimi Round SamplesF1Itajimi Rectangle Samples

It can get a little messy – took me until the next day to get all the blue off my fingers. And yes I did wear rubber gloves. Traditional Shibori uses an Indigo dye that is complicated to use. I achieved my results with a Procion MX dye – the color indigo.

All the little bundles sitting in the dye bath
All the Little Bundles of Fabric Sitting in the Dye Bath

What I loved most? After the fabric bundles had “cured” for many hours, rinsing them off and undoing them for the great reveal! A lot of Shibori is predictable according to the specific technique. But there’s always that serendipity that the individual introduces so that each piece is unique.

Some of my results showing the bundle after it has ‘cured’ in the dye bath; then the fabric that resulted following unfolding and rinsing with tap water.

C2FanFold Rolled Bound with Rubber Bands
Fan Folded, Rolled, Secured with Rubber Bands
IMG_4015
Fan Folded, Rolled, Secured with Rubber Bands
E2Flag Fold Small Circle Itajime
Itajime, Flag Folded with round templates tied on with twine
E3Flag Fold Circle
Itajime, Flag Folded with round templates tied on with twine
Random pieces of the fabric are tied off with twine
A3Random Sections Tied Off
Random pieces of the fabric are tied off with twine
F2Fan Fold Itajime RectangleMG_4018
Itajime, Fan Folded Fabric, Rectangular Templates attached With Twine
F3Rectangle Itajimi Fan Fold
Itajime, Fan Folded Fabric, Rectangular Templates attached With Twine

IMG_4046

The colors lightened slightly after washing, drying and pressing.  In some cases this added to the definition.

flag folded

tied off random

I also threw in a larger piece of fabric “as is”  and now have some mottled Indigo fabric in my stash.

whole cloth dyed

All in all, a VERY satisfying afternoon of work!

I welcome your comments and questions!
Art Quilt, Hand Dyed Fabric

The Magic of Hand Dyeing Fabric

I realize that the only way that I’m going to dig into my hand dyes and actually use them will be to create some more.  Now that the weather has eased up some I can move outdoors and set up there.  It can be done in the kitchen but gets a little (!) messy

So I went through my hand dye stash to get inspiration.

BUT WHAT ABOUT MY PRECIOUS GREENS????

😦  not much left after digging into these for a project.

This is something a little different that I did with green – It’s a sun print – I gathered some leaves for the sun images.

and finally a couple of “serendipity” fabrics that I created with leftover dyes.

So what do you think of Hand Dyed Fabric?