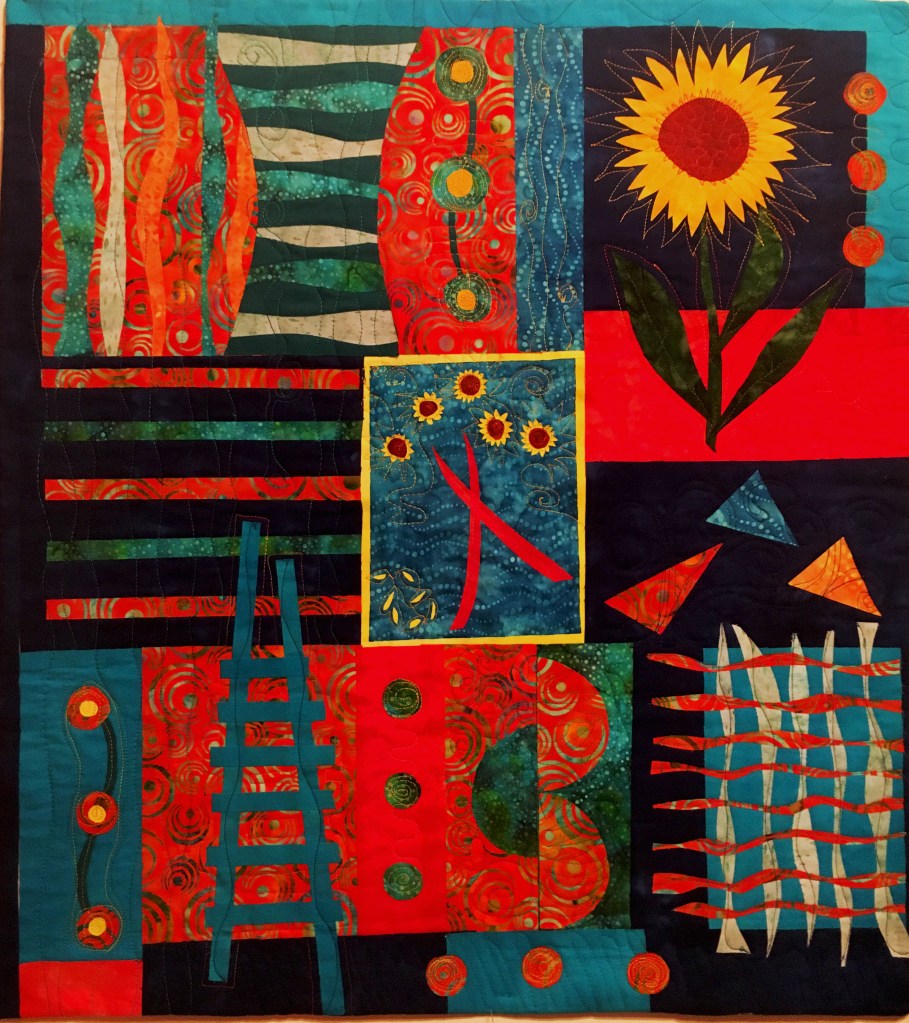
The latest art challenge from Quilts on the Wall was a lot of fun for me to do. The theme was “Soar into Spring’.
We were shown a couple of paintings referencing Spring for inspiration; one being an Henri Matisse collage, Madame Pompadour. That in turn prompted me to tune in to a London School of Drawing zoom workshop entitled Painting with Scissors.
During the workshop we had the experience of free form cutting shapes on painted paper – the way that Matisse did when he made his painted collages later in his painting career. I went with the freeform concept and was further inspired by Matisse’s color palette as I designed and created my challenge piece: Le Printemps de Matisse. 16″ by 12″ Hand dyed cotton.
Le Printemps de Matisse by Guila Greer (all rights reserved)
I came across this video on youtube this morning. It is a SAQA video that I made to explain the steps in making my SAQA Auction donation quilt a few years ago.
And this is the resulting art work – Barn in Autumn.
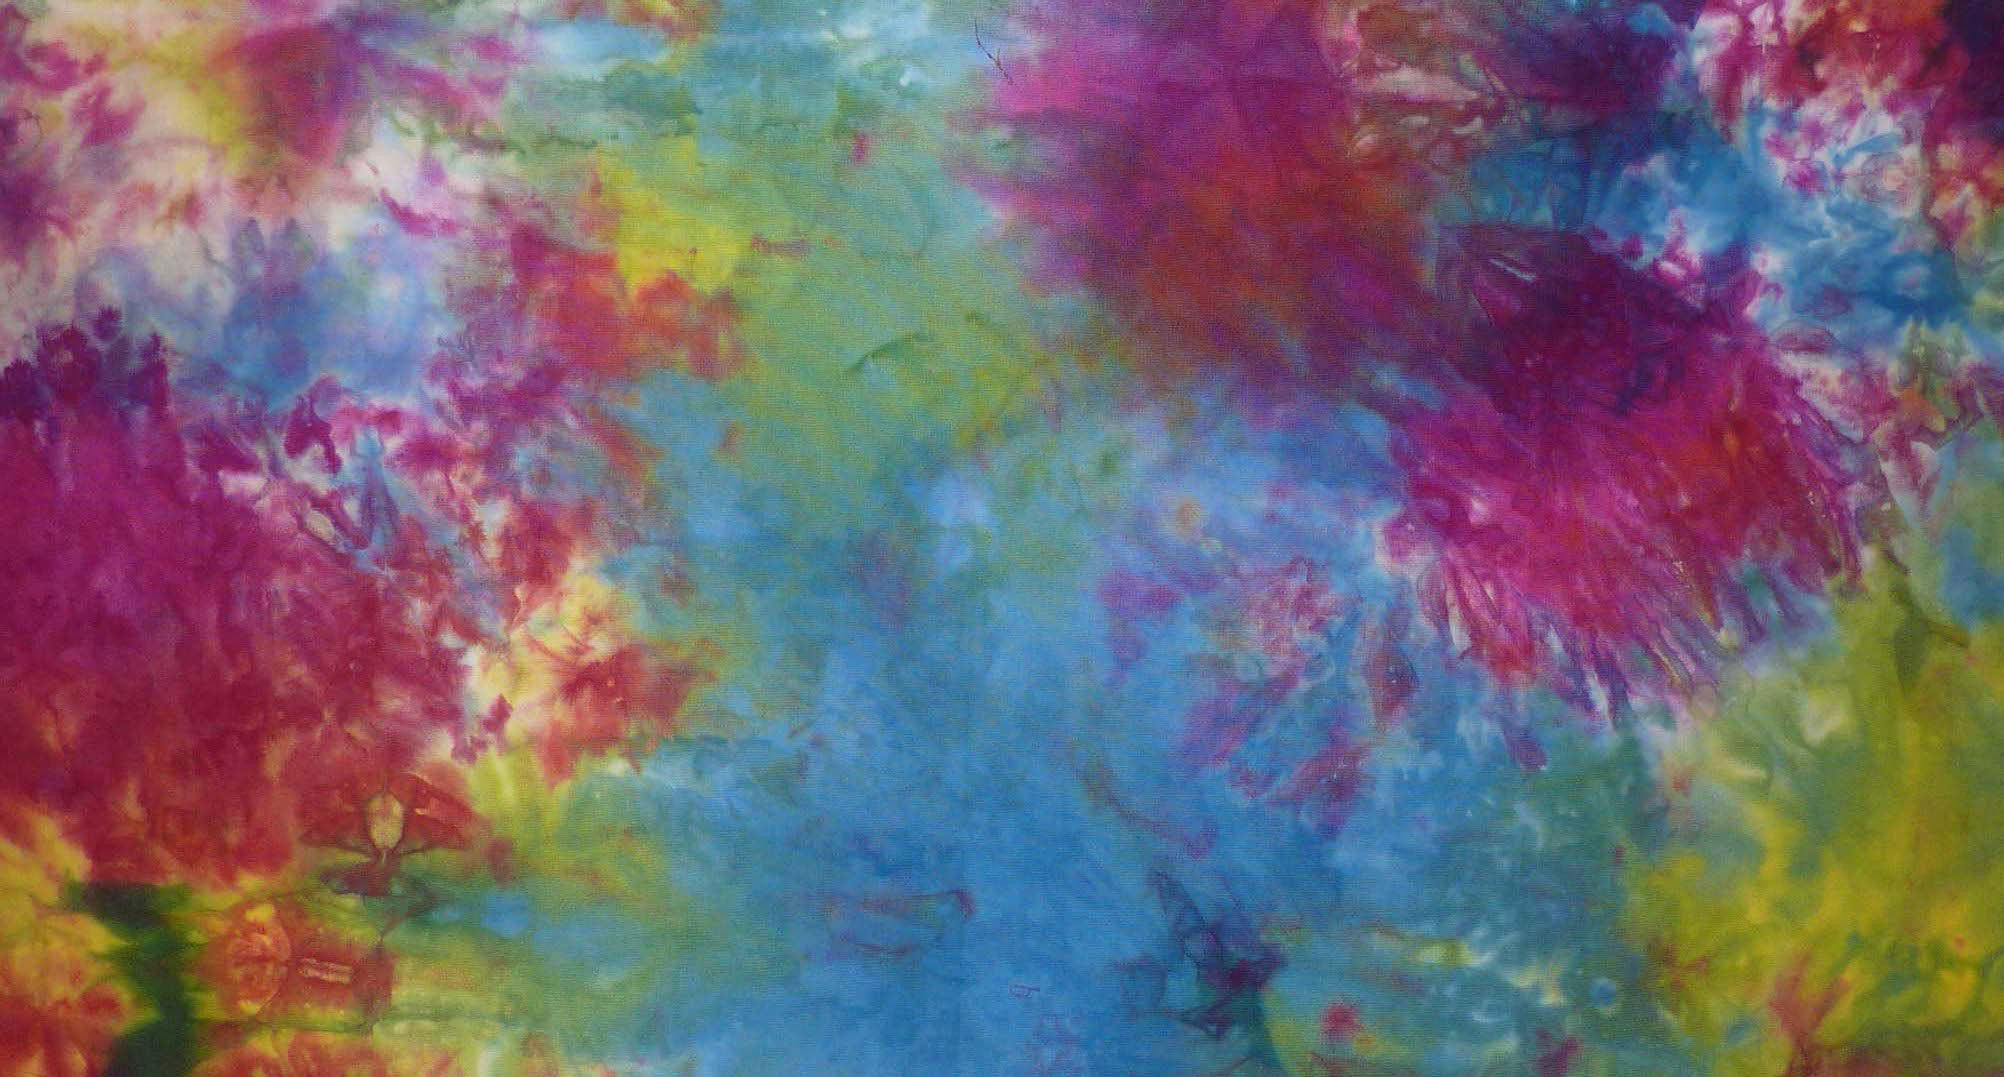
Often. to get the look that I’m after for an art piece, I have to dye my own fabric. Now, that’s not something that I see an a hardship – although it is a lot of work: messy work. Especially now that I have my own studio with a SINK!! And there was a reason I wanted to leave the concrete floors “as-is” during the garage conversion.
So last night I tackled the job at hand and set about to dye several lengths of fabric for a couple of upcoming quilts. The fabrics were all immersed in their respective color baths and I left them to cure overnight. This morning, after oohing and aahing at the lineup of color on my worktable, I took the fabric/dyebath containers to the sink one by one to do the rinsing.
So far I’ve discovered that when rinsing “Deep Space” (Dharmatrading), I rinsed out Purple; when rinsing “Emerald Green” (from Pro Chemical & Dye), I rinsed out Turquoise, and while I swished around the “Gunmetal Gray” (Dharmatrading), RED water drained away!
Well, I do realize that a lot of these dyes are mixtures – but I’m always delighted when I see the elements right in front of my eyes.
I’m reminded of being 10 years old and playing with my chemistry set. This was my favorite toy as a kid. Mostly I loved mixing the chemicals to see what color I could get.
I designed this piece very loosely around a photo I took a couple of years ago up at Tomales Bay. One of the reasons that I love that area so much is that it – and the nearby marshes – are home to so many shore birds. And that is the basis for the title.
This was such an interesting piece to construct. With the theme “water” guiding my choices and my personal desire to create depth of color and texture, I searched my stash for possible fabric to include. This included an amazing variety of blues – occurring in silk, cotton, blends, rayon, ribbons.
A few of my fabric pieces were pre-fused with Misty-fuse; the rest I just pinned on until the stitching.
This piece will be shown in August as part of the Surface Art Association Cloth Stories Exhibit.
The exhibition will be at the Betsy Lueke Creative Arts Center Gallery in Burbank, California from August 3 – 23, 2018.
Opening reception is on Friday, August 3, from 7:00 pm – 9:00 pm
More info to come – follow my Facebook page Creations By Honey
It’s the biggest fundraiser of the year and it begins September 15, 2017. This year, my donation is a quilt that you’ve seen here before – entitled After the Rain.
Studio Art Quilt Associates, Inc. (SAQA) is a nonprofit organization whose mission is to promote the art quilt through education, exhibitions, professional development, documentation, and publications.
Note: For the past year I have been part of the 2016 Journal Project. In alternate months we have been given a theme and made a 12 inch by 12 inch quilt that was inspired by the theme.
Today was “REVEAL” day for the first quilt of 2017. This month’s theme is Fantasy. Here is my take….
Almost every year for the past 5 decades we have driven up the Pacific Coast Highway en route to a favorite vacation spot in Marin County.
What we quickly realized is that the drive is a vacation in itself; an opportunity to unwind, kick back and to enjoy all the natural beauty that this state is famous for.
Rolling green hills to the east as we drive up the coast…and the boisterous Pacific in all its magnificence to the west.
In recent years, that beauty has been hampered by lack of rain. This drought, of course, has had serious consequences for the state – not the least is the agricultural fallout. Anyone and everyone who loves to garden or has a lawn to care for has been affected severely with restrictions and penalties.
For that matter, anyone who loves to shower or to brush their teeth has had disruptions of their morning routines. (not to worry – we still shower – it’s just shorter. And the most disciplined take pains to recycle the shower water).
So here is my fantasy of the California hills, after the rains come back and wash away the memories of drought.
I post this every couple of years because 1) it is such a special memory and 2) I am VERY sure that others share similar stories from their childhood.
Labor Day – My Favorite Day of the Year
I’d have a tough time getting to sleep the night before but when morning came I was wide awake and giddy with anticipation. Labour Day !!! It was always a big day in Windsor, Ontario where I grew up – what with Windsor being the automotive capitol of Canada. The unions were strong and what they did always had rippling repercussions throughout the city.
On this day there was always a huge parade down Ouellette Avenue to start things off in the morning. Brass bands, one after the other, and marchers – Labour’s finest – proclaiming proudly their local’s credentials. Even my Dad took part on occasion – being an active member of the American Federation of Musicians local 566 – established in 1911.
A Windsor Parade Staple
So we’d all get up, get dressed – forget about breakfast for me – I had far too many butterflies to swallow a thing! Then we’d walk a few blocks to the big intersection of Giles and Ouellette – where the Cenotaph proudly stood, find a prime viewing spot and eagerly wait for flag bearers to appear. If we kids needed a better view we took turns on our Dad’s shoulders. At 6 foot 5 he had a perfect vantage point.
The parade was fun but that was not the main attraction for me on Labour day…the best was yet to come. Fireman’s Field Day and Carnival!
Immediately after the sounds of the last band faded we quickly headed home, got in our Oldsmobile and drove to Jackson Park. The Carnival – oh I must have sawdust in my veins – how I loved that Carnival. From Labour Day and for the week after – the carnival held me in its thrall. The crowds milling about – who would be there? Chances were we’d run into a bunch of people that we knew. The sounds of the rides, the shrill calls of the guys who wanted to sell you 3 tosses at the bowling pins, the sing song of the vendor with his awesome display of pink cotton candy – all beckoned.
The rides. It was a love/hate relationship – especially with the Ferris Wheel. It held a fascination for me and I loved being at the top and seeing all the way across town. But, you see, in those days I also had a bit of a fear of heights so there was always an edge of danger lurking.
The Carnival always came through and delivered on its promise of fun and excitement. Later I found out that the reason we called it Firemen’s Field Day is that it was sponsored by Windsor Firefighters.
Okay, so far we have a parade, a carnival, wonderful family day – but that’s not all that made this day so special my friends. This was the official last day of summer – next day – school! Now, bear with me. I know that for a lot of you that wasn’t exactly what you wanted to be looking forward to the next day but I was one of the kids who loved school. New pencils sharpened and ready – just could hardly wait to start the new school year.
So Happy Labour Day (or Labor Day) my dear friends and readers. I hope you have even a fraction of the fun that I remember on Labour Day and make some of your own memories. And whether you start school tomorrow or return to work and embark on some entirely new adventure I hope it will energize and delight you.
I sincerely hope you have enjoyed reading. Please share YOUR special memories as well. Parades, first day of school, local carnivals – whatever shines brightly in your memory.
Late last year I was VERY fortunate to notice that an online class was scheduled to begin in January that seemed perfect and timely for my resolution to improve my work in 2016.
One of my most admired art quilters is teaching it (Elizabeth Barton) and the Class Title: A Master Class in Design for Art Quilters – speaks directly to my own need to ‘polish’ my design skills and to explore alternatives.
We are delving into a different design concept each month and in January, Elizabeth had us take a fresh look at our use of value. After presenting a couple of possible designs to work with I settled on the following sketch – a sketch that I based on a photograph that I took after a snowfall in Minnehaha Park, Minneapolis.
My next step was to gather fabric for possible use in this quilt. The instruction was to use a range of at least 5 values of the same color – preferably a color that included an intense dark value such as black or brown or even navy blue. I selected black, various grays and white. I also wanted there to be added interest with texture. Linen helped with that as did some thread work added later.
Some of the fabrics that I made available for this quilt are shown above. I used dark to light gray cotton threads for stitching plus one variegated thread to thread paint a tree trunk and add texture. I included several of my hand dyed fabrics to the mix.
I ‘cleaned up’ my sketch, enlarged it to actual size, printed it out and created my templates.
In choosing my values for color placement I had to pay attention to how the color value would affect perception of depth and distance. I also wanted to maintain the lonely, slightly haunted mood of the original photo. AND to keep the overall image simple and uncomplicated.
My teacher’s critique immediately pointed out my wobbly bench and I plan to correct that. I also plan to add more fine branches to the background and am going to include some hand stitched branches to the mix.
I think this has turned out to be a great example of how color both interprets and projects mood so vividly! I am tempted to do this same scene, at some point, outfitted in its mid summer finery.
I’ve had this on my “To Do” list for years: literally Finally, after some reading, some dyeing experience and creating some suitable space for the project, I accumulated a few supplies and got started.
100% cotton fabric, prepared for dyeing
resist material such as rubber bands, twine, flat templates in simple shapes
dye bath using Procion MX Indigo color
additives – soda ash, salt –
Synthrapol
mask to cover nose and mouth while handling undissolved dye powder
elbow length rubber gloves
plastic sheeting to protect working surface and floor as needed
The term Shibori refers to a technique used to dye fabric. In Japan, the earliest evidence of its use dates all the way back to the 8th Century! Shibori is a type of resist technique in which the fabric itself is manipulated by sewing or wrapping or folding. When the dye is applied it is unable to reach the areas that have been obstructed by the folds etc. Thus, some very appealing patterns can be generated. I enjoyed this process so much and was able to try out a variety. I folded, fan-folded, flag-folded, bound with rubber bands or twine. I even applied plexiglass shapes to the ends of my folded cloth on several occasions and bound it all together. This variety of Shibori is called Itajime.
Some bundles of Itajime ready for the dye pot:
It can get a little messy – took me until the next day to get all the blue off my fingers. And yes I did wear rubber gloves. Traditional Shibori uses an Indigo dye that is complicated to use. I achieved my results with a Procion MX dye – the color indigo.
All the Little Bundles of Fabric Sitting in the Dye Bath
What I loved most? After the fabric bundles had “cured” for many hours, rinsing them off and undoing them for the great reveal! A lot of Shibori is predictable according to the specific technique. But there’s always that serendipity that the individual introduces so that each piece is unique.
Some of my results showing the bundle after it has ‘cured’ in the dye bath; then the fabric that resulted following unfolding and rinsing with tap water.
Fan Folded, Rolled, Secured with Rubber Bands
Itajime, Flag Folded with round templates tied on with twine
Random pieces of the fabric are tied off with twine
Itajime, Fan Folded Fabric, Rectangular Templates attached With Twine
The colors lightened slightly after washing, drying and pressing. In some cases this added to the definition.
I also threw in a larger piece of fabric “as is” and now have some mottled Indigo fabric in my stash.