I’ve been using Ink Stamp Pads forever. Remember as kids when you’d get hold of an old stamp and stamp pad and brand everything in sight including the back of your hands?
Many years later I tackled scrap-booking then journaling – again making use of those tempting rubber stamps and lovely inky pads. In those days it was pretty straightforward. If the color called my name I used the pad and didn’t care if it was Dye Ink, Pigment Ink, Solvent, Archival, or whatever.
Now with art quilting there’s more to the selection and more risk in selecting the wrong type of pad. It’s got to transfer cleanly to a very porous surface. And of course you don’t want fading.
You may also be concerned about the image staying put AND crisp and clear after washing or if you’re planning to use wet media over the image. I have NOT included the effects of washing on these samples and will do something on that another time.
Oh I got so confused!!! Everywhere you look – known and trusted online sites/blogs, manufacturers’ sites or craft shop advice sites you get someone else’s opinion. And often these opinions are at odds with one another.
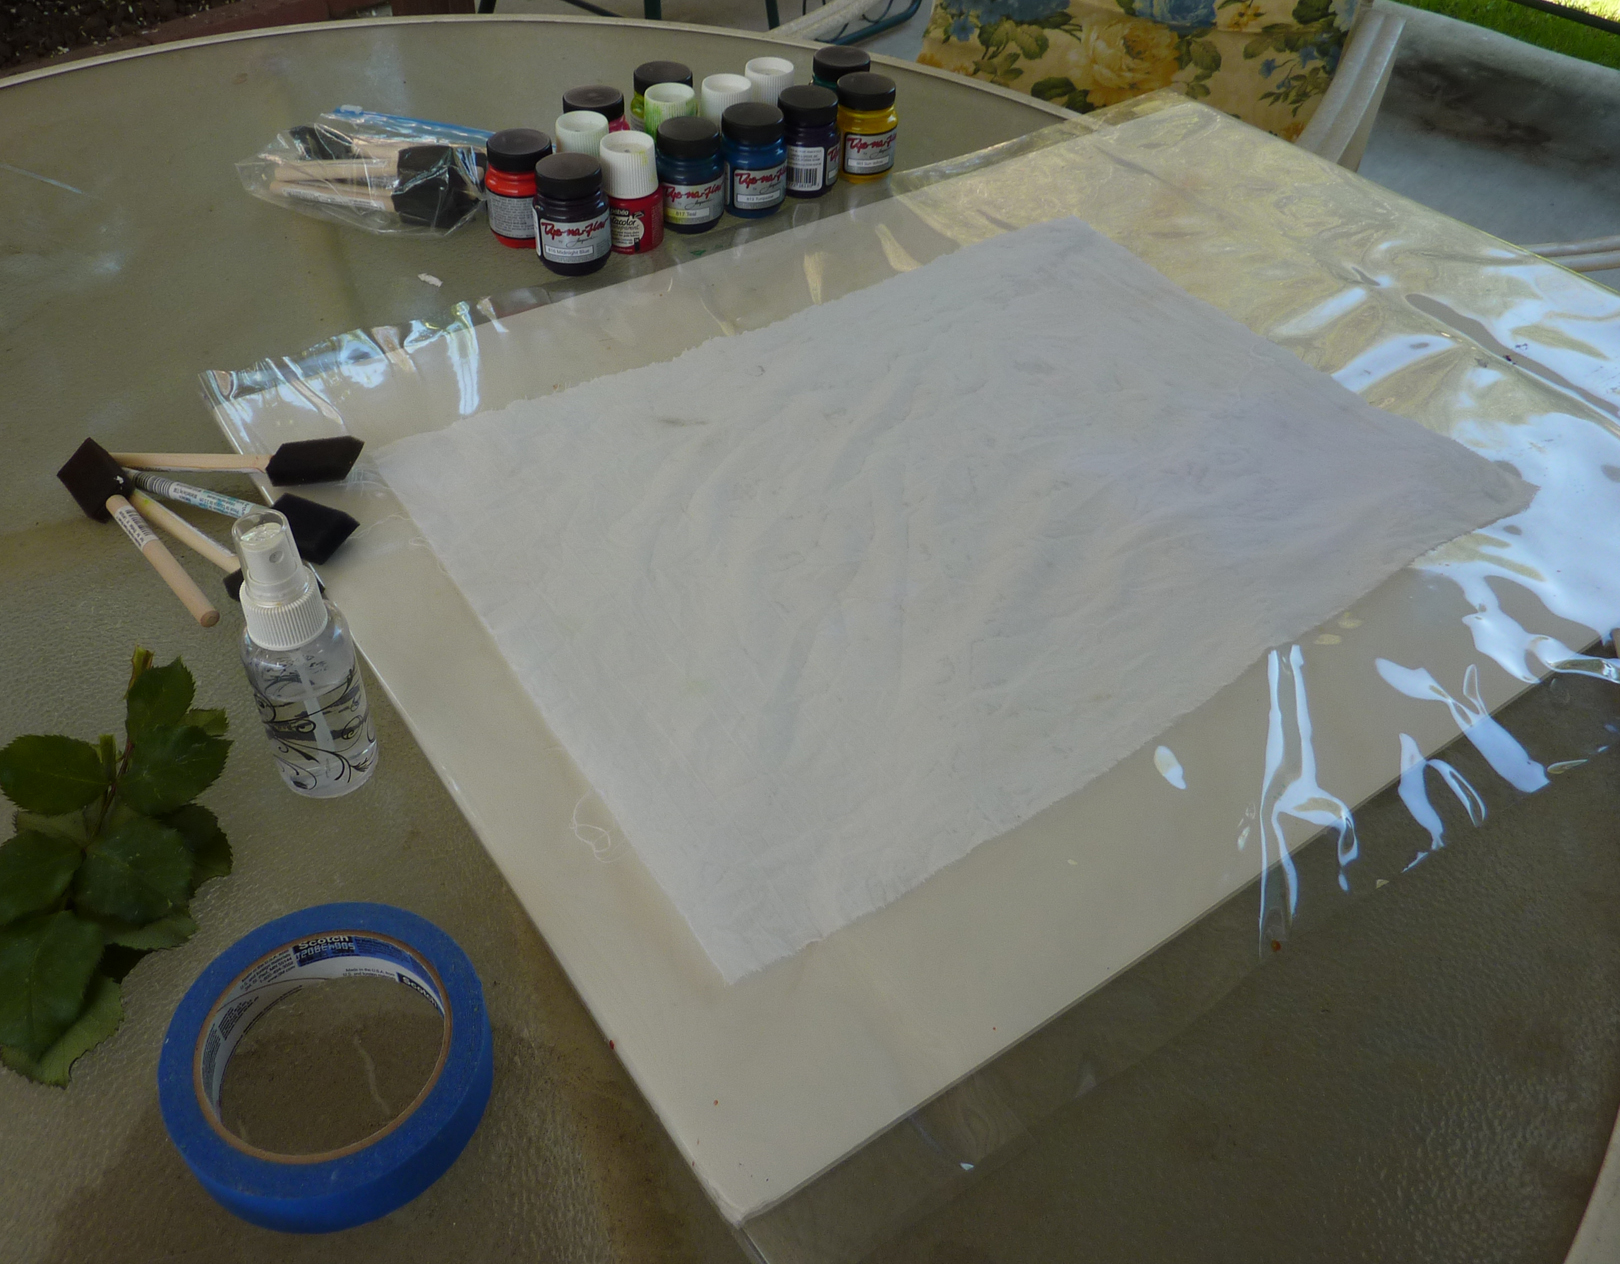
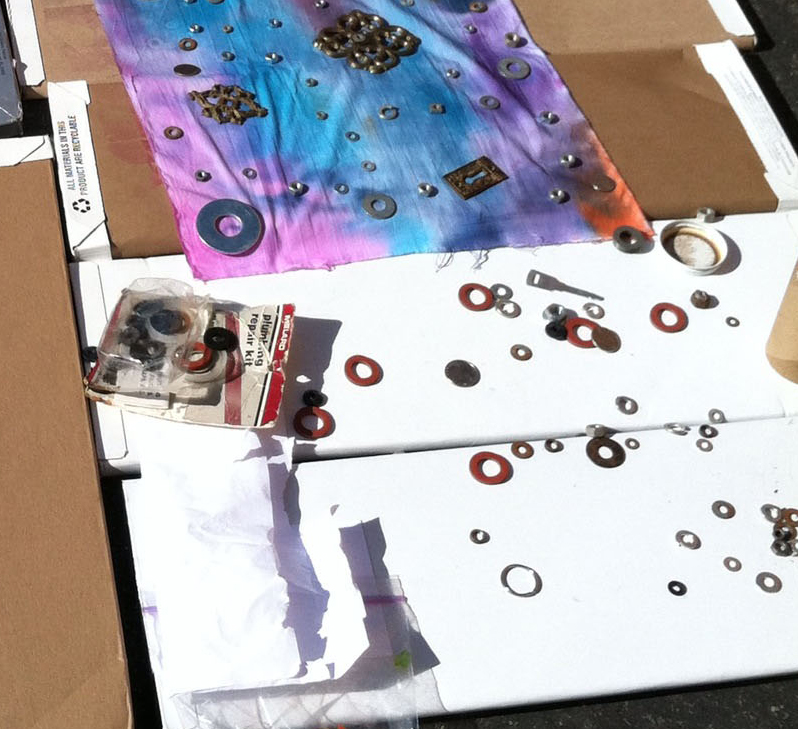
So I decided to take matters into my own hands and go back into my mad scientist mode. I lined up ALL the different types of ink stamp pads that I had on hand, chose a rubber stamp that would print well (not too much detail and deeply carved stamp ridges) on fabric and went to work.
1. I washed, dried and pressed the fabric first: some bleached muslin. (you’ll get a slightly different color cast using the unbleached.)
2. One by one I inked up the stamps, stamped the fabric, and recorded what was used.
3. In a couple of instances I also documented the Surface that I stamped on to see if that made a significant difference. For instance whether it was a hard surface or a cushiony one – including batting.
4. After making sure all impressions were completely dry I pressed with a hot iron.
NOTE: Because I’m going to be using these in Art Quilts I did not wash the fabric again after stamping it. So this is NOT a test for washability, simply a comparison of how well the inks did visually on the fabric. I was looking for vibrancy, clarity and crisp edges.
Here are the photos of my first go-round.


In my opinion the best performers were the dye inks from the Recollections and Memento (Tsukineko) lines. I stamped with Recollections with and without batting under the muslin and definitely got a crisper edge without the batting.
I also was pleased with the Dye Ink in the Distress Ink Line from Ranger. (That’s the one in the group to the LEFT in the upper left hand corner.)
The solvent ink from Staz-on and Archival Dye Ink from Ranger were both excellent. The downside with both is that they are limited in color choice and are quite pricey.
The pigment ink from Colorbox left a smudgy outline. I tried it on a lightly padded surface, over batting and on a hard surface. The hard surface was best but still not as distinct as the Dye Inks.
The pigment ink from Versacraft was acceptable but not as crisp as Memento.
*A note about Versacraft: it is widely accepted as a good choice for fabric stamping as it has proven to stay put after washing. So if that’s your need it’s definitely a consideration.
Further test:
I further tested the Dye Ink from Recollections with a larger stamp to see if I could repeat the good outcome. I am partial to this particular pad because of availability and lower cost. However I haven’t seen it in a wide array of colors.

I retested the Memento as well. Both were excellent. Memento has a broad choice of colors available. It’s a little pricey in the larger stamp pad but is available in a smaller more economical Dew Drop size.

And here is the Dye Ink from Ranger (Distress Ink) This comes in a wonderful array of colors.
")
Next I will be testing my collection of brush markers with stamps to see how they perform on fabric so stay tuned.
Please pretty please leave me a comment – especially if you have had experience with any of these and would like to add your observations. That would be grand and thank you!!


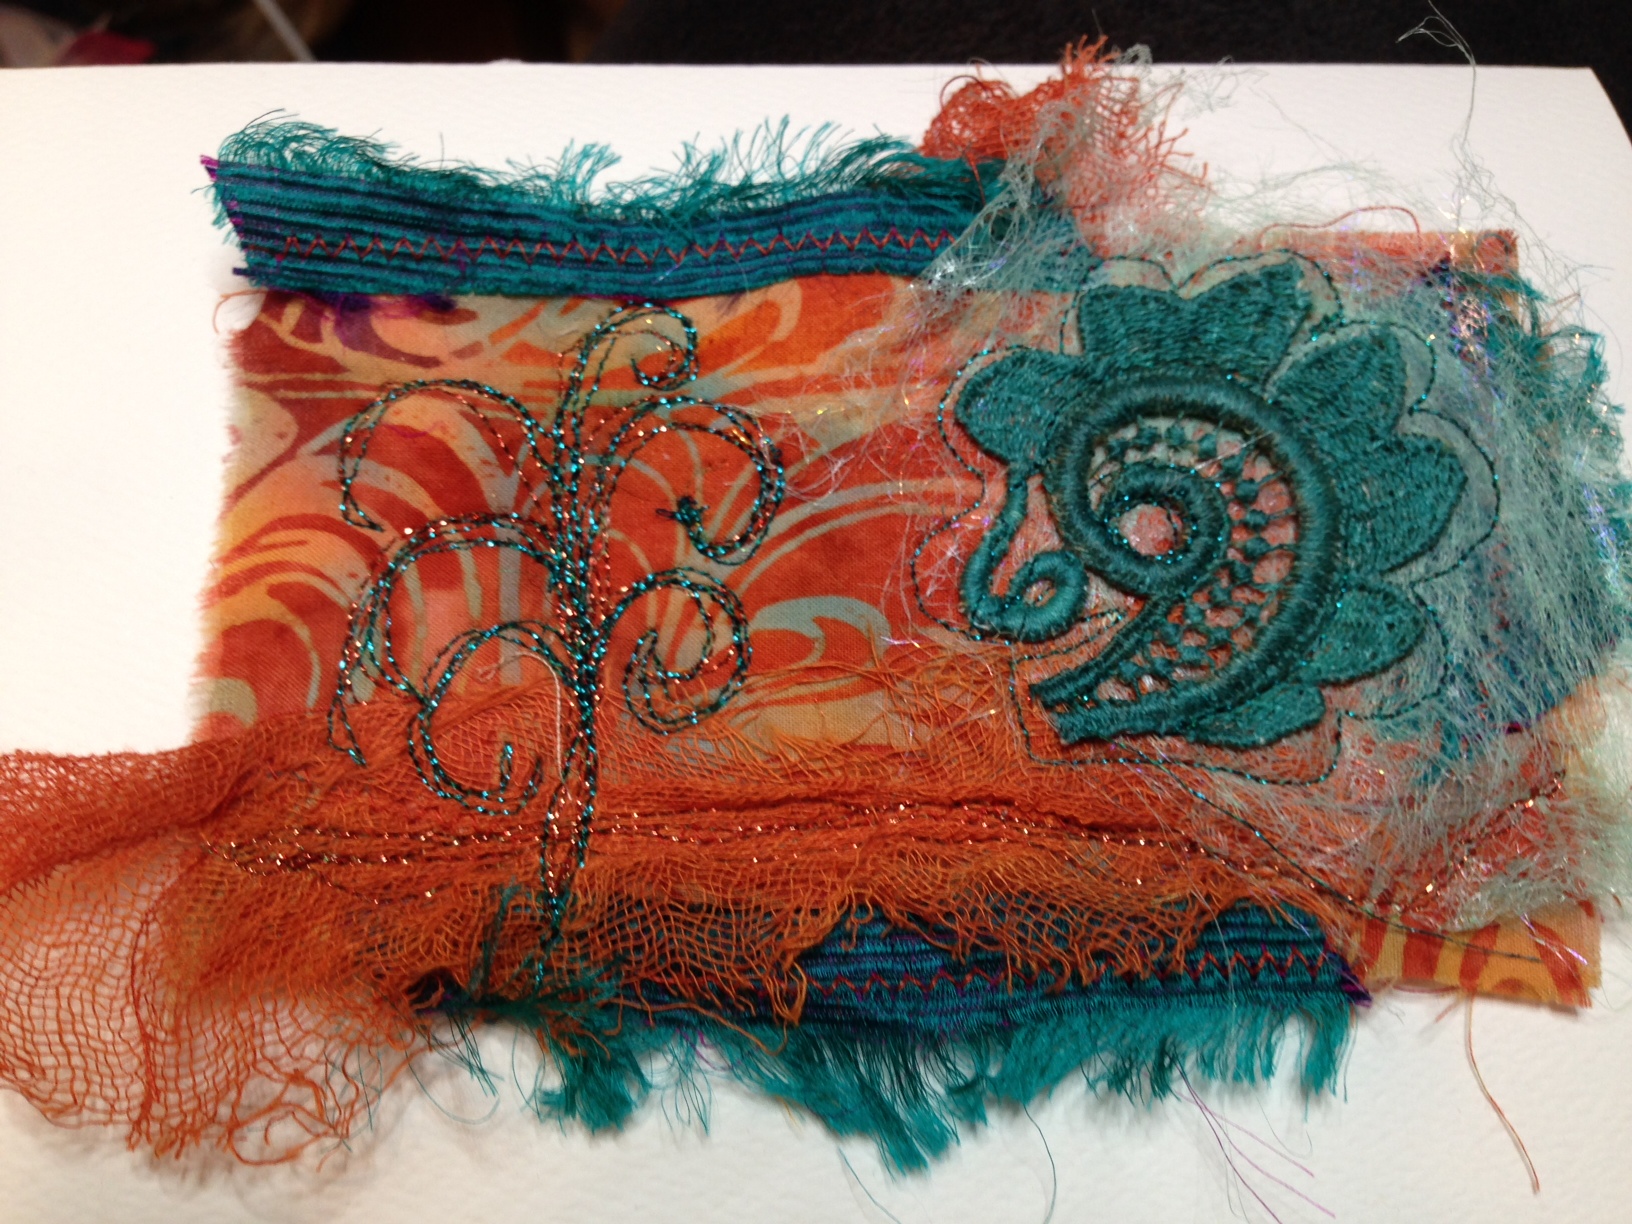
 each measured 5 1/2 ” by 7 1/2 “
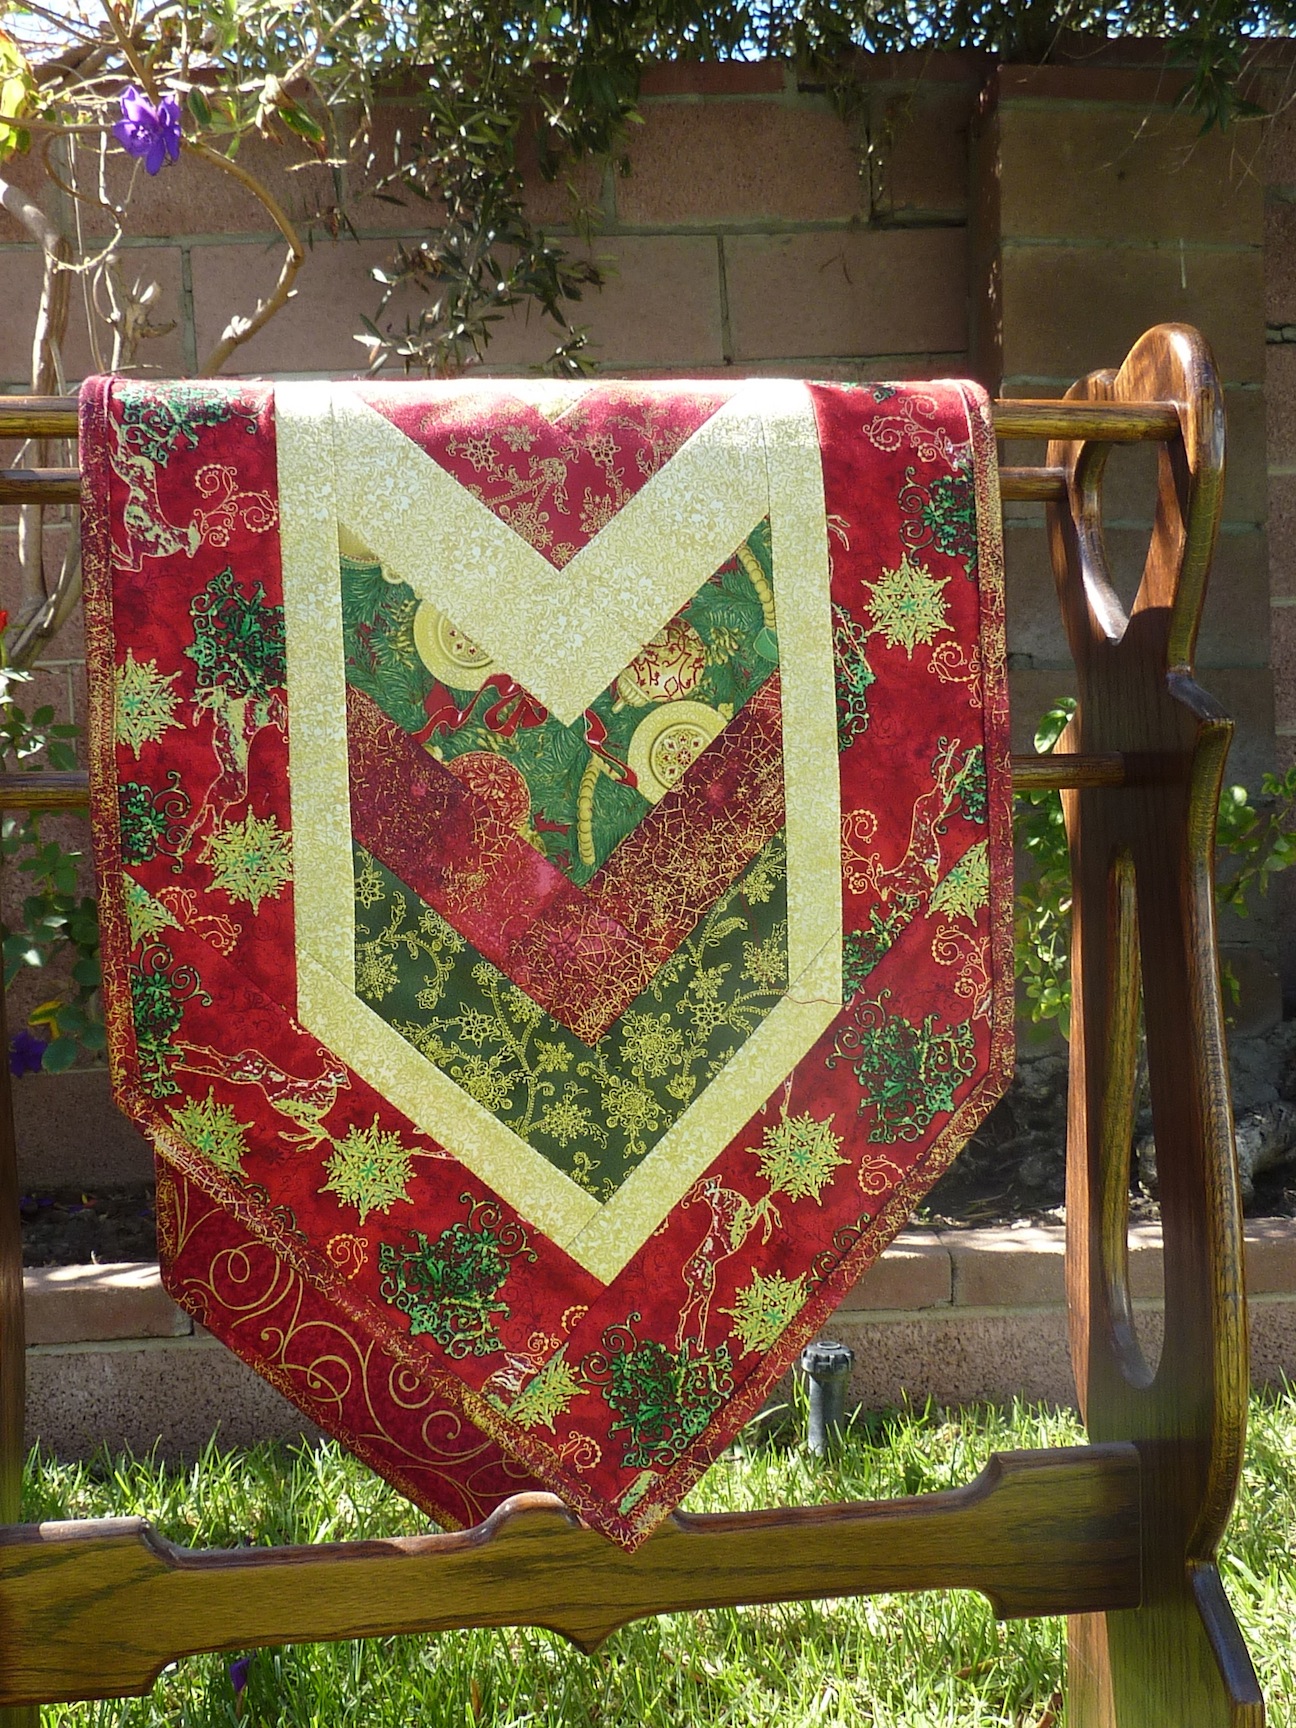
 sleeve to the top. Do that now by machine UNLESS you are going to use that top space for your hand stitching later. In which case you will attach the sleeve as the last step with each flag.
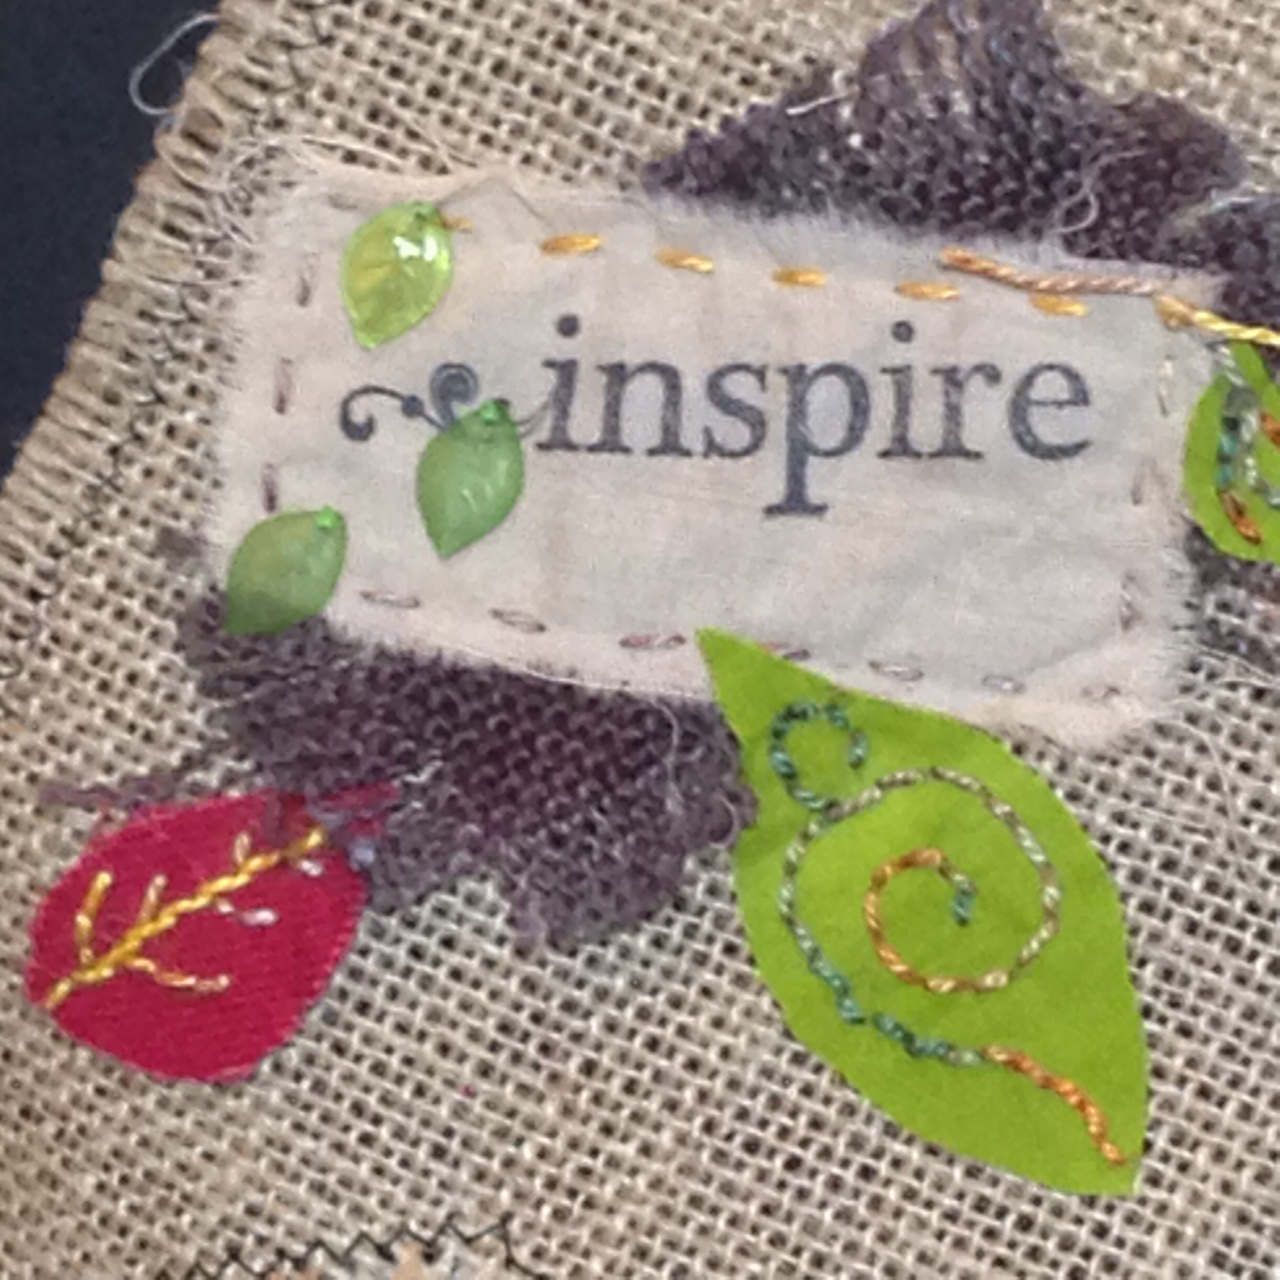
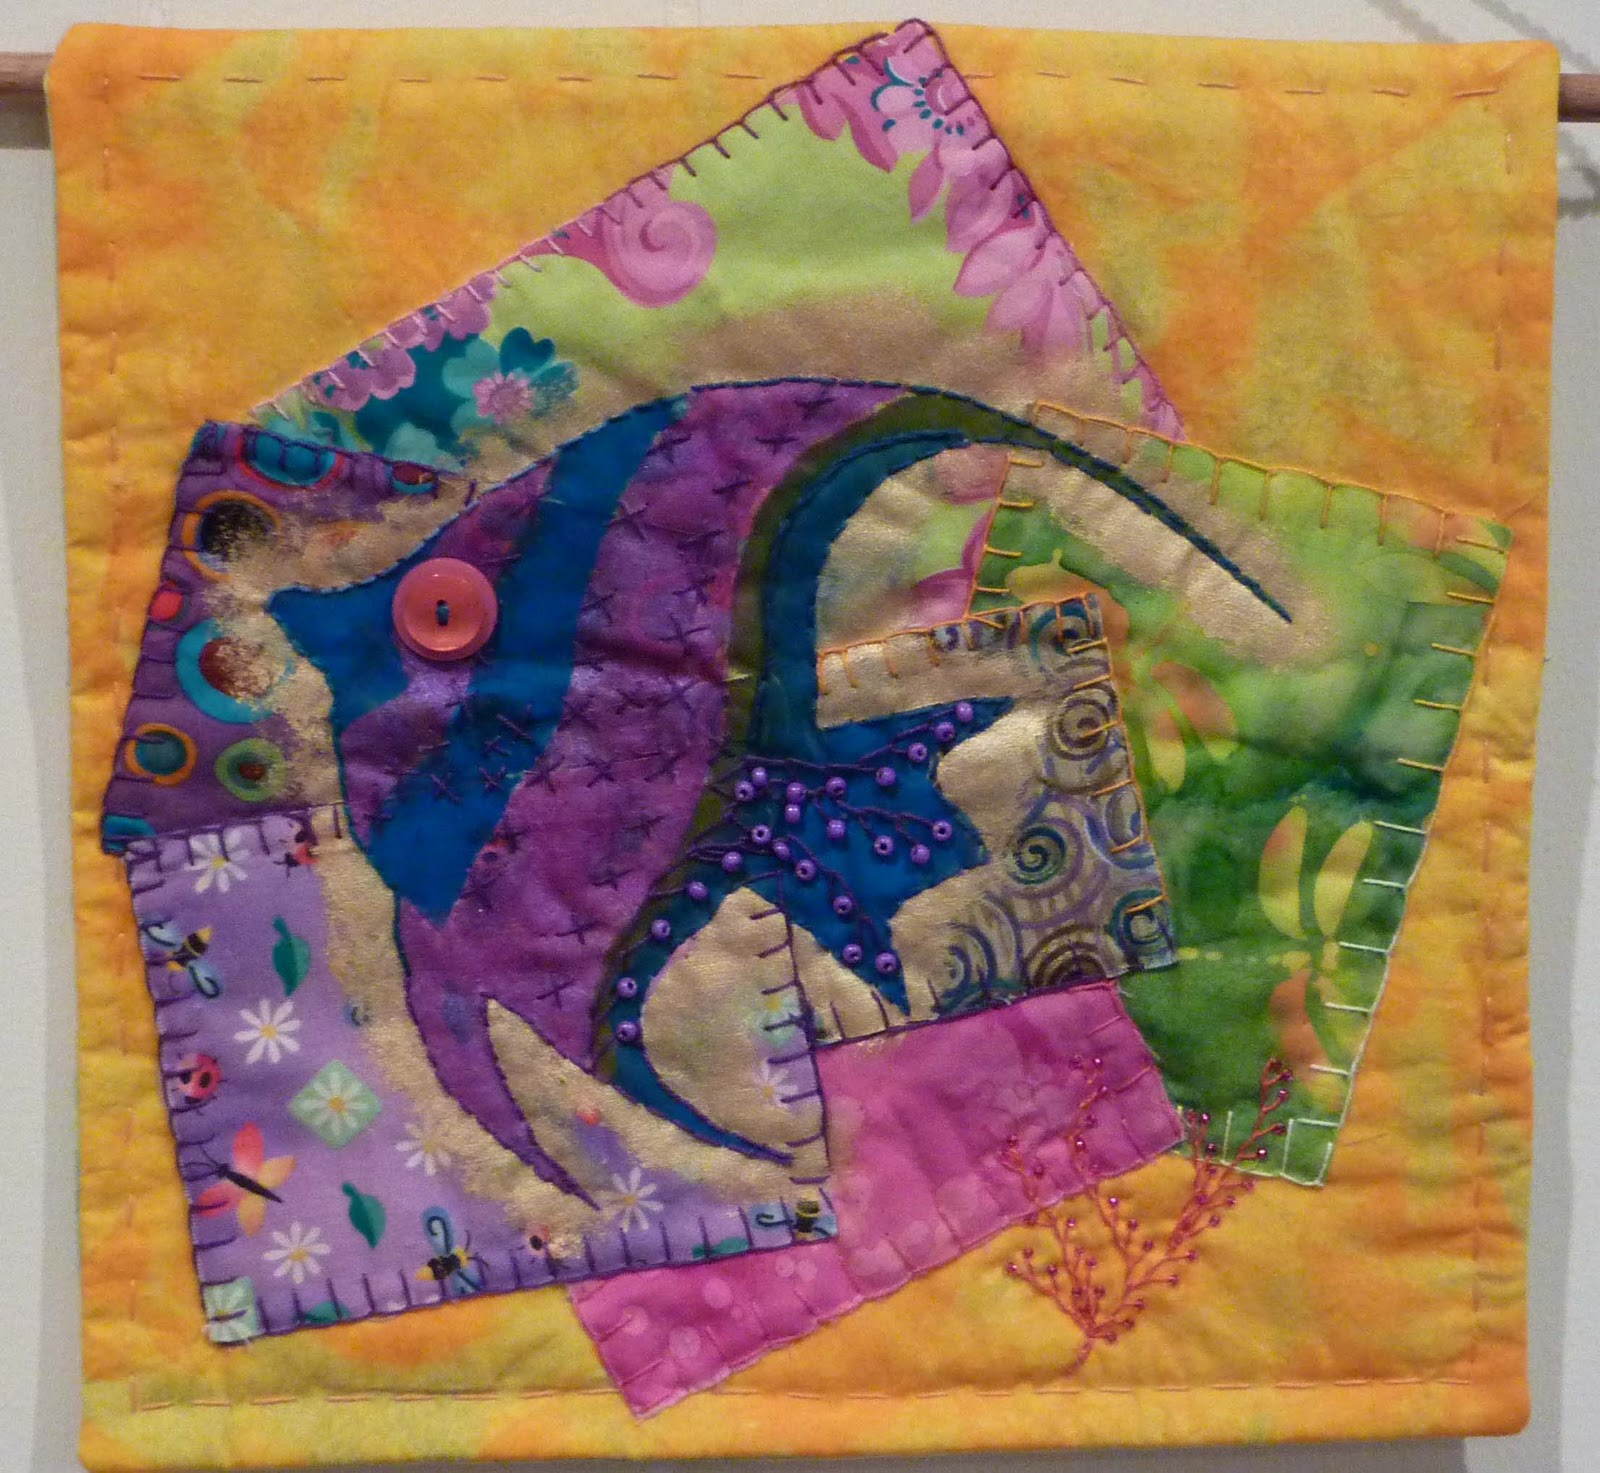
 I also added a few beads, some ribbon and buttons and hand stitched with embroidery cotton of various sizes.


")
