I came across this video on youtube this morning. It is a SAQA video that I made to explain the steps in making my SAQA Auction donation quilt a few years ago.
And this is the resulting art work – Barn in Autumn.


Guila's Art & Other Assorted Joys
Let's make the world more beautiful…together…

I came across this video on youtube this morning. It is a SAQA video that I made to explain the steps in making my SAQA Auction donation quilt a few years ago.
And this is the resulting art work – Barn in Autumn.

I’ve had this on my “To Do” list for years: literally Finally, after some reading, some dyeing experience and creating some suitable space for the project, I accumulated a few supplies and got started.
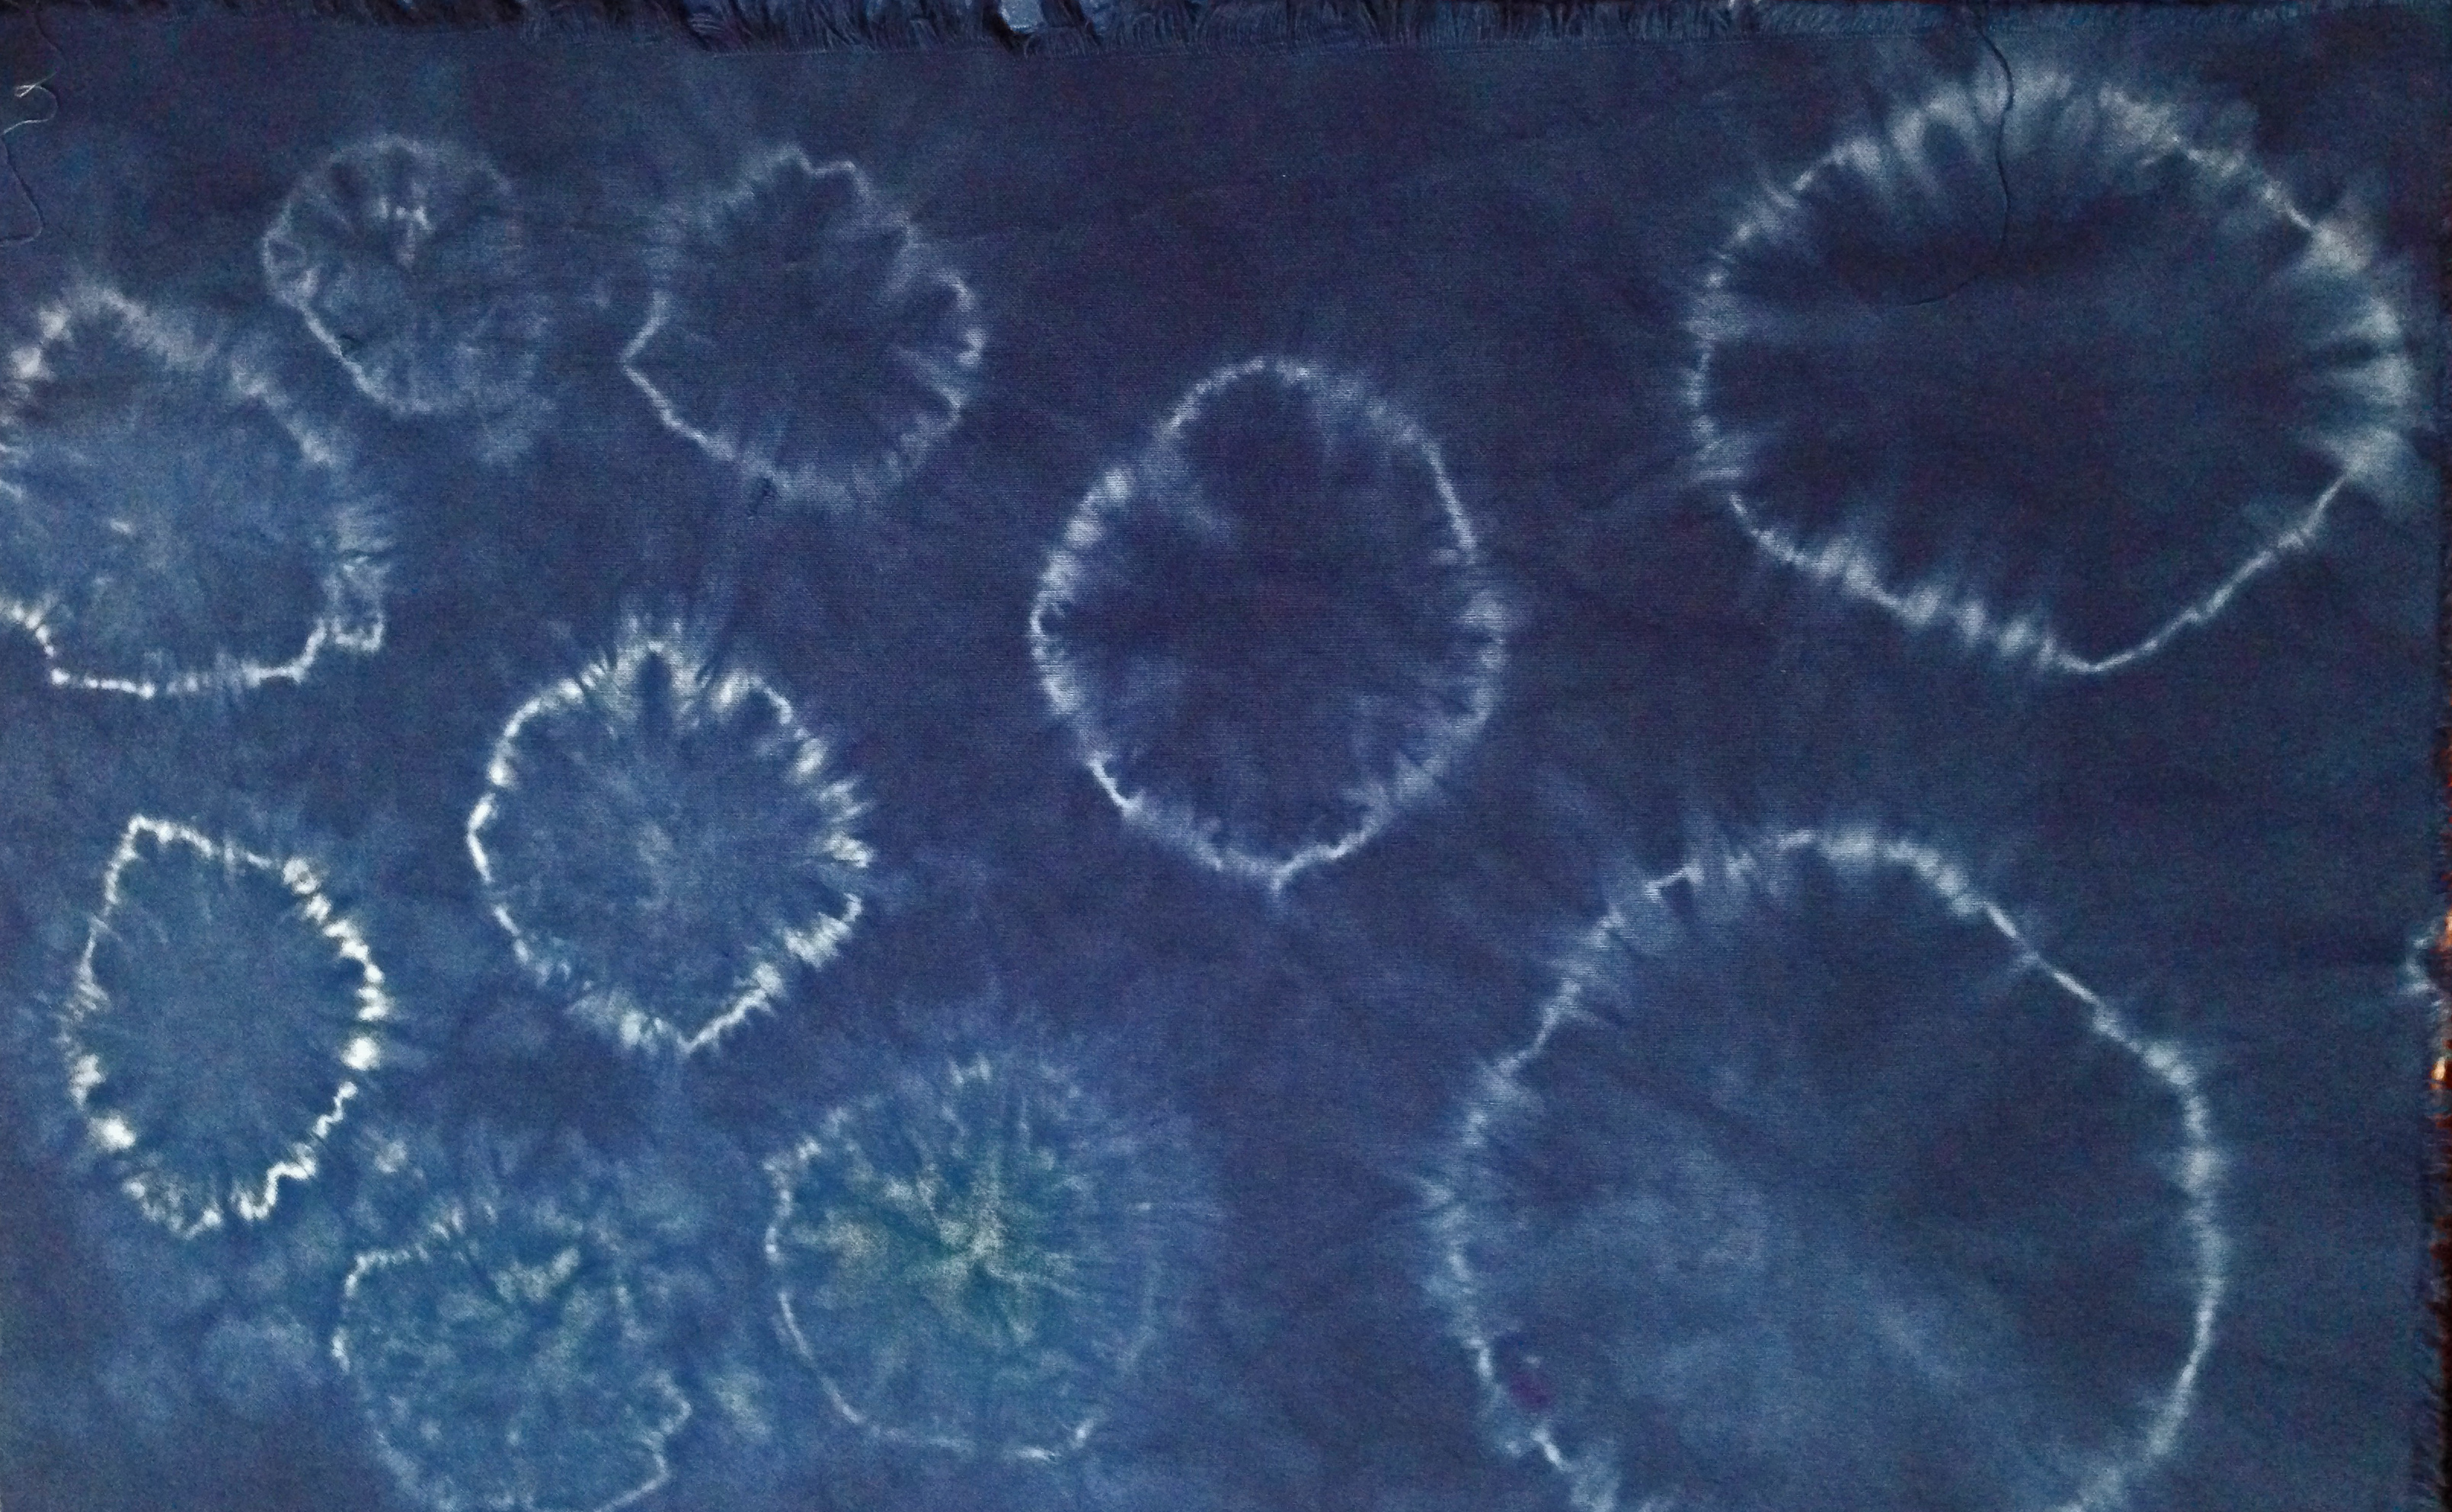
The term Shibori refers to a technique used to dye fabric. In Japan, the earliest evidence of its use dates all the way back to the 8th Century!
Shibori is a type of resist technique in which the fabric itself is manipulated by sewing or wrapping or folding. When the dye is applied it is unable to reach the areas that have been obstructed by the folds etc. Thus, some very appealing patterns can be generated.
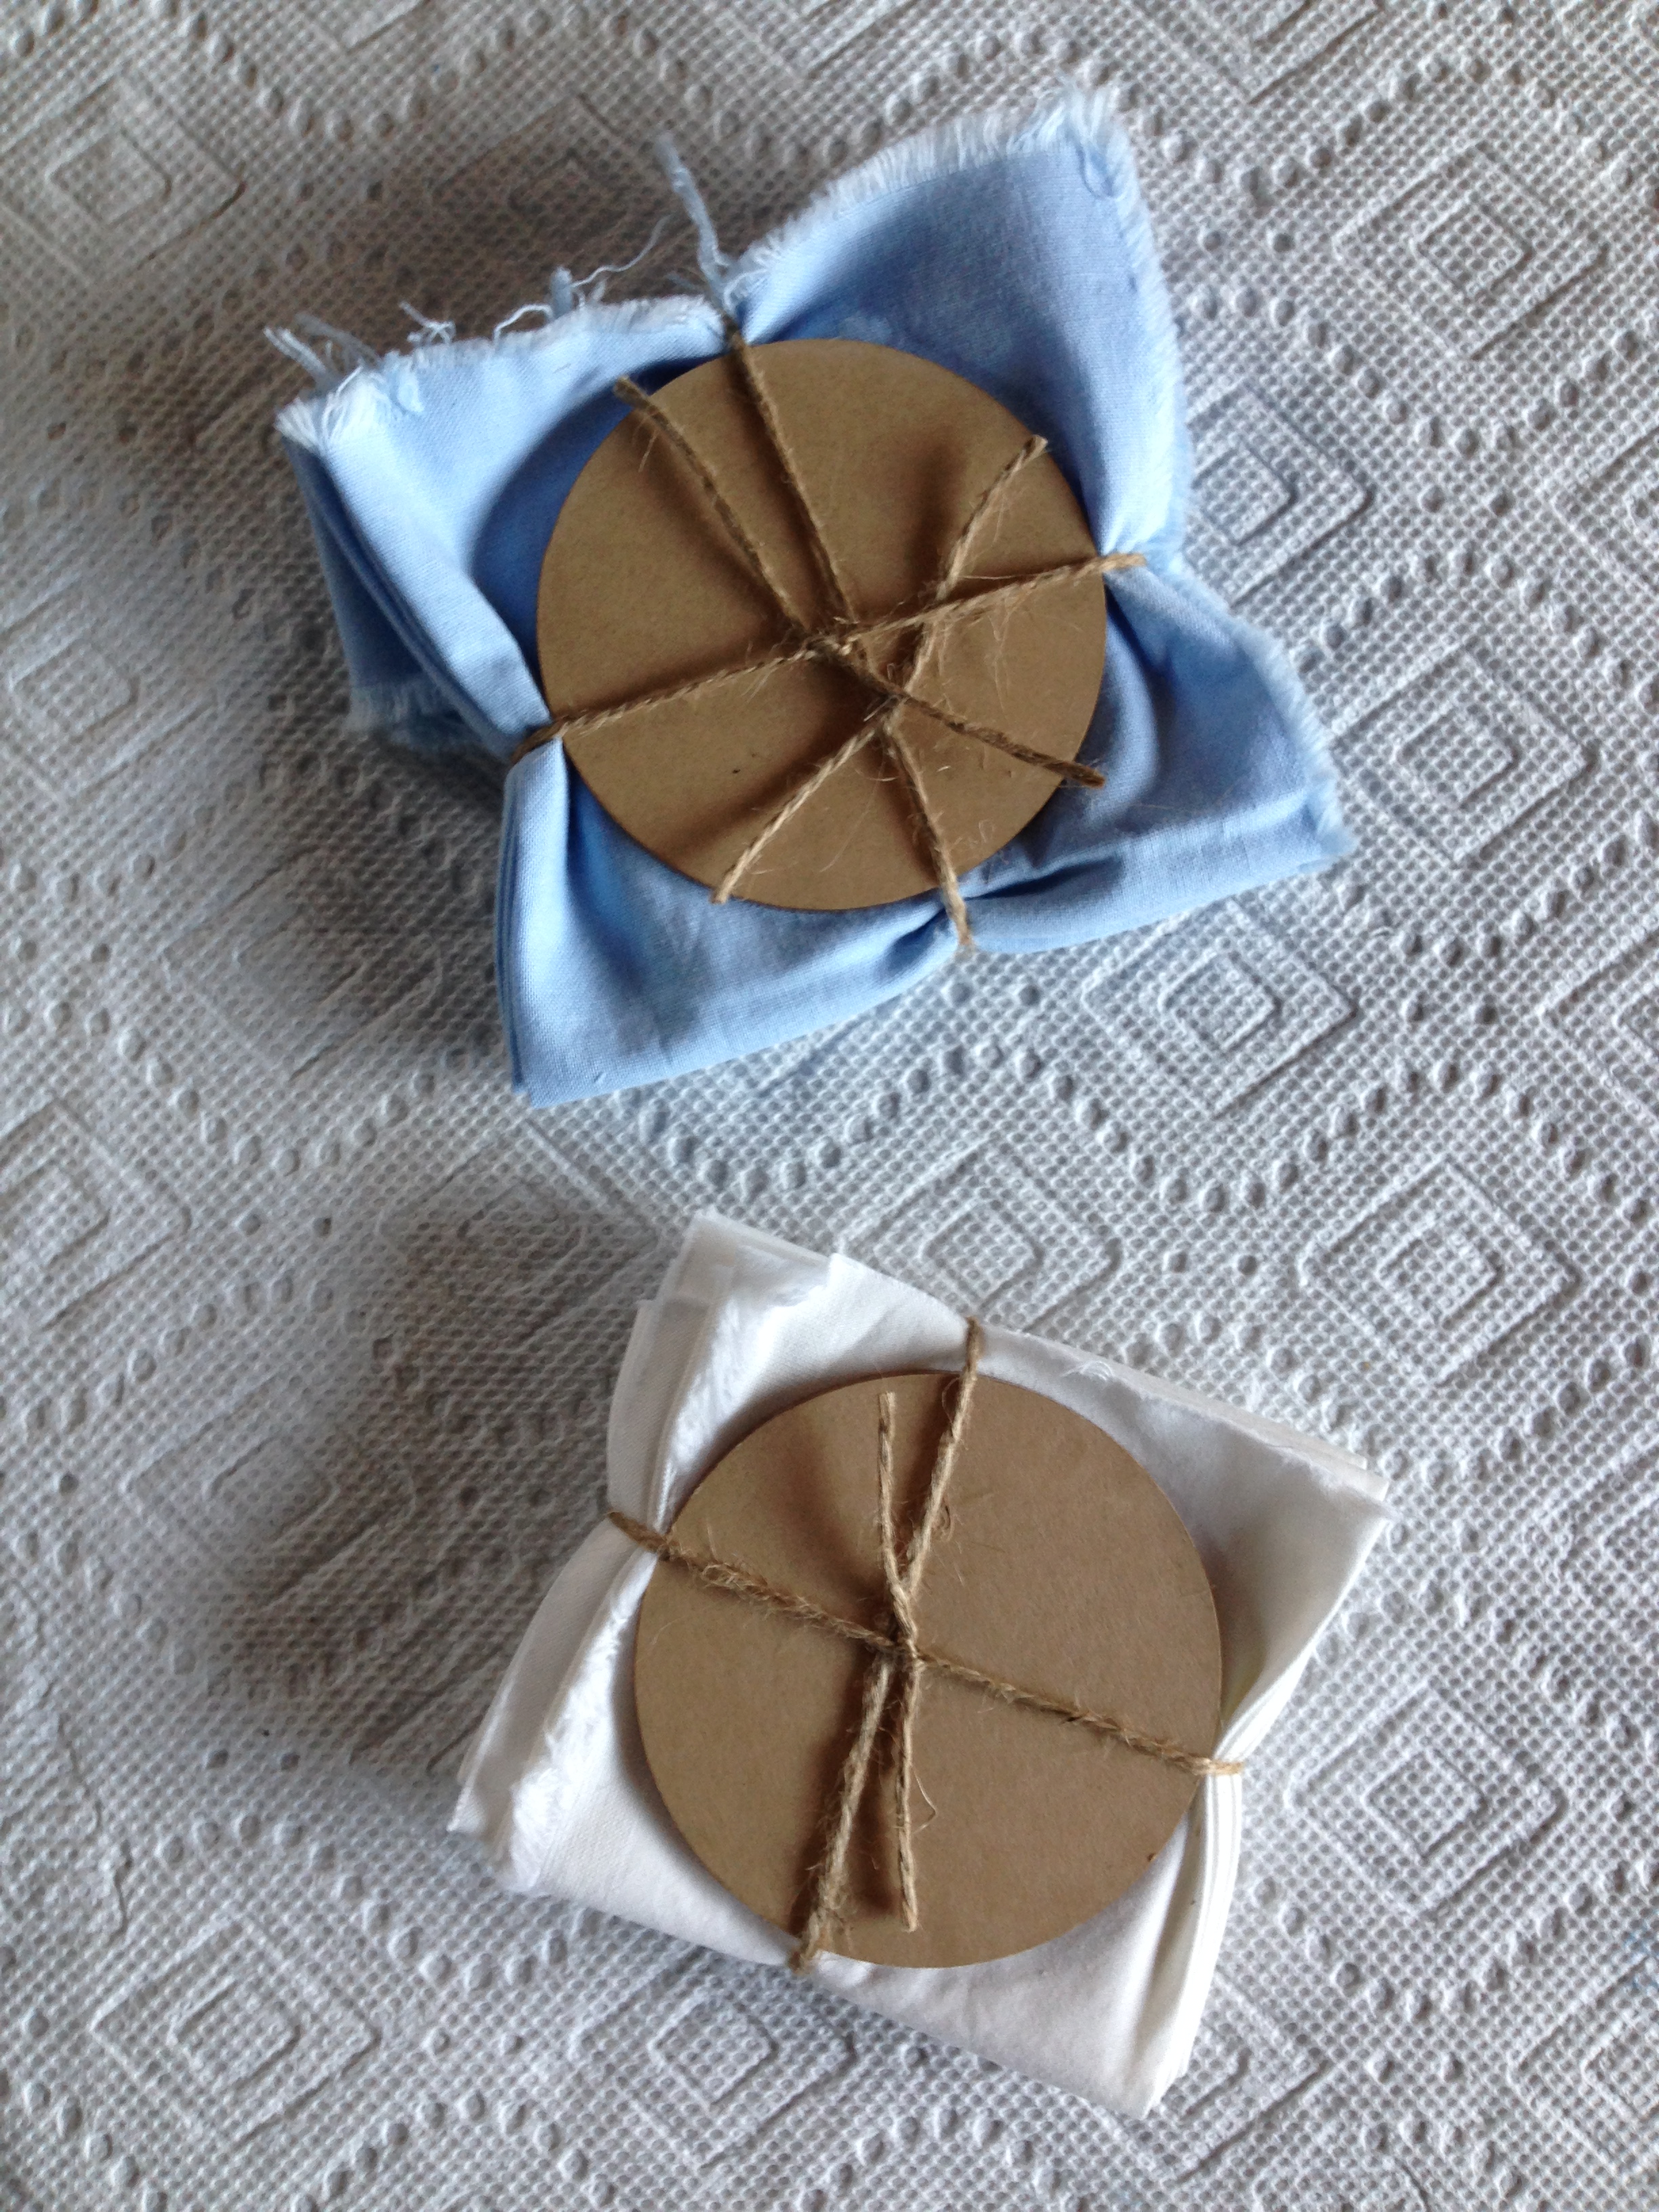
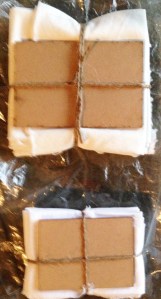
I enjoyed this process so much and was able to try out a variety. I folded, fan-folded, flag-folded, bound with rubber bands or twine. I even applied plexiglass shapes to the ends of my folded cloth on several occasions and bound it all together. This variety of Shibori is called Itajime.
Some bundles of Itajime ready for the dye pot:
It can get a little messy – took me until the next day to get all the blue off my fingers. And yes I did wear rubber gloves. Traditional Shibori uses an Indigo dye that is complicated to use. I achieved my results with a Procion MX dye – the color indigo.

What I loved most? After the fabric bundles had “cured” for many hours, rinsing them off and undoing them for the great reveal! A lot of Shibori is predictable according to the specific technique. But there’s always that serendipity that the individual introduces so that each piece is unique.
Some of my results showing the bundle after it has ‘cured’ in the dye bath; then the fabric that resulted following unfolding and rinsing with tap water.


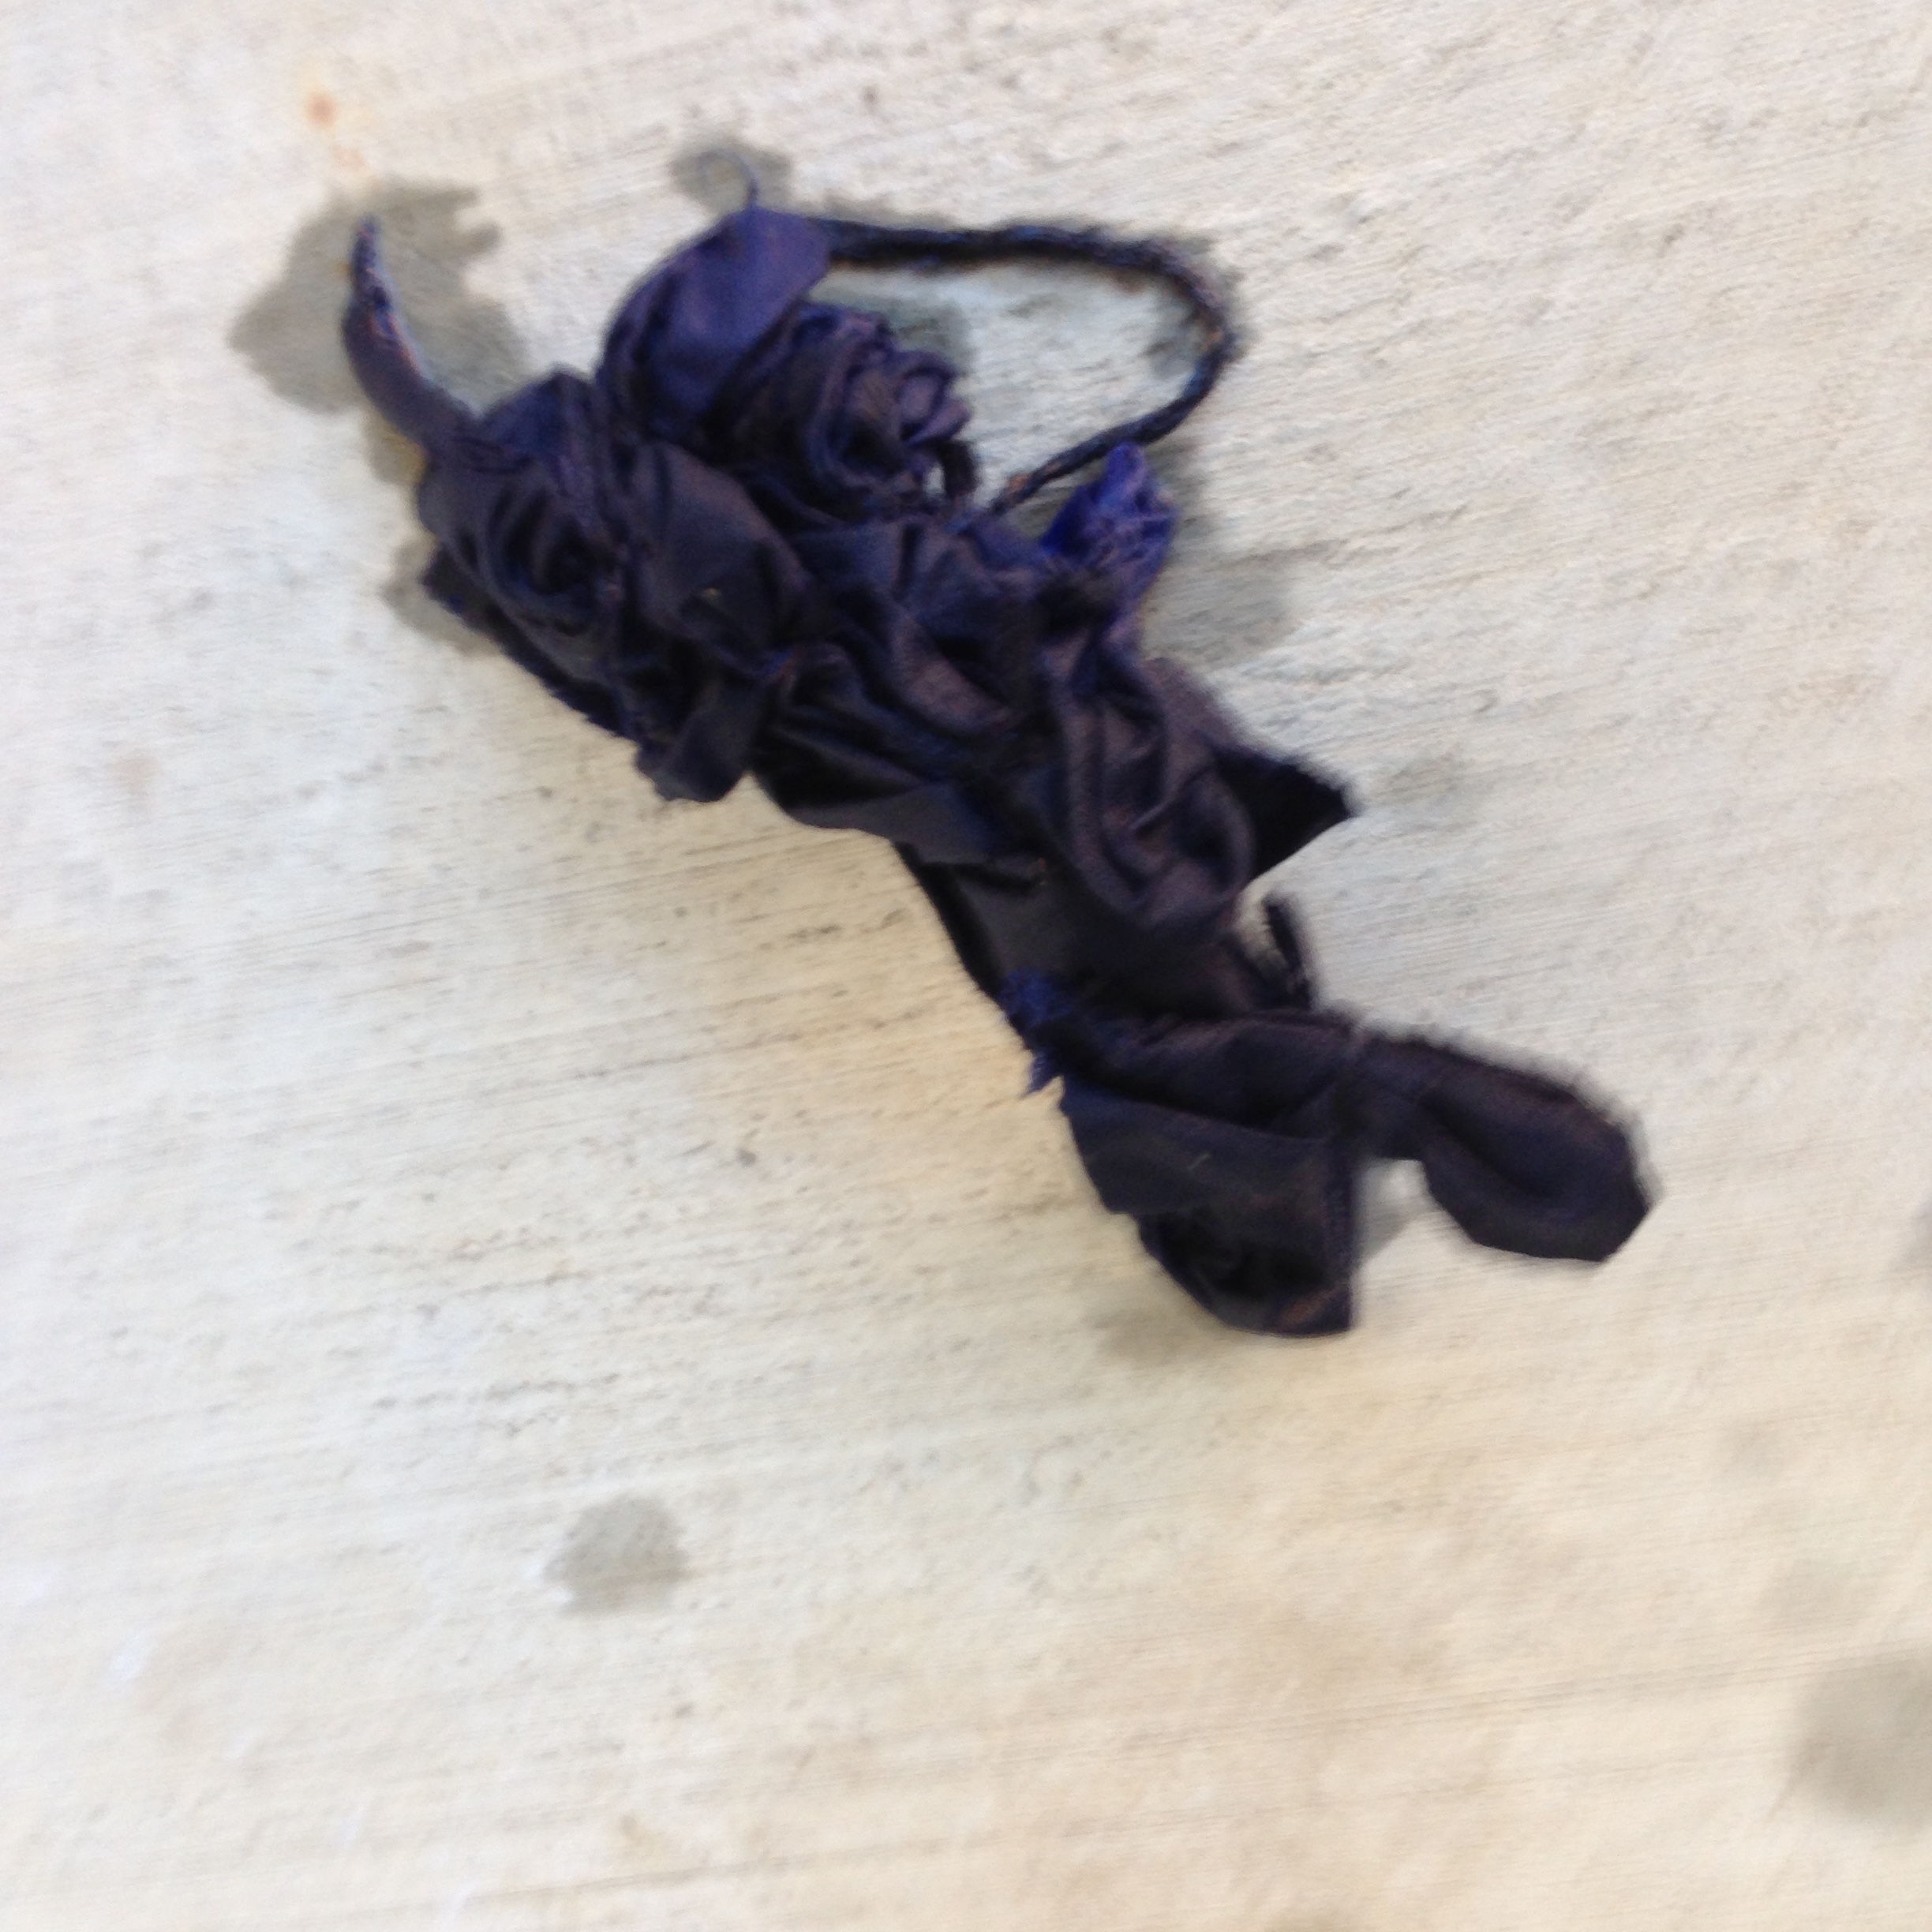
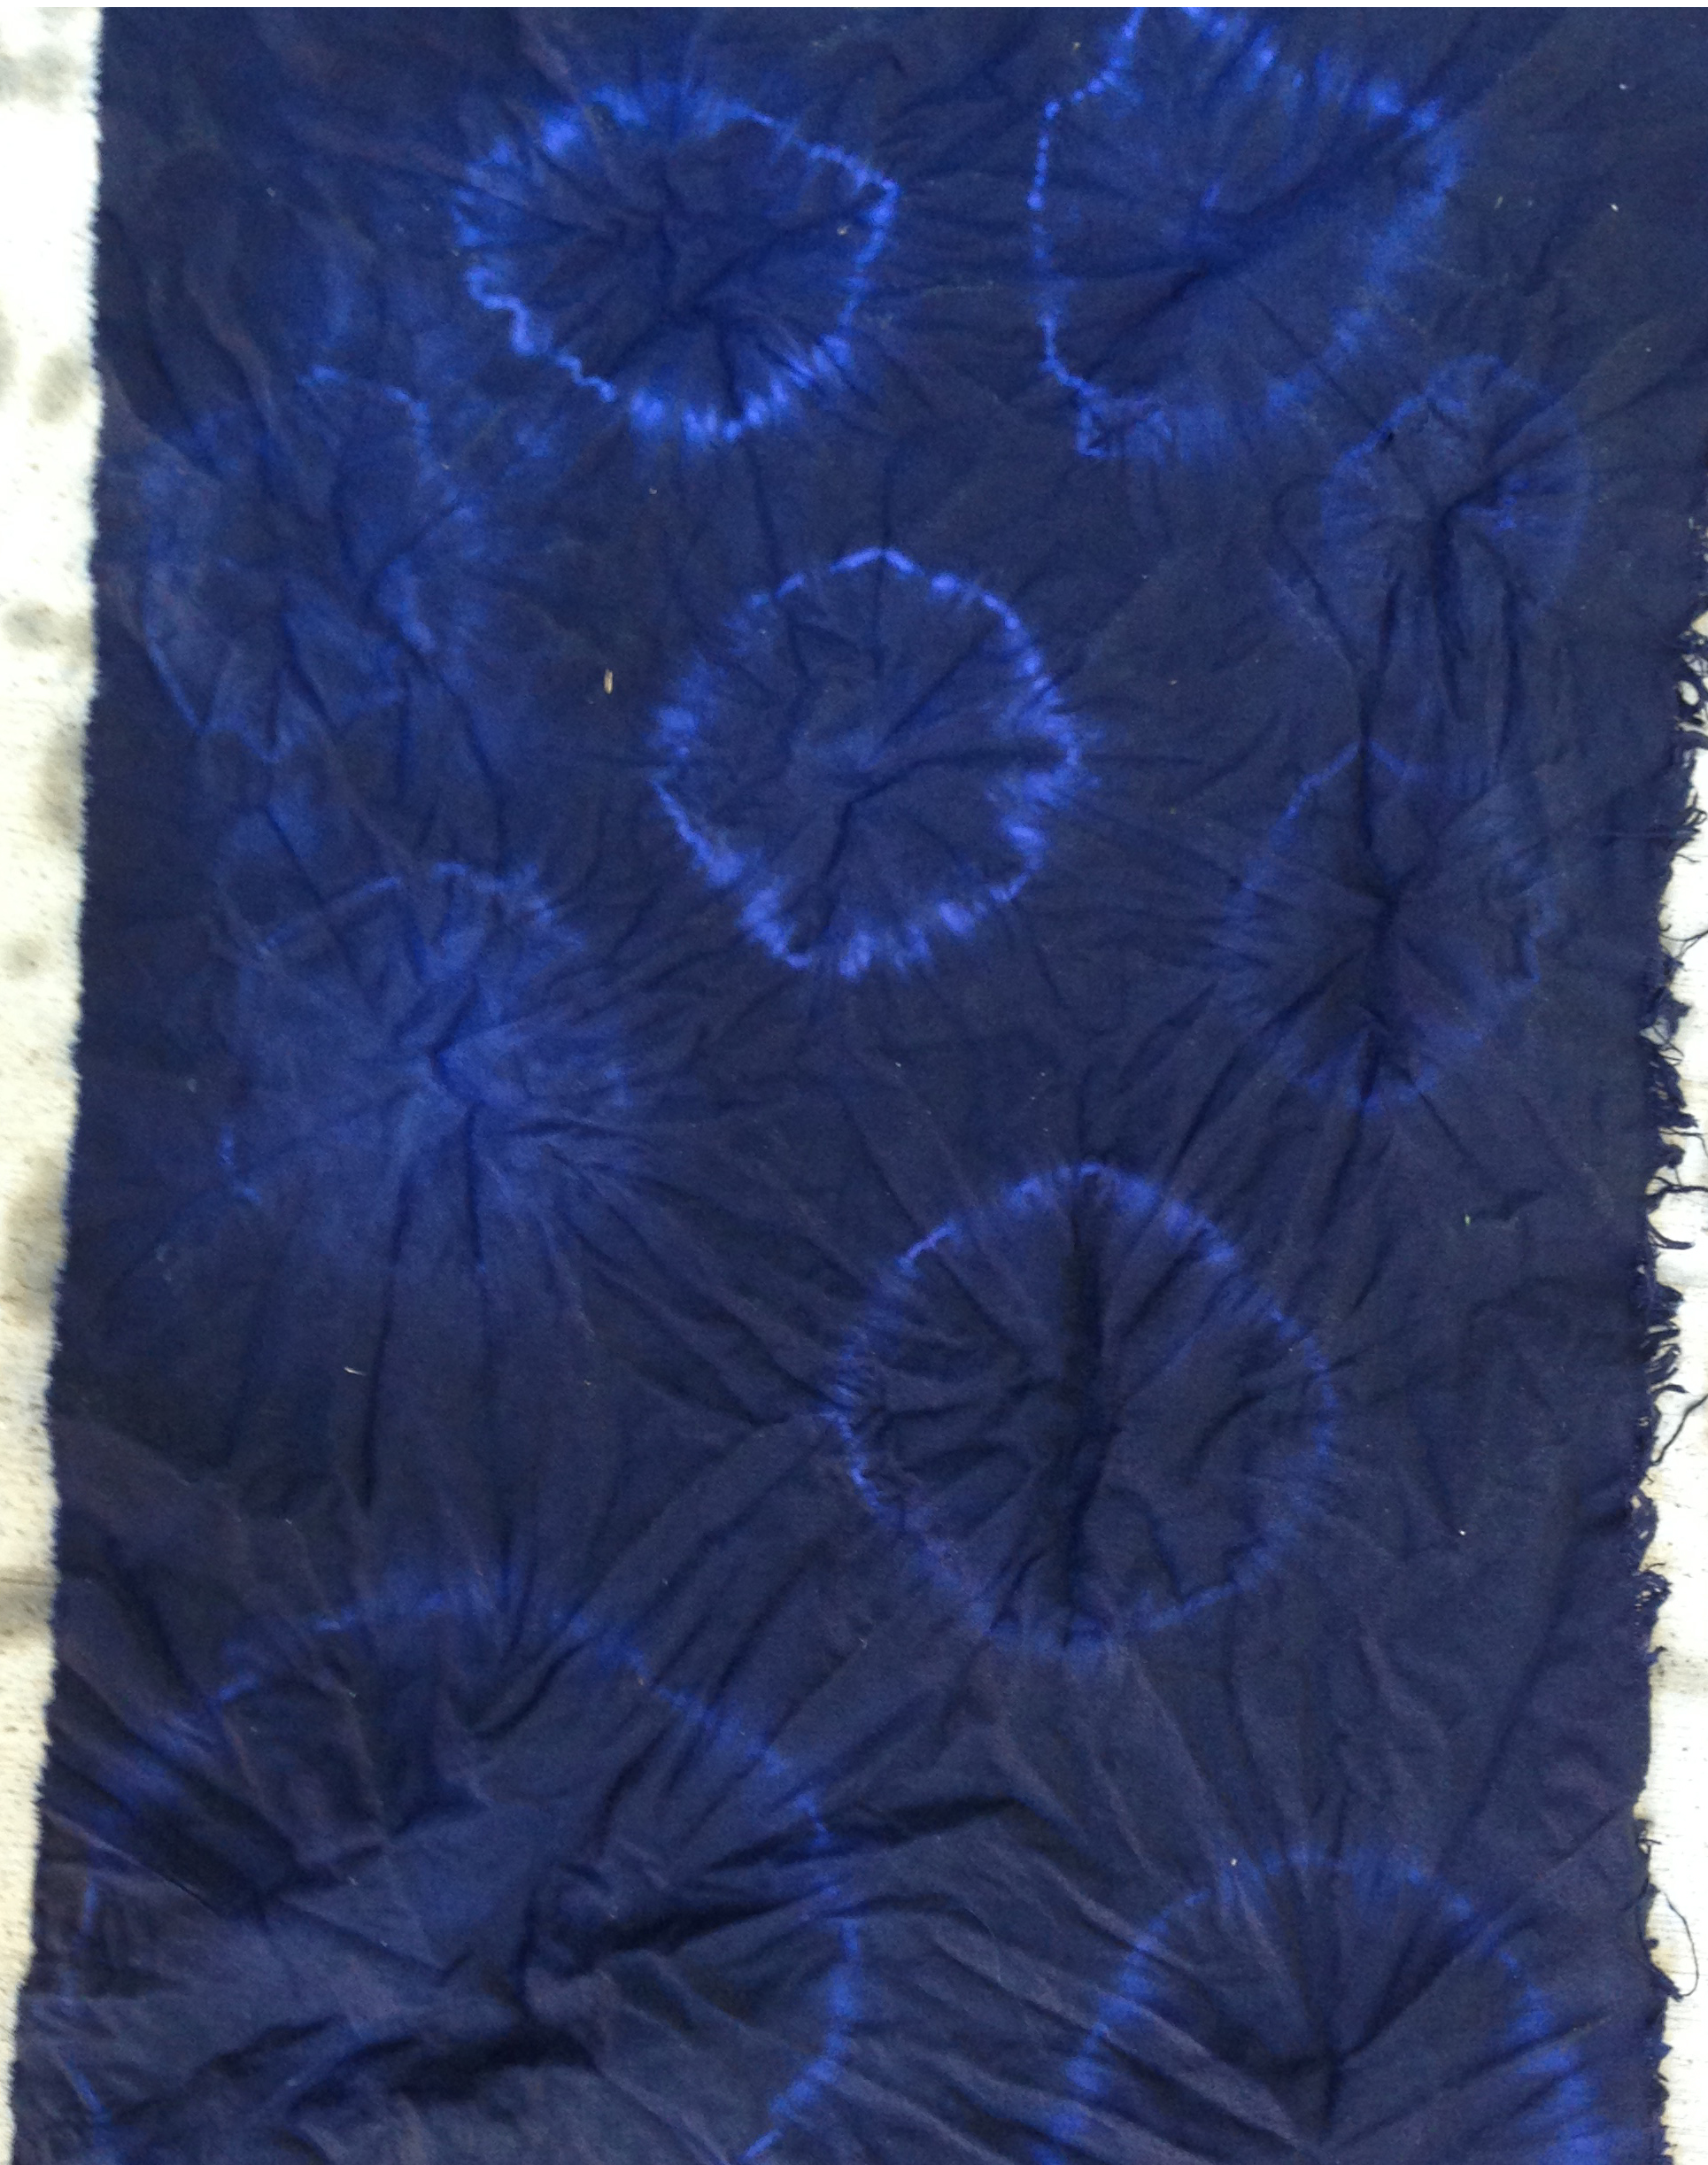


The colors lightened slightly after washing, drying and pressing. In some cases this added to the definition.

I also threw in a larger piece of fabric “as is” and now have some mottled Indigo fabric in my stash.

All in all, a VERY satisfying afternoon of work!

Several years ago I spent the greater part of October in Pennsylvania, readying my late mother’s home for sale. As you can imagine, this was difficult work both physically and emotionally.
One morning I decided that I needed a day off. I got into Mom’s elderly Oldsmobile and headed out in the general direction of Lake Edinboro, being careful to stick to rural roads.
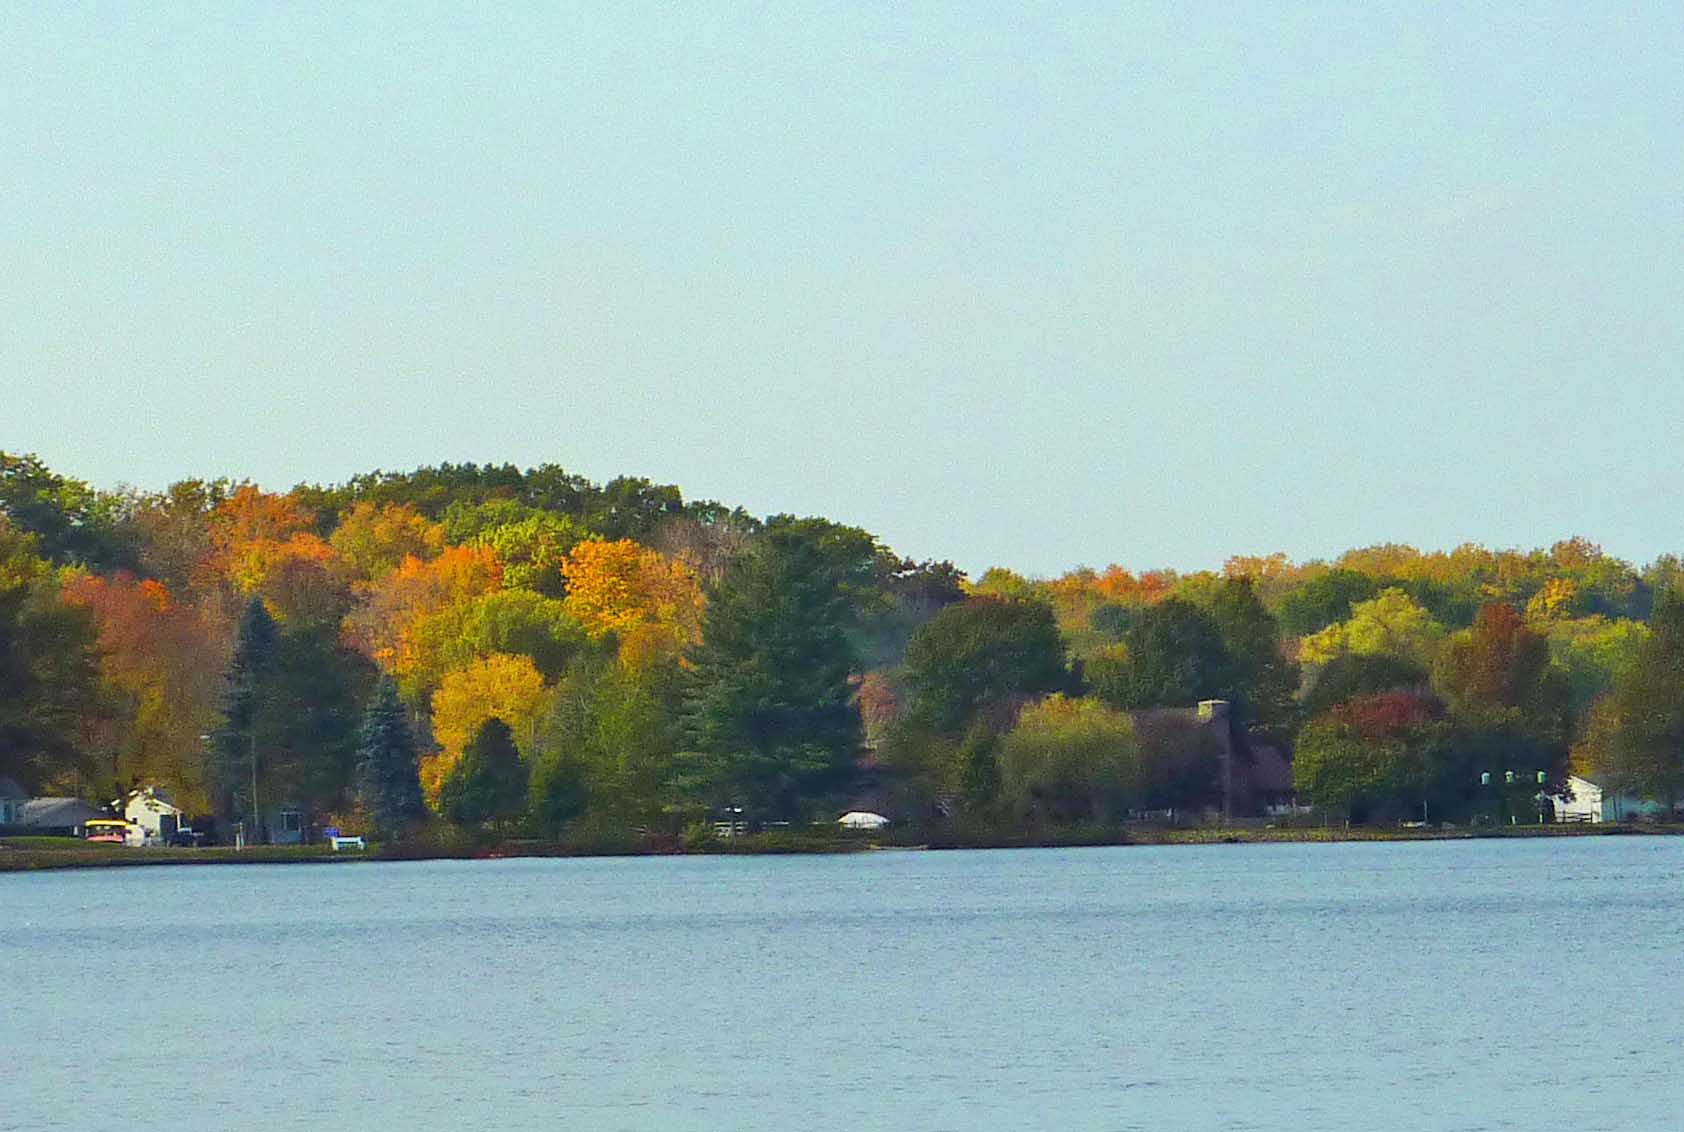
I was greeted with the most beautiful Autumn displays wherever I looked. As I drove I was also treated to glimpses of rural Pennsylvania that were inspiring and refreshing to the eyes of this California girl.

One shabby old barn in particular caught my attention. My camera got a workout.
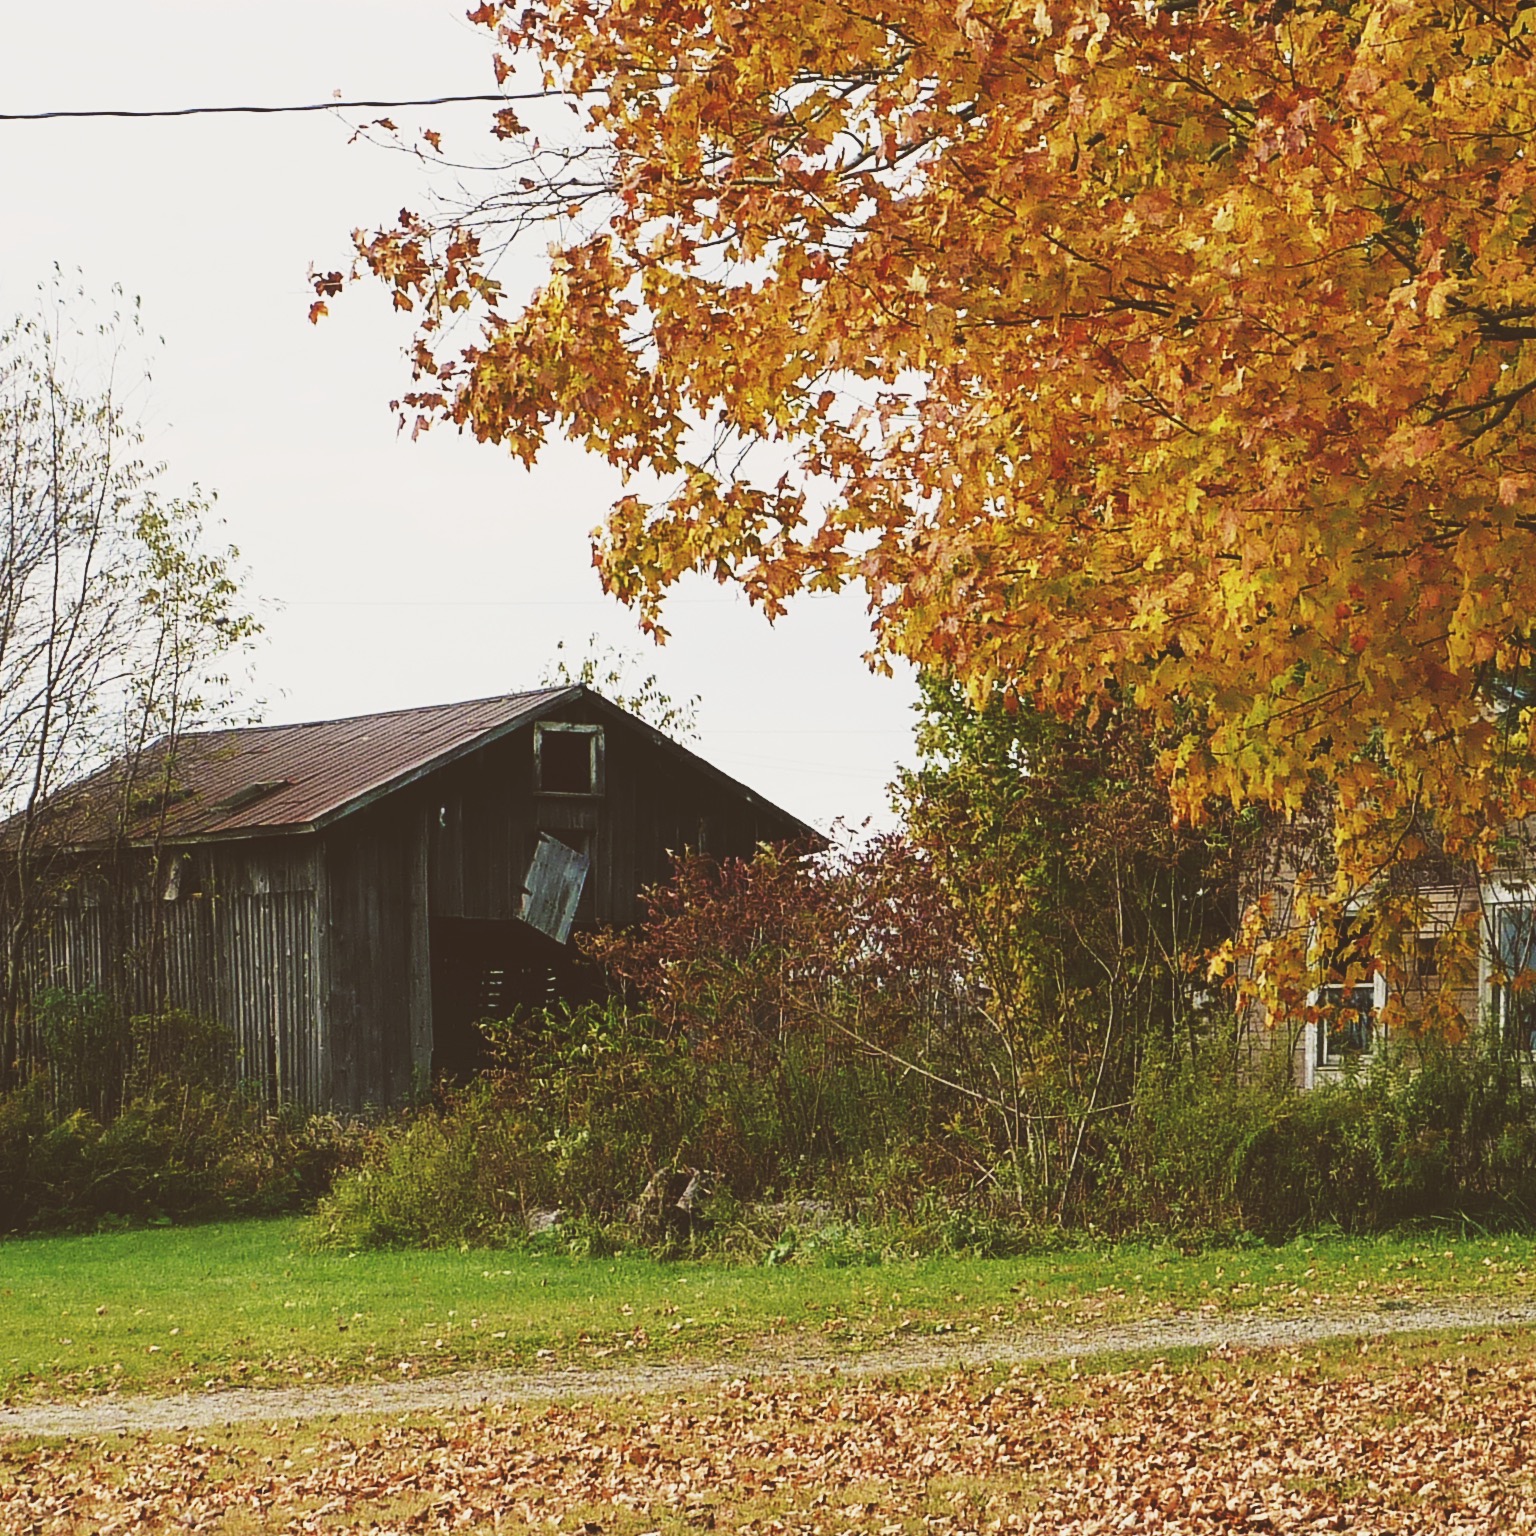
I was certain that some of these images would one day find their way into my art


Determine which elements to keep in the photo and which to discard. Convert image to grey scale. Convert photo into an image suitable for making templates for quilt


Assemble fabrics for construction. I decided to use my own hand dyes and was successful with the exception of 2 that I found in my stash of commercial fabric. My goal was to use a lot of saturated brilliant color to offset the aged and washed out look of the barn.

Construct a background – All I needed was some fabric suitable for sky and some greens. Most would end up being covered up.
Make the templates and adhere them to the fabric
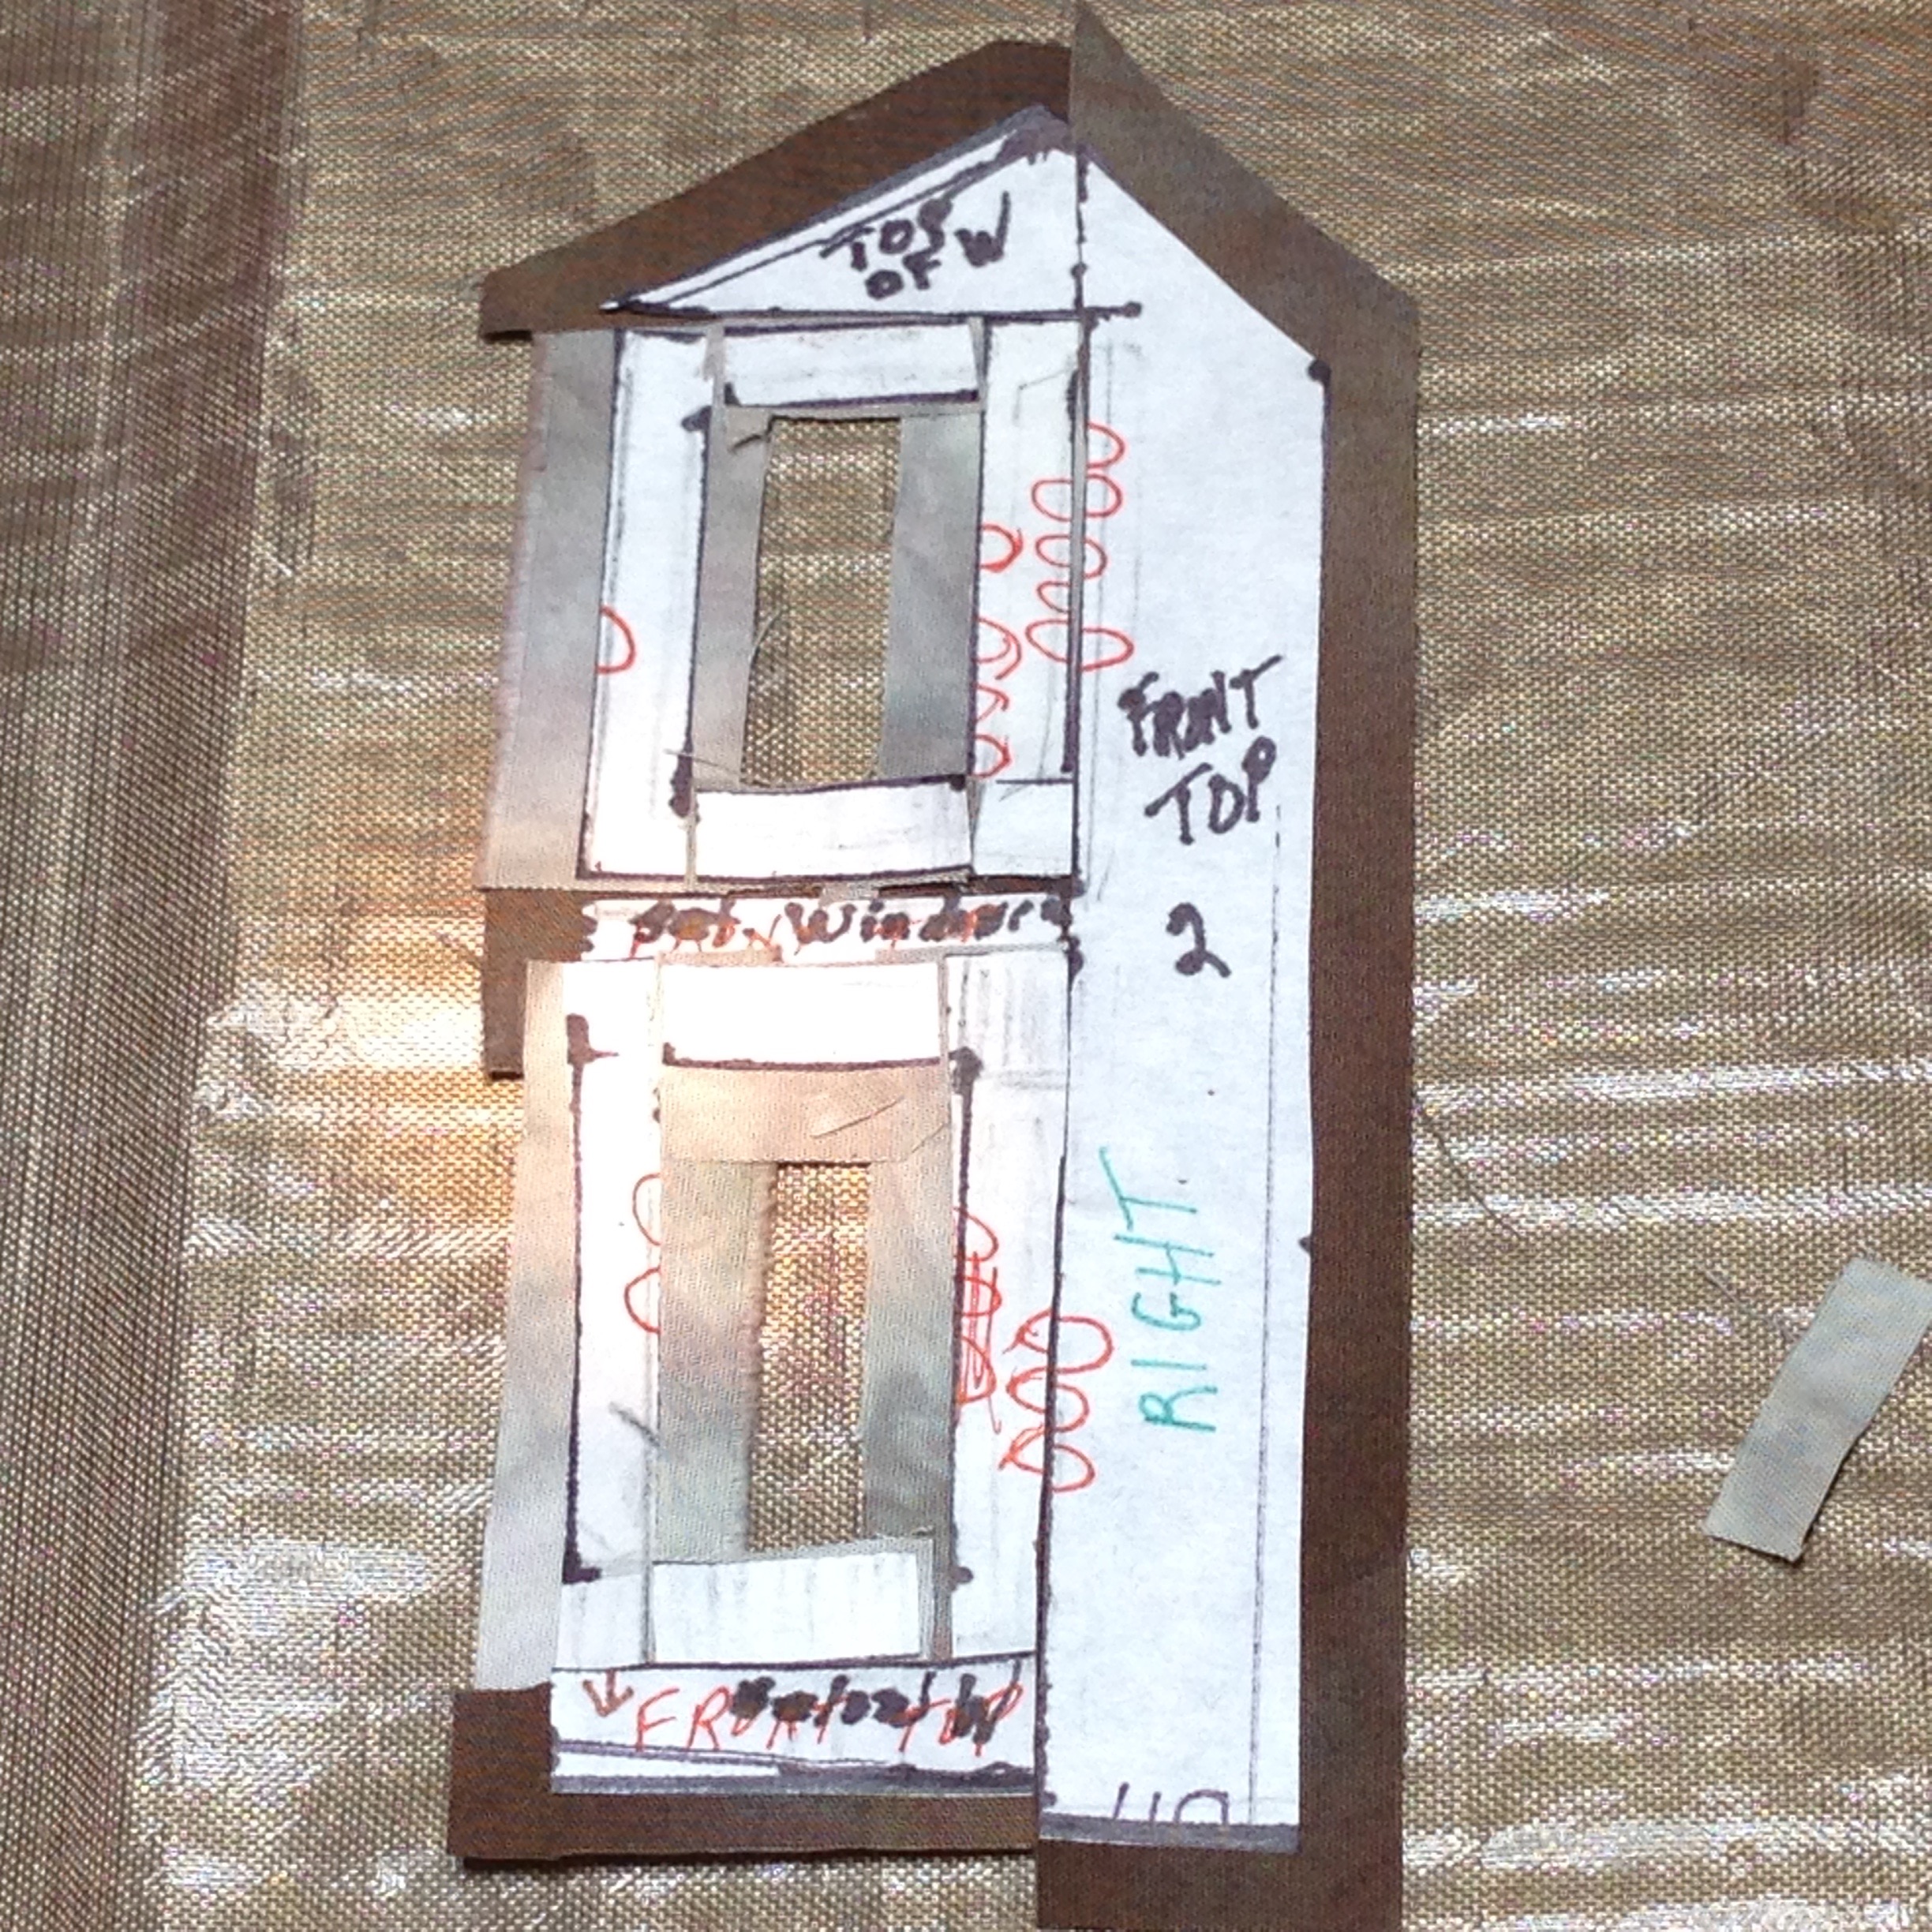
Determine the order of sewing down all the elements
Thread Paint the details
Sandwich and quilt the quilt
Finish the Edges
Dealing with Setbacks
Of course I was running late finishing the quilt to meet the submission deadline. So I decided to finish it pillowcase style instead of a traditional binding. Well, I tried, but that didn’t work. The quilting was too dense up to the edges and there was no way this quilt was going to be flat with that kind of a backing and edge treatment.
So I had to remove the pillowcase back and come up with something else. I determined that because the barn itself was shabby and had loose boards (think ‘threads’) all over the place, that a casual zig zag finish would be appropriate.
Of course, in the process of “turning the quilt” I had already clipped the corners. But I decided that was just fine. That little imperfection just added to the theme of this dilapidated barn in the midst of the Autumn beauty.

This quilt is part of this year’s SAQA Art Quilt Auction beginning online September 18, 2015
For my first effort back at fabric dyeing after a long break I decided to do some experimenting and to use up fabric that was in my stash, left over from other projects or who knew what? So I ended up with a stack of Mystery Fabric.
A couple of pieces were obviously muslin, the rest either Kona cotton or Pimatex. Just for good measure I threw in a piece of (I think it’s cotton) lace and some cheesecloth. I cut the fabric into fat quarter size pieces.

 To gain some kind of ability to measure results against predicted results in the instructions, I carefully labeled each piece of fabric. I used a Pitt pen on Tyvek and stapled the label to a corner of each piece.
Not only didn’t I know WHAT the fabric was I didn’t know if it was PFD or had been pretreated. So it all went in the washing machine and enjoyed a soda ash bath. The lace and cheesecloth were included and were put into a mesh laundry bag so they wouldn’t get chewed up.
My equipment was arranged on the counter. Helpful Hint It all came from the Dollar Store – and is stored away between dyeing sessions so that it won’t get mixed up with the ‘people’ utensils. Make sure you have a set of dedicated measuring cups and spoons. Plastic is fine – Do not use metal because of the chemicals. You will also need plastic bowls and stirring implements.

Helpful Hint Make sure you carefully label everything. But don’t use a Pitt pen on your Tyvek – it came out in the wash!!
Following one of the recipes in my guide book I mixed up a series of dye concoctions – each one a little weaker in color than the next. I wanted to end up with a variety of green fabric – envisioning some nice brights amongst them. Helpful Hint – I substituted colors – how much difference could it make? Right? Wrong! Don’t substitute colors if you want the results shown in your directions! Here is a photo of the fabrics enjoying their dye bath in tightly zipped up baggies.
 When I first put the fabrics into the baggies I smooshed them around so that they would get thoroughly exposed to the dye.
It’s very interesting how different the instructions can be in reference books. The two that I use are:
Previously I had used a 3 hour steeping time; this time I went with overnight. The next morning I removed the fabric from the bags, rinsed it under running water then washed it with Synthrapol. And here is the dyed fabric. Not exactly the Brights that I was going for but nevertheless a nice array of greens to add to my stash.

 Unfortunately all the numbers from my markers disappeared! I’ll have to try another pen next time.
I realize that the only way that I’m going to dig into my hand dyes and actually use them will 
 be to create some more. Now that the weather has eased up some I can move outdoors and set up there. It can be done in the kitchen but gets a little (!) messy.

 😦 not much left after digging into these for a project.
This is something a little different that I did with green – It’s a sun print – I gathered some leaves for the sun images.
 and finally a couple of “serendipity” fabrics that I created with leftover dyes.
 So what do you think of Hand Dyed Fabric?
First, not knowing which veggies would make the final cut, I went to the refrigerator to see what was available. I arranged various combinations on a cutting board and ended up with something that looked pleasing. I photographed them as I went along to get various perspectives. When I was satisfied I made a print in the size that I wanted to sew and prepared templates. I adhered a clear piece of laminating film to the printed design and cut the shapes that I wanted to use.

