Fiber Art

The Making of Autumn Barn –

Several years ago I spent the greater part of October in Pennsylvania, readying my late mother’s home for sale. As you can imagine, this was difficult work both physically and emotionally.

One morning I decided that I needed a day off. I got into Mom’s elderly Oldsmobile and headed out in the general direction of Lake Edinboro, being careful to stick to rural roads.

Looking Across Lake Edinboro

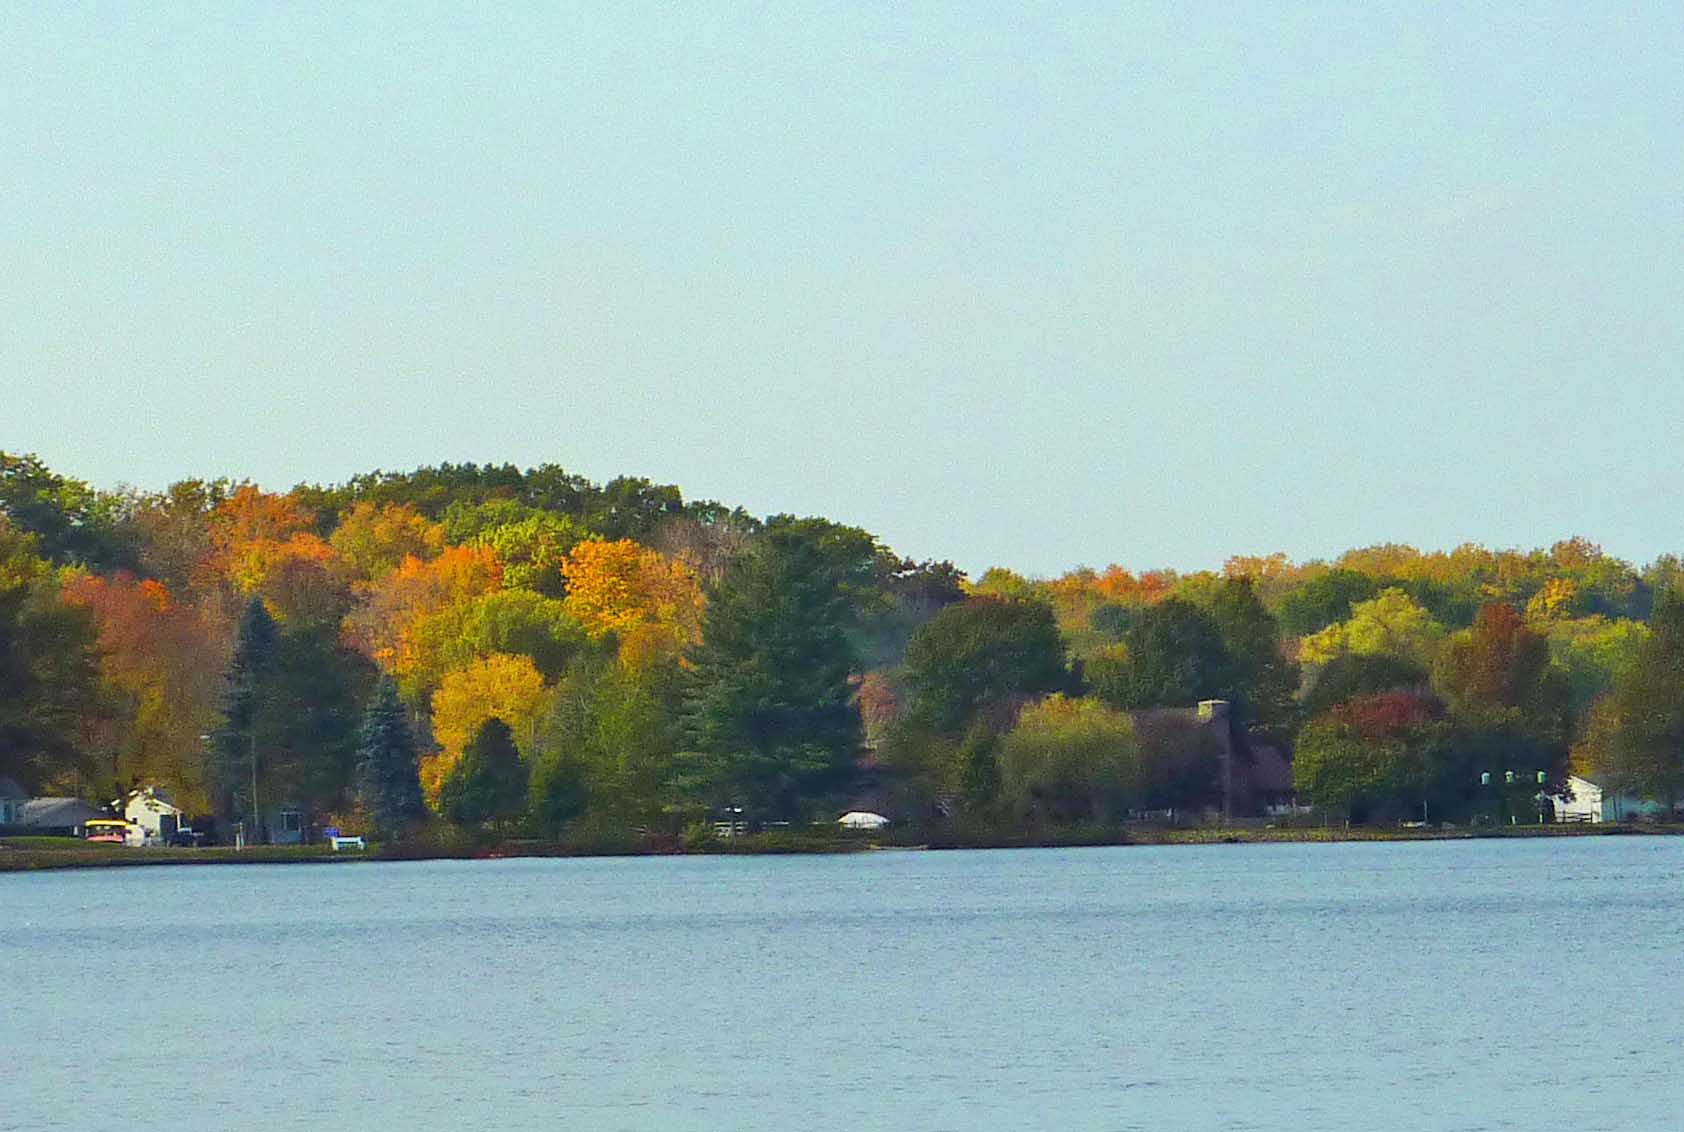
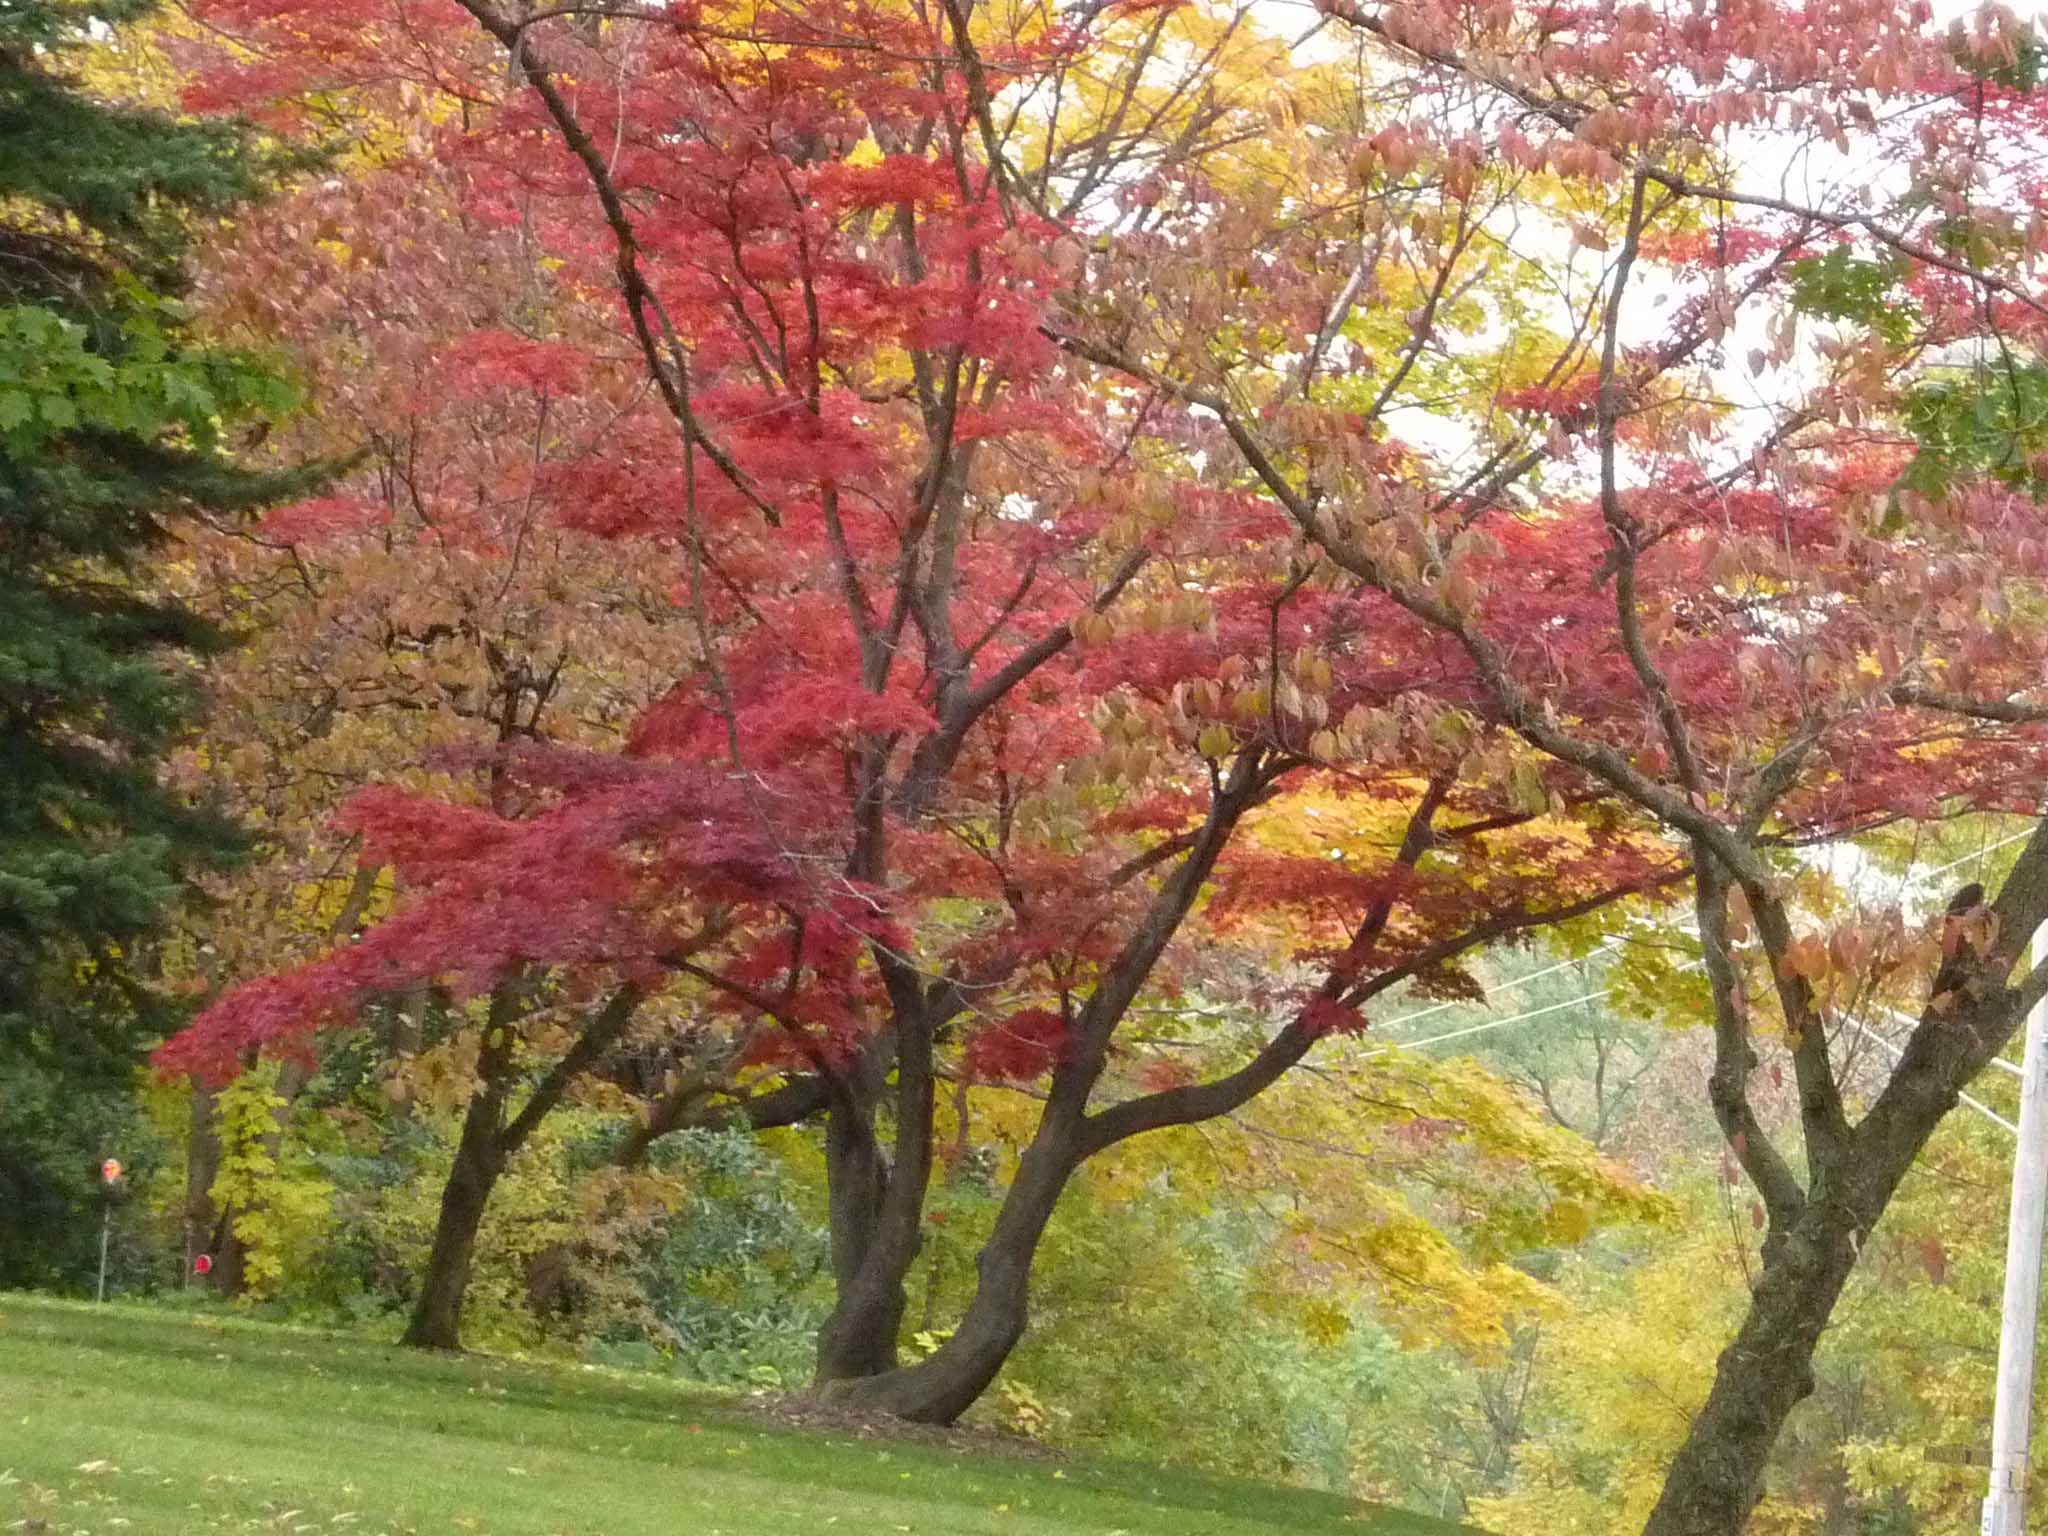
I was greeted with the most beautiful Autumn displays wherever I looked. As I drove I was also treated to glimpses of rural Pennsylvania that were inspiring and refreshing to the eyes of this California girl.

Pennsylvania Highway 99 Travelling South

One shabby old barn in particular caught my attention. My camera got a workout.

The Original Barn Photo

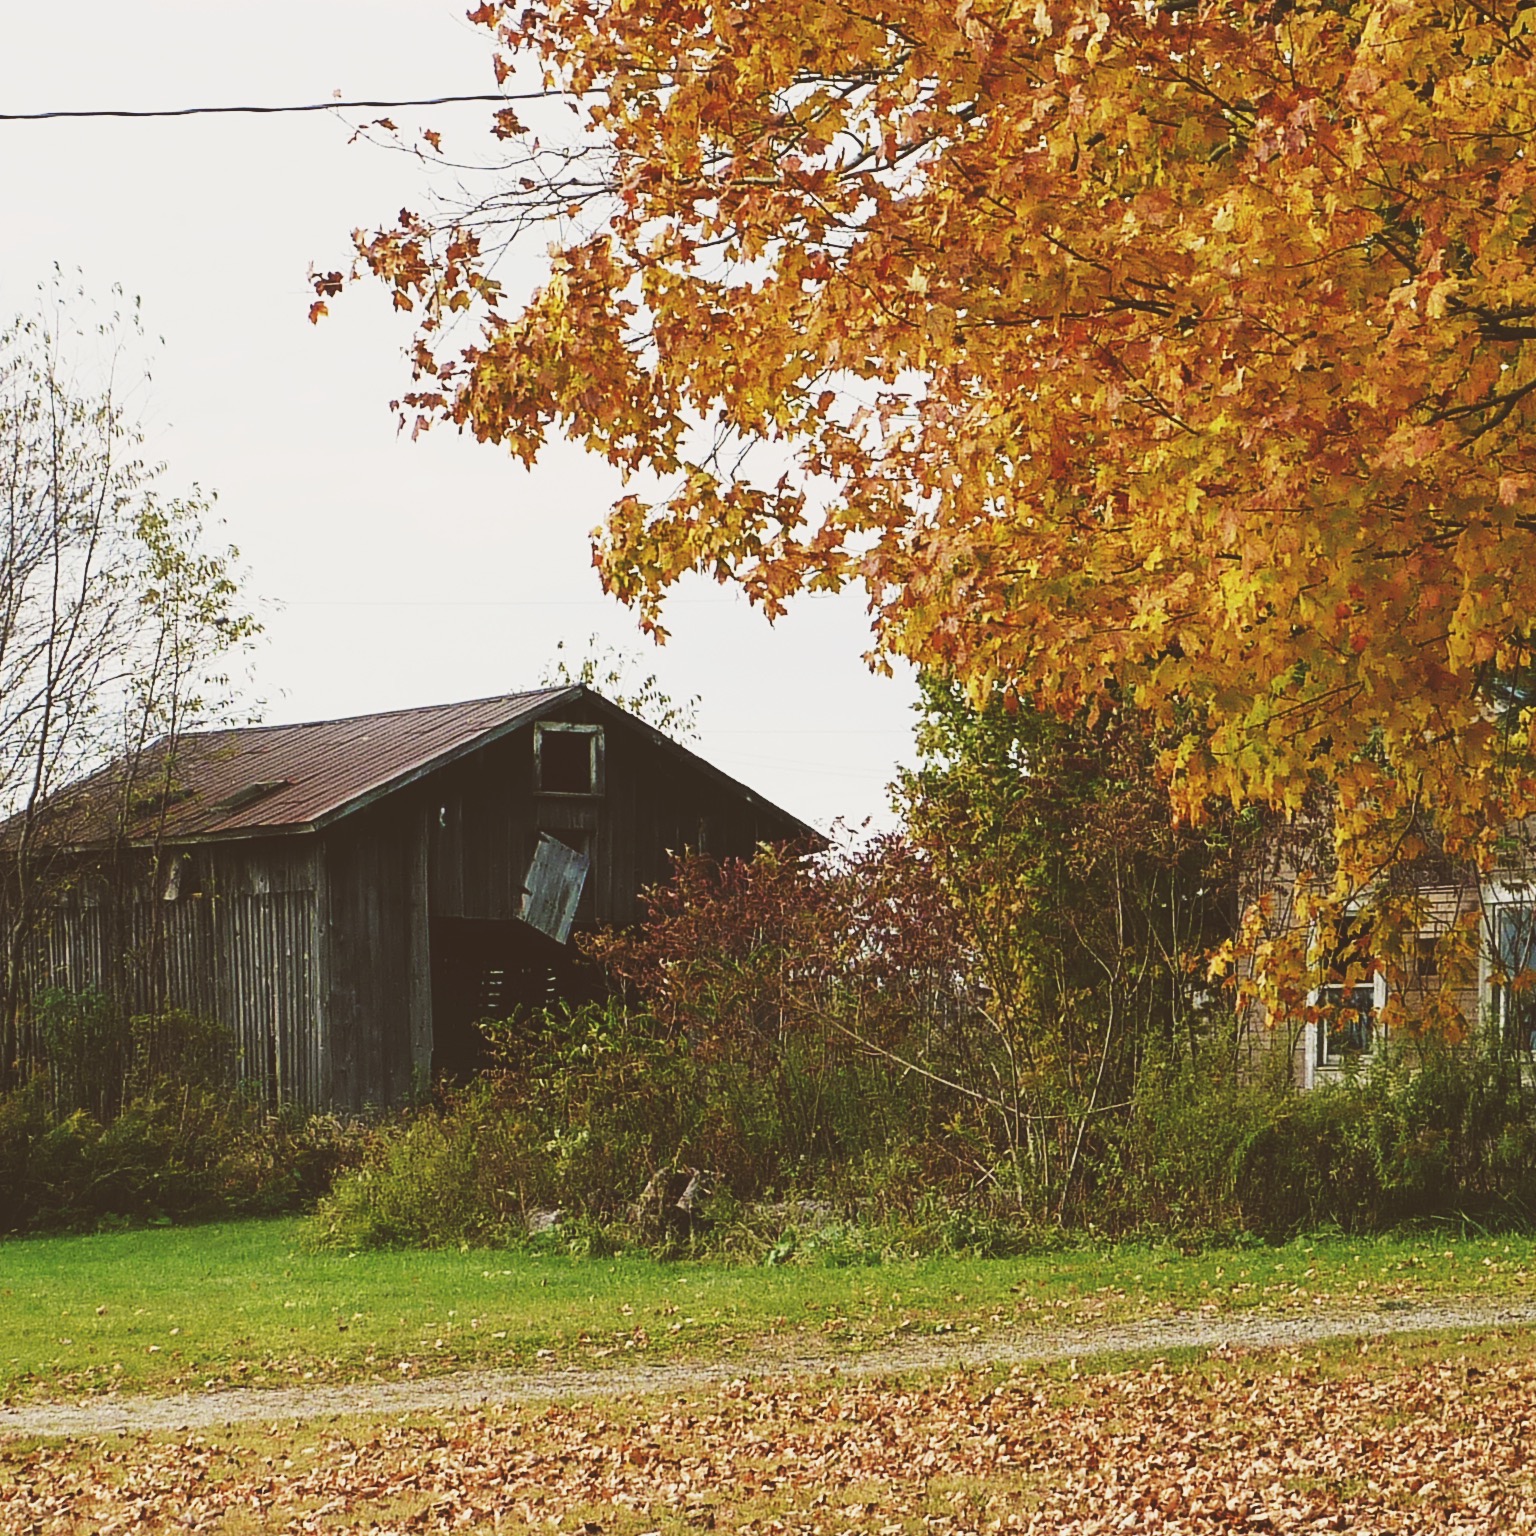
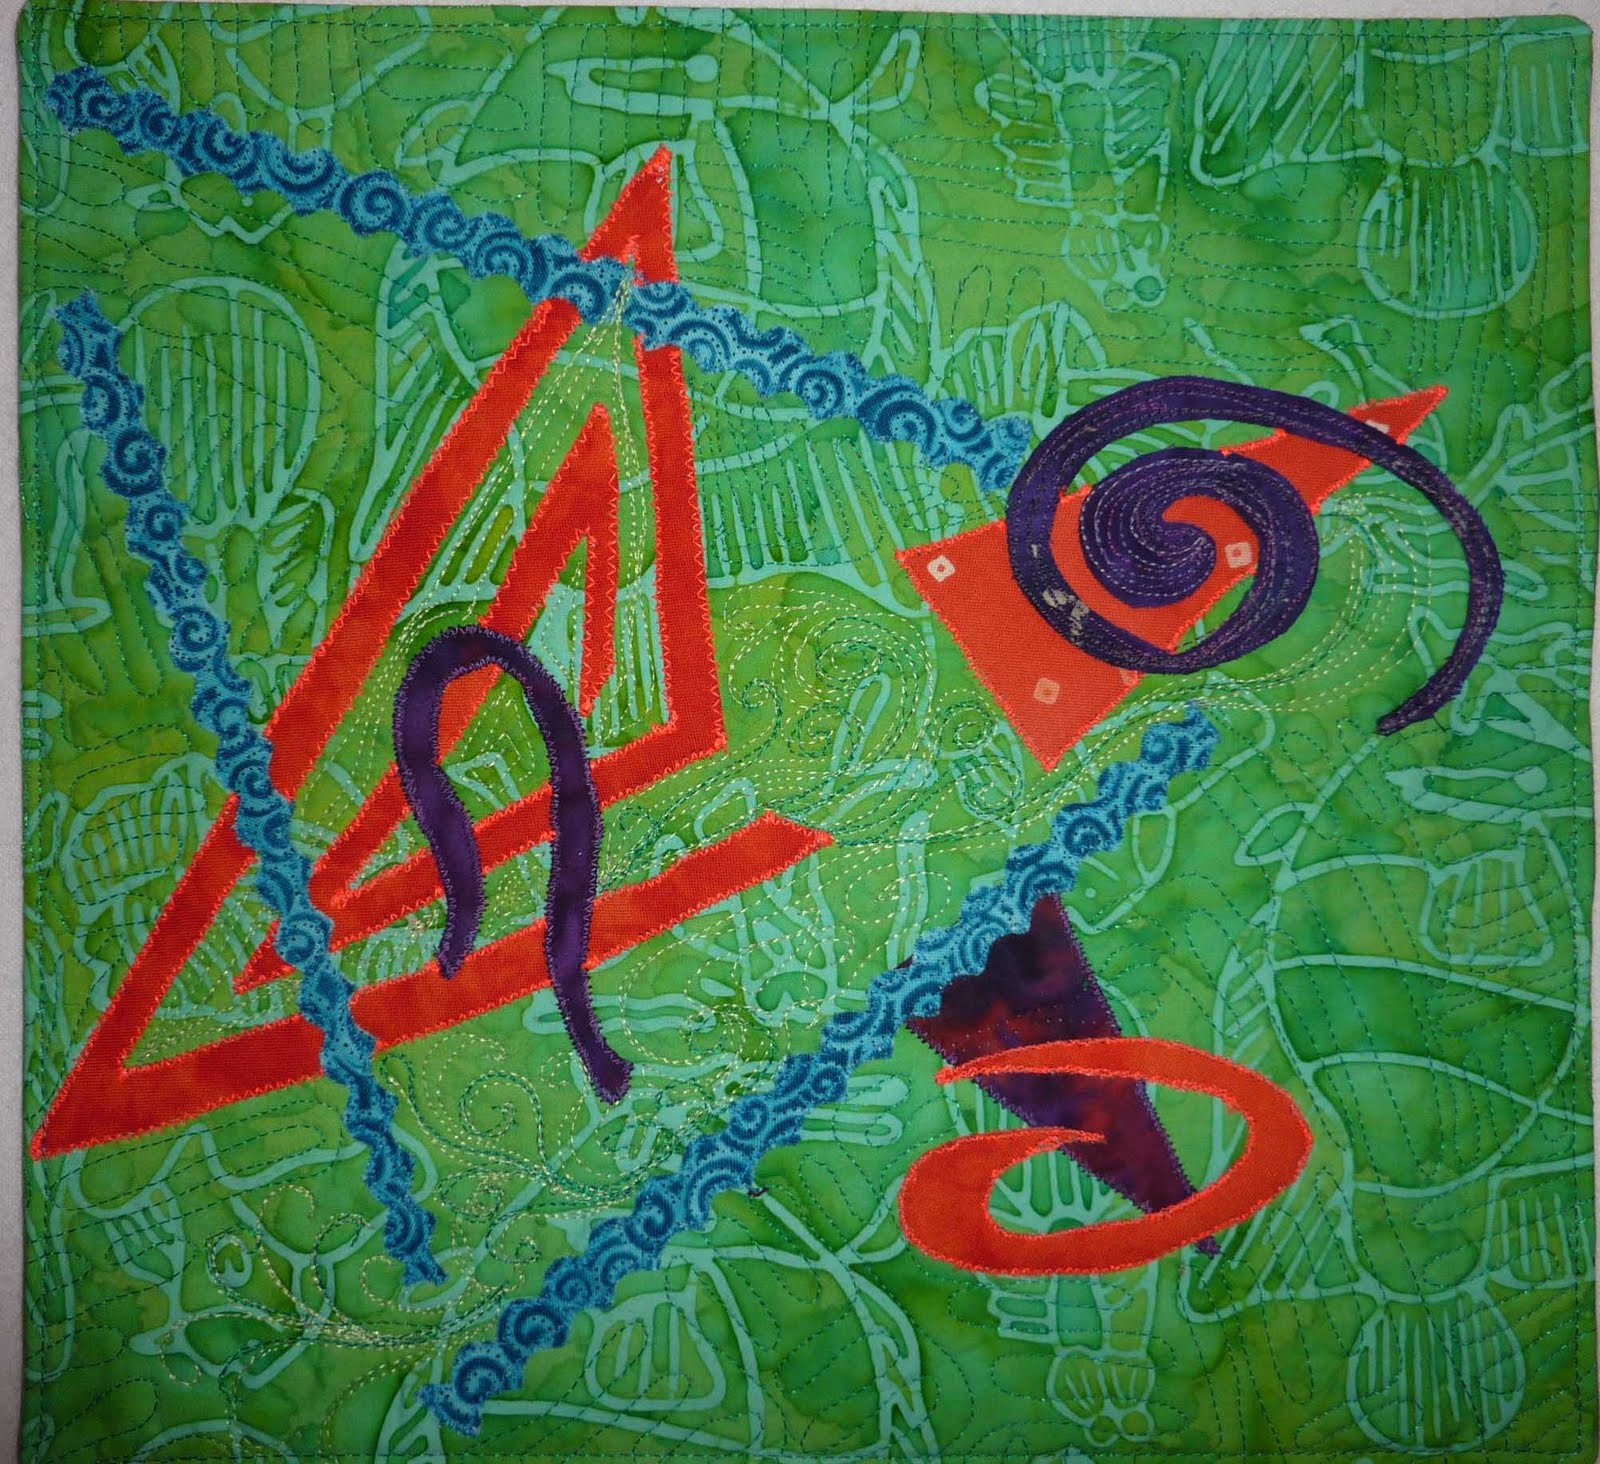
I was certain that some of these images would one day find their way into my art

P1000532 copy P1000570 P1000521

 Determine which elements to keep in the photo and which to discard.    Convert image to grey scale. Convert photo into an image suitable for making templates for quilt

IMG_2931      3black and white barn

 Assemble fabrics for construction.   I decided to use my own hand dyes and was successful with the exception of 2 that I found in my stash of commercial fabric. My goal was to use a lot of saturated brilliant color to offset the aged  and washed out look of the barn.

IMG_2936

Construct a background – All I needed was some fabric suitable for sky and some greens.  Most would end up being covered up.

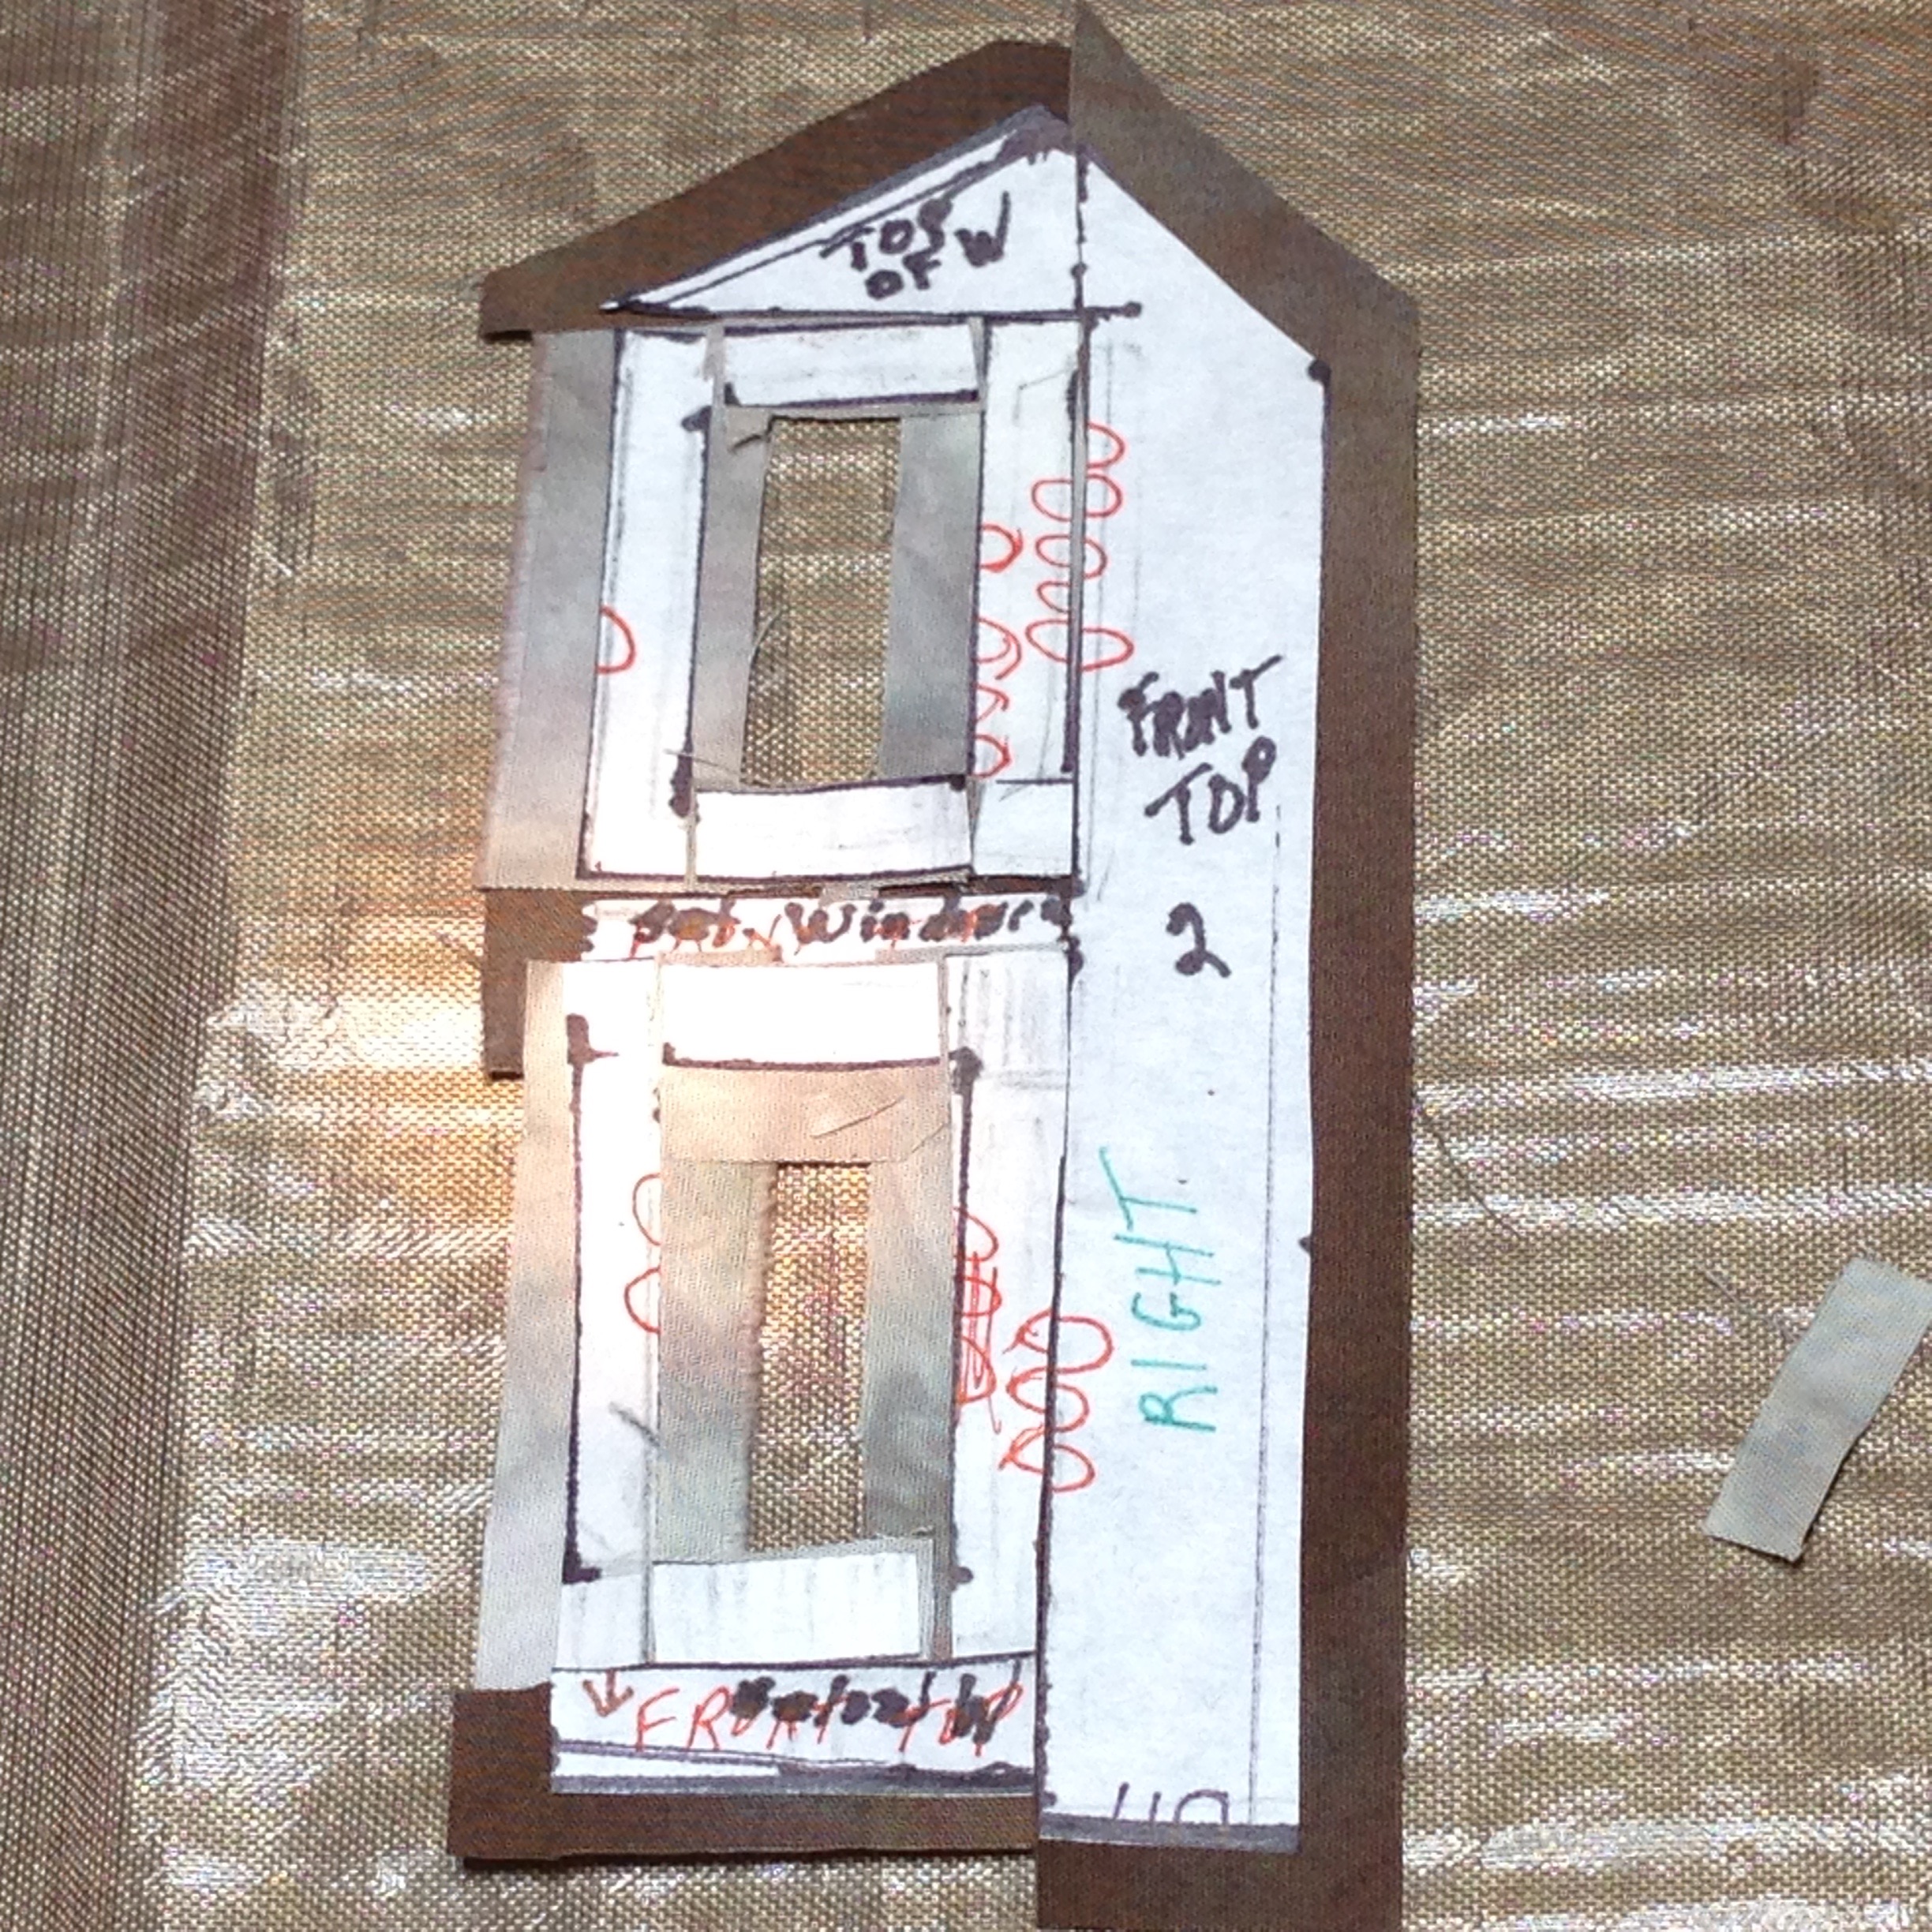
Make the templates and adhere them to the fabric

Barn Window Construction

 Determine the order of sewing down all the elements

Thread Paint the details

Sandwich and quilt the quilt

Finish the Edges

Dealing with Setbacks

Of course I was running late finishing the quilt to meet the submission deadline. So I decided to finish it pillowcase style instead of a traditional binding. Well, I tried, but that didn’t work. The quilting was too dense up to the edges and there was no way this quilt was going to be flat with that kind of a backing and edge treatment.

So I had to remove the pillowcase back and come up with something else. I determined that because the barn itself was shabby and had loose boards (think ‘threads’) all over the place, that a casual zig zag finish would be appropriate.

Of course, in the process of “turning the quilt” I had already clipped the corners. But I decided that was just fine. That little imperfection just added to the theme of this dilapidated barn in the midst of the Autumn beauty.

Barn in Autumn
Barn in Autumn

This quilt is part of this year’s SAQA Art Quilt Auction beginning online September 18, 2015

The SAQA Art Quilt Auction Begins 9/18

Art Quilt, Art Quilts, Fiber Art, Haiku, Journal Size, Poetry, Poetry and Photography, Quilts

Procrastination – Observations: Visual and Poetic


One of the keys to overcoming any bad habit is to have some understanding of why we do it in the first place. So why don’t we “just do it” a la a Nike commercial and put off some tasks for later? And I’m not just talking about doing the dishes. I’m talking about taking care of tasks that we enjoy as well – could be sewing or gardening or whatever.  

For some it could be some underlying fear of failure or even,  for some others  – fear of success.  Maybe we don’t think that we have the specific skill required or talent needed to complete the task and that we will face ridicule.  Maybe we’re in conflict about the task at hand and aren’t even sure it’s something that we want to do. Maybe we’re overwhelmed by other demands in our lives and can’t give adequate attention to this newer demand. Maybe we don’t have a clear enough image of exactly what it is we want to accomplish.  Maybe the task is boring compared to some other activity that could substitute.  I’m far from qualified to give out any advice here but maybe there’s some food for thought in the above possibilities.
I considered these ideas and wrote the following Haiku:

  Demands, wants, needs, musts
      I want to……….I don’t want to
      Relentless tick – tock

I decided that I would set specific goals for the art work that would accompany this haiku:
1. to complete the work in a set amount of time – time that I alternatively would have spent that evening playing a game online .   I thought that it was not unreasonable to have the main designing and rough assembly done in 45 minutes.  I would do the quilting and finishing the following day.
2.  I have a plastic storage box full of previously fused cotton scraps – some of which are remnants from previous projects.  My challenge was to use ONLY fabrics from that particular box.  Believe me there were plenty to choose from.

The completed piece is approximately 12 inches by 12 inches. 

It demonstrates how focus, definition and time limits overcame procrastination in one dedicated to that art.


Indispensable Tools, Tutorials

Studio Space and Design Walls

Until just recently my sewing/art/studio shared space with our guest room. A lot of you  know the drill:  Company’s coming, start wheeling out the portable carts, last minute putting away of supplies (that you can’t find for weeks after your company goes home) and no access to your machine for a week.  So along with my decision to go on “hiatus” from real estate I decided to convert my home office to a dedicated art studio. Number one requirement – a design wall – so sorely needed. Current design wall being the sliding doors of the guest room closet or a sheet on the floor for larger projects.  The futon had to go and the ideal spot for it was my husband’s study.  Of course he didn’t know anything about that but it didn’t take long to convince him that it was a wonderful idea :-).  So I helped clear space for the futon and we proceeded to take it apart.

And that’s when the fun began.

Picture this – a queen size mattress – a relatively narrow door – 2 height challenged people

So we each have an end of the mattress – John’s pulling I’m pushing and he starts doing some deep cleansing “labor” type breathing – saying “now push” breathe – Well I lost it – rolling on the floor lost it.

Shortly thereafter, with the mattress out of the room I left John to tackle the job of dismantling the frame. I couldn’t watch.  It was like watching a scary movie.

Next step was to turn that now beautifully empty wall into my dream design wall.  I had purchased some fiber board and proceeded to put it up using double sided tape to adhere it to the wall.

Measure your space carefully before you buy the fiber board.  It comes in a variety of sizes and I decided on the 30″ by 20″ size, easier to handle and more versatile so far as filling the space. You can get it in one of the chain crafts stores.  I was lucky to find it on sale.       You also want to note where your electrical outlets are so that you don’t cover them up.  I started at the top because I didn’t want to run out of wall space with leftover fiber board to trim if possible. I figured that I would use the space at the top more readily than near the floor anyway.

.

My other purchase was a length of white cotton flannel yardage. I calculated the width of the board and multiplied by 2. Then I cut the yardage in half so that I ended up with 2 lengths the width of the design board.  I used a staple gun to attach the flannel to the fiber board being careful to keep it taut and straight.

The last touch was to add a sturdy curtain rod across the top.  This will be used to hang quilts for photographing.  This design wall is now in constant use and I have found the hanging rod to be a necessary tool as well.

If you have any questions about how I did this please leave me a comment and I’ll do my best to provide an answer.