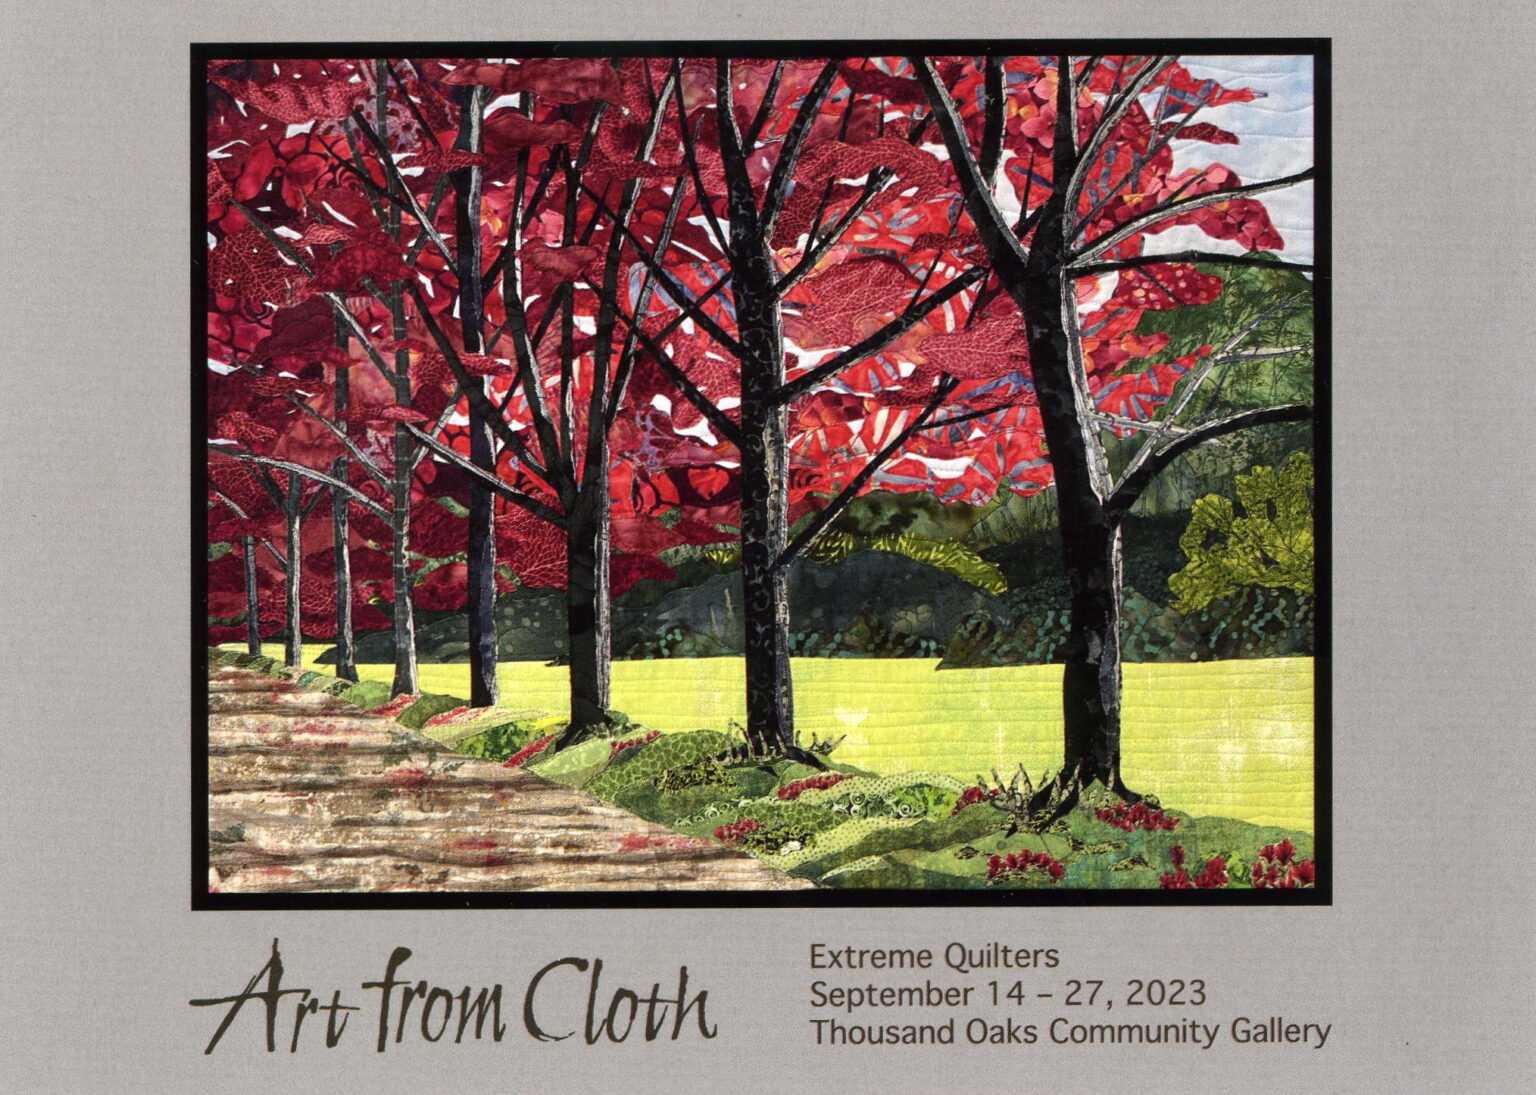
Art From Cloth is an annual art exhibit presented by Extreme Quilters of Southern California. It opened this past Thursday at the Thousand Oaks Community Gallery in T.O., California and runs through 9/27/23.
The Show is open Daily from 10am to 5pm. There is no admission fee.

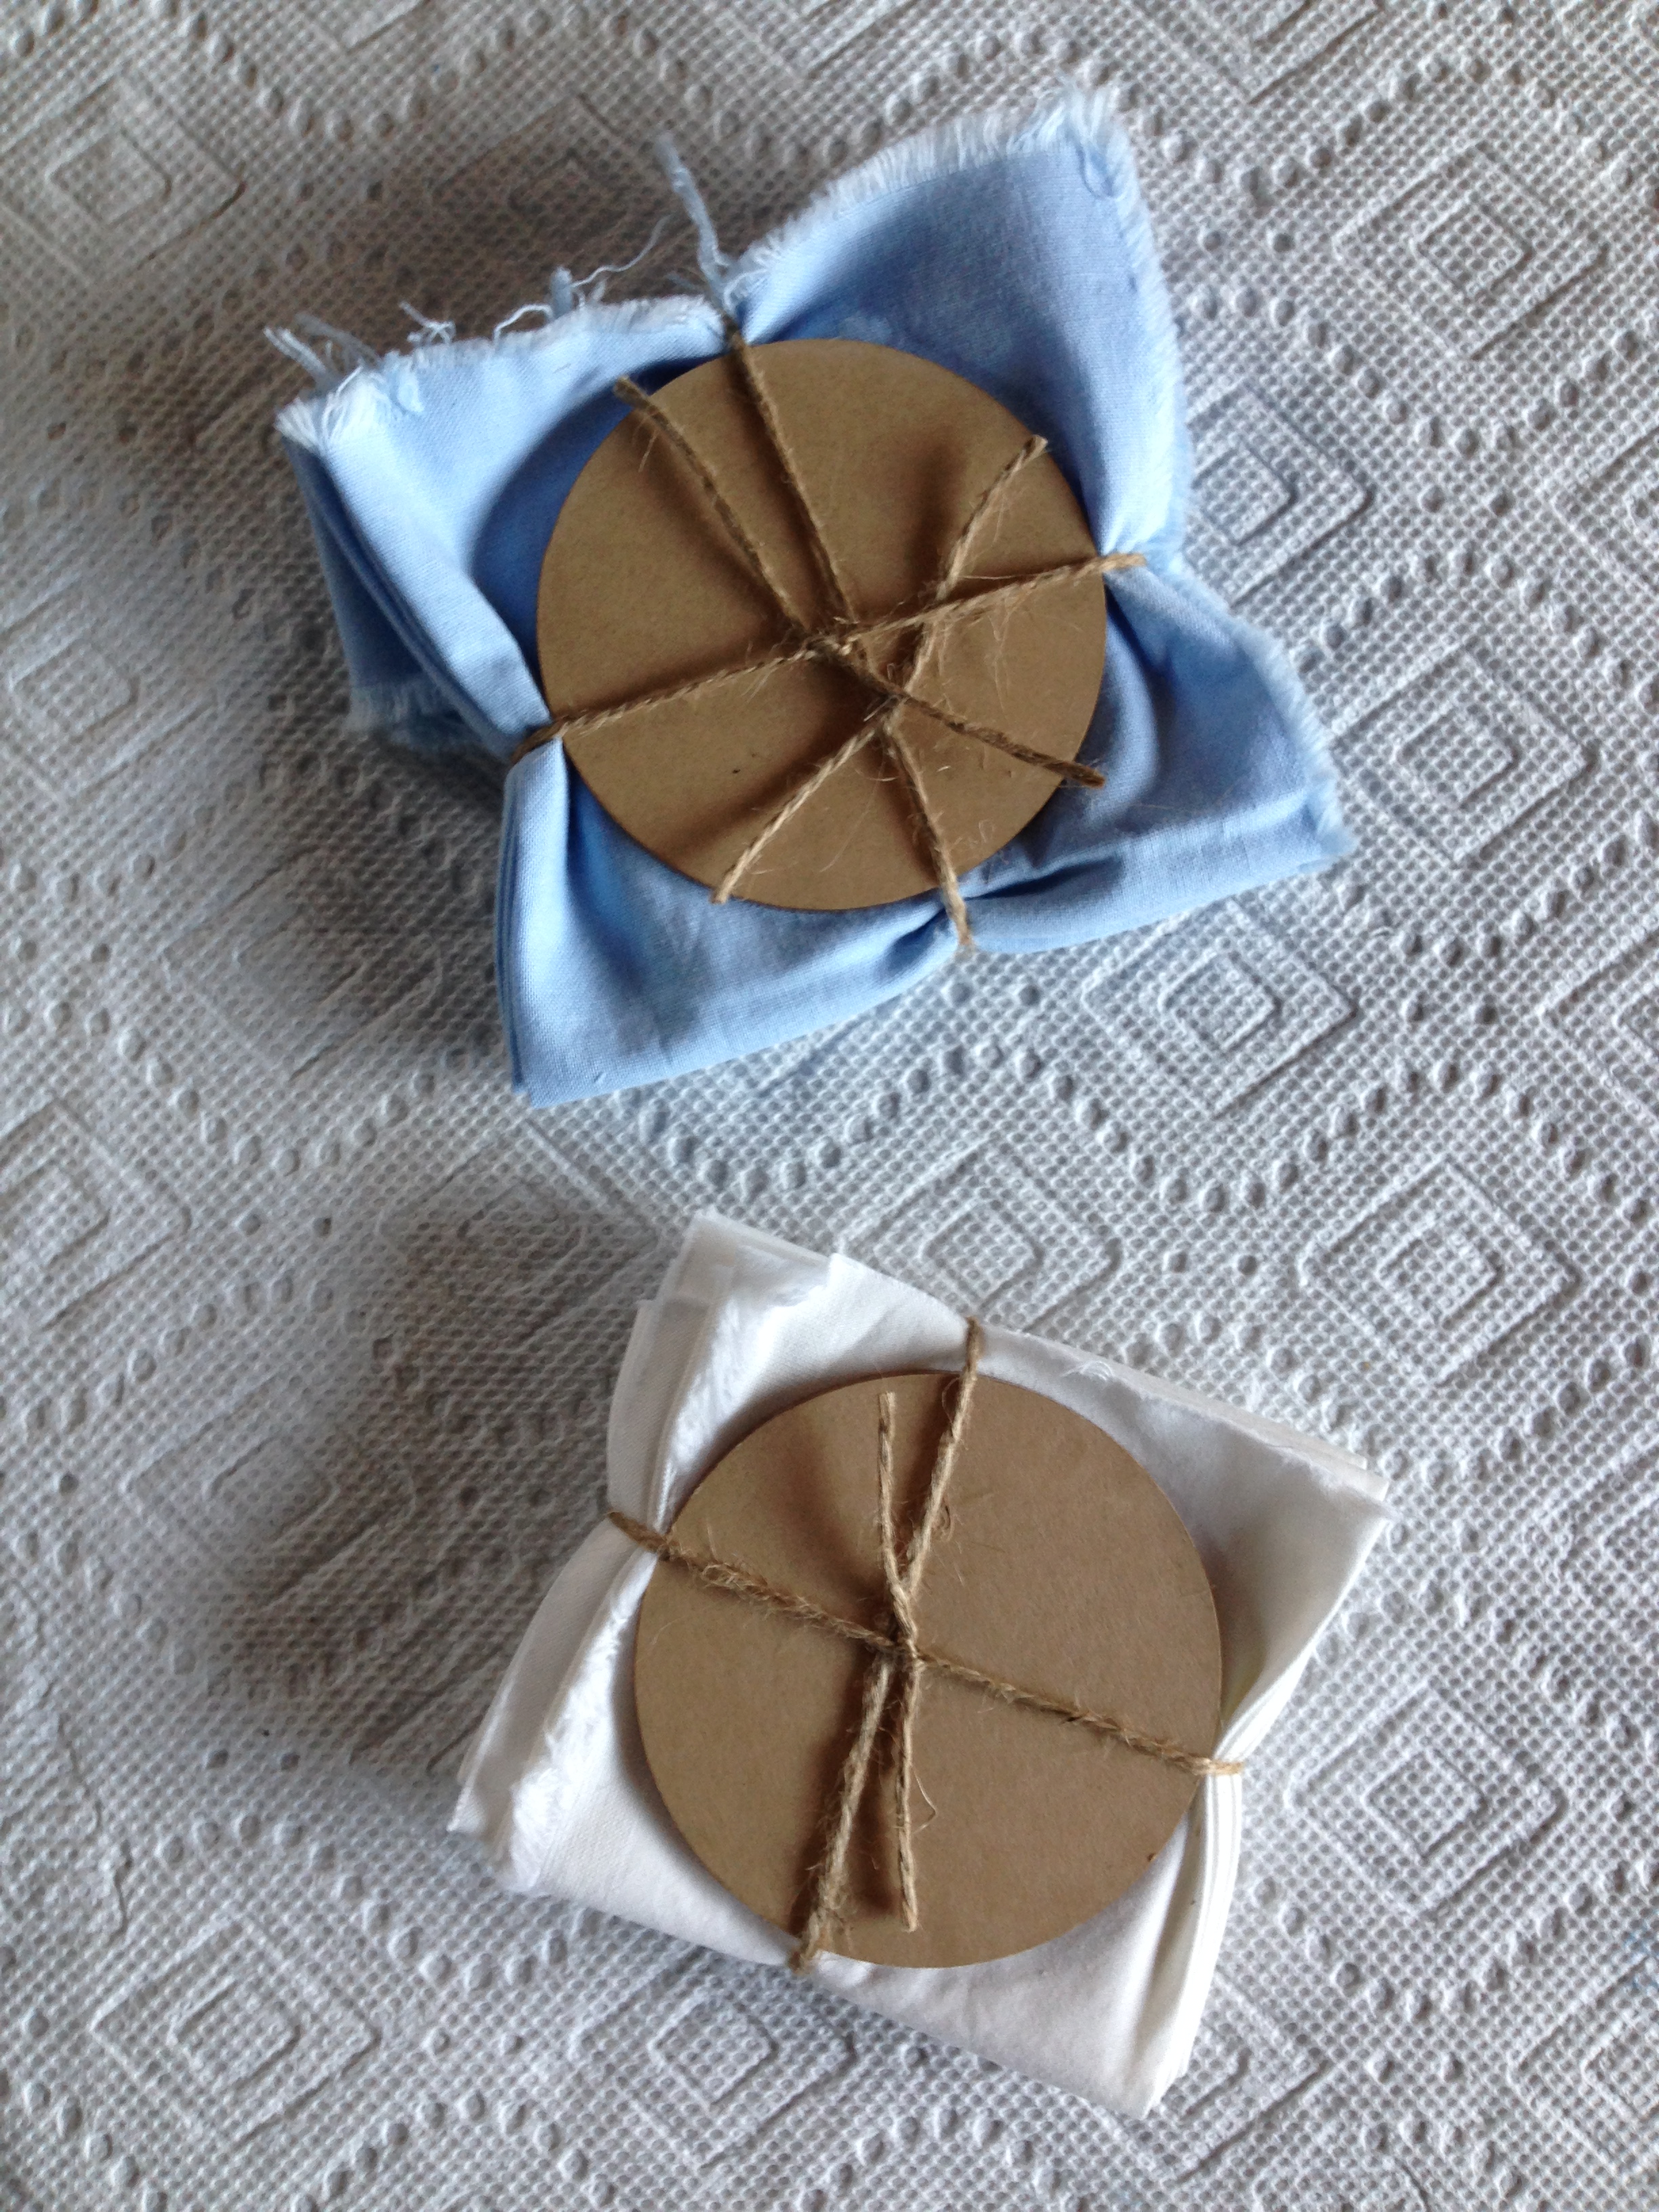
A bonus feature of the show is always our Gift Boutique. You will mostly find small art works by our members in the boutique – ranging from fine jewelry to hand dyed fabric and pottery. You may even find a previously sought-after issue of an art journal or a special book that will guide you in your stitching adventures.
Annual Challenge Quilts
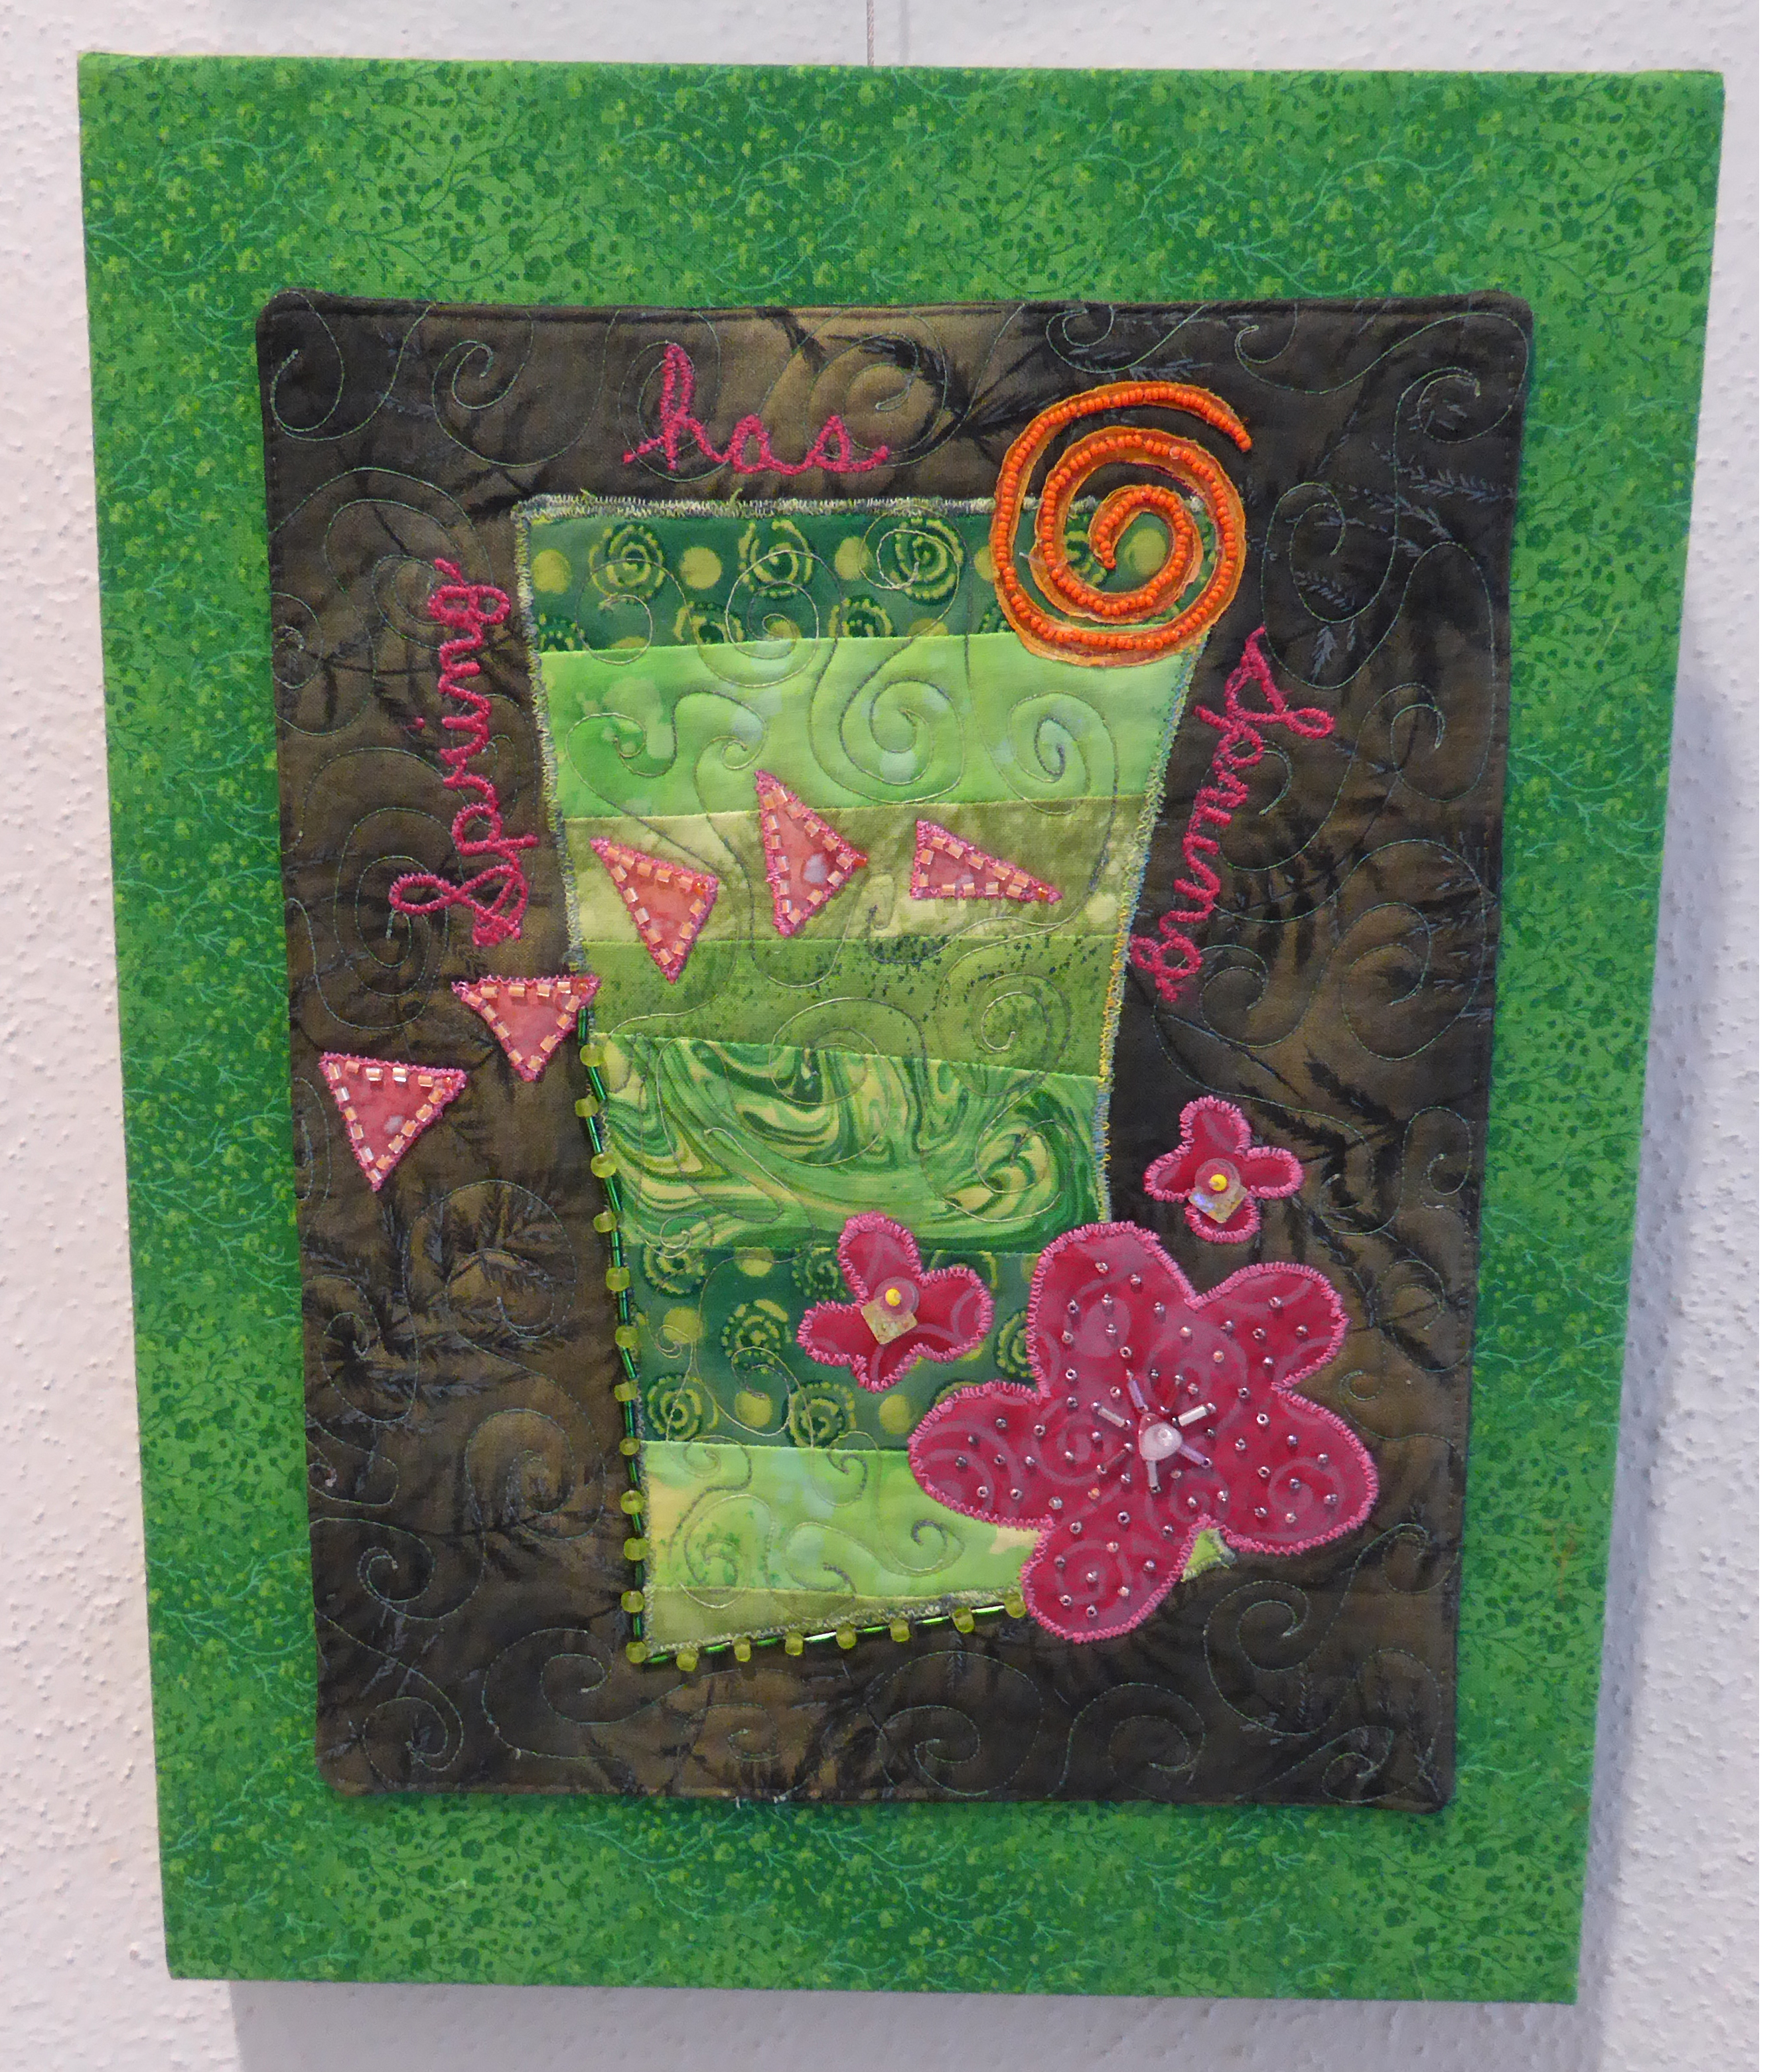
Every year the group comes up with a special theme for our quilt challenge. This year it was – to design and make a quilt that portrays an Idiom or Adage.
The American Heritage Dictionary defines Idiom: A speech form or an expression of a given language that is peculiar to itself grammatically or cannot be understood from the individual meanings of its elements, as in keep tabs on.
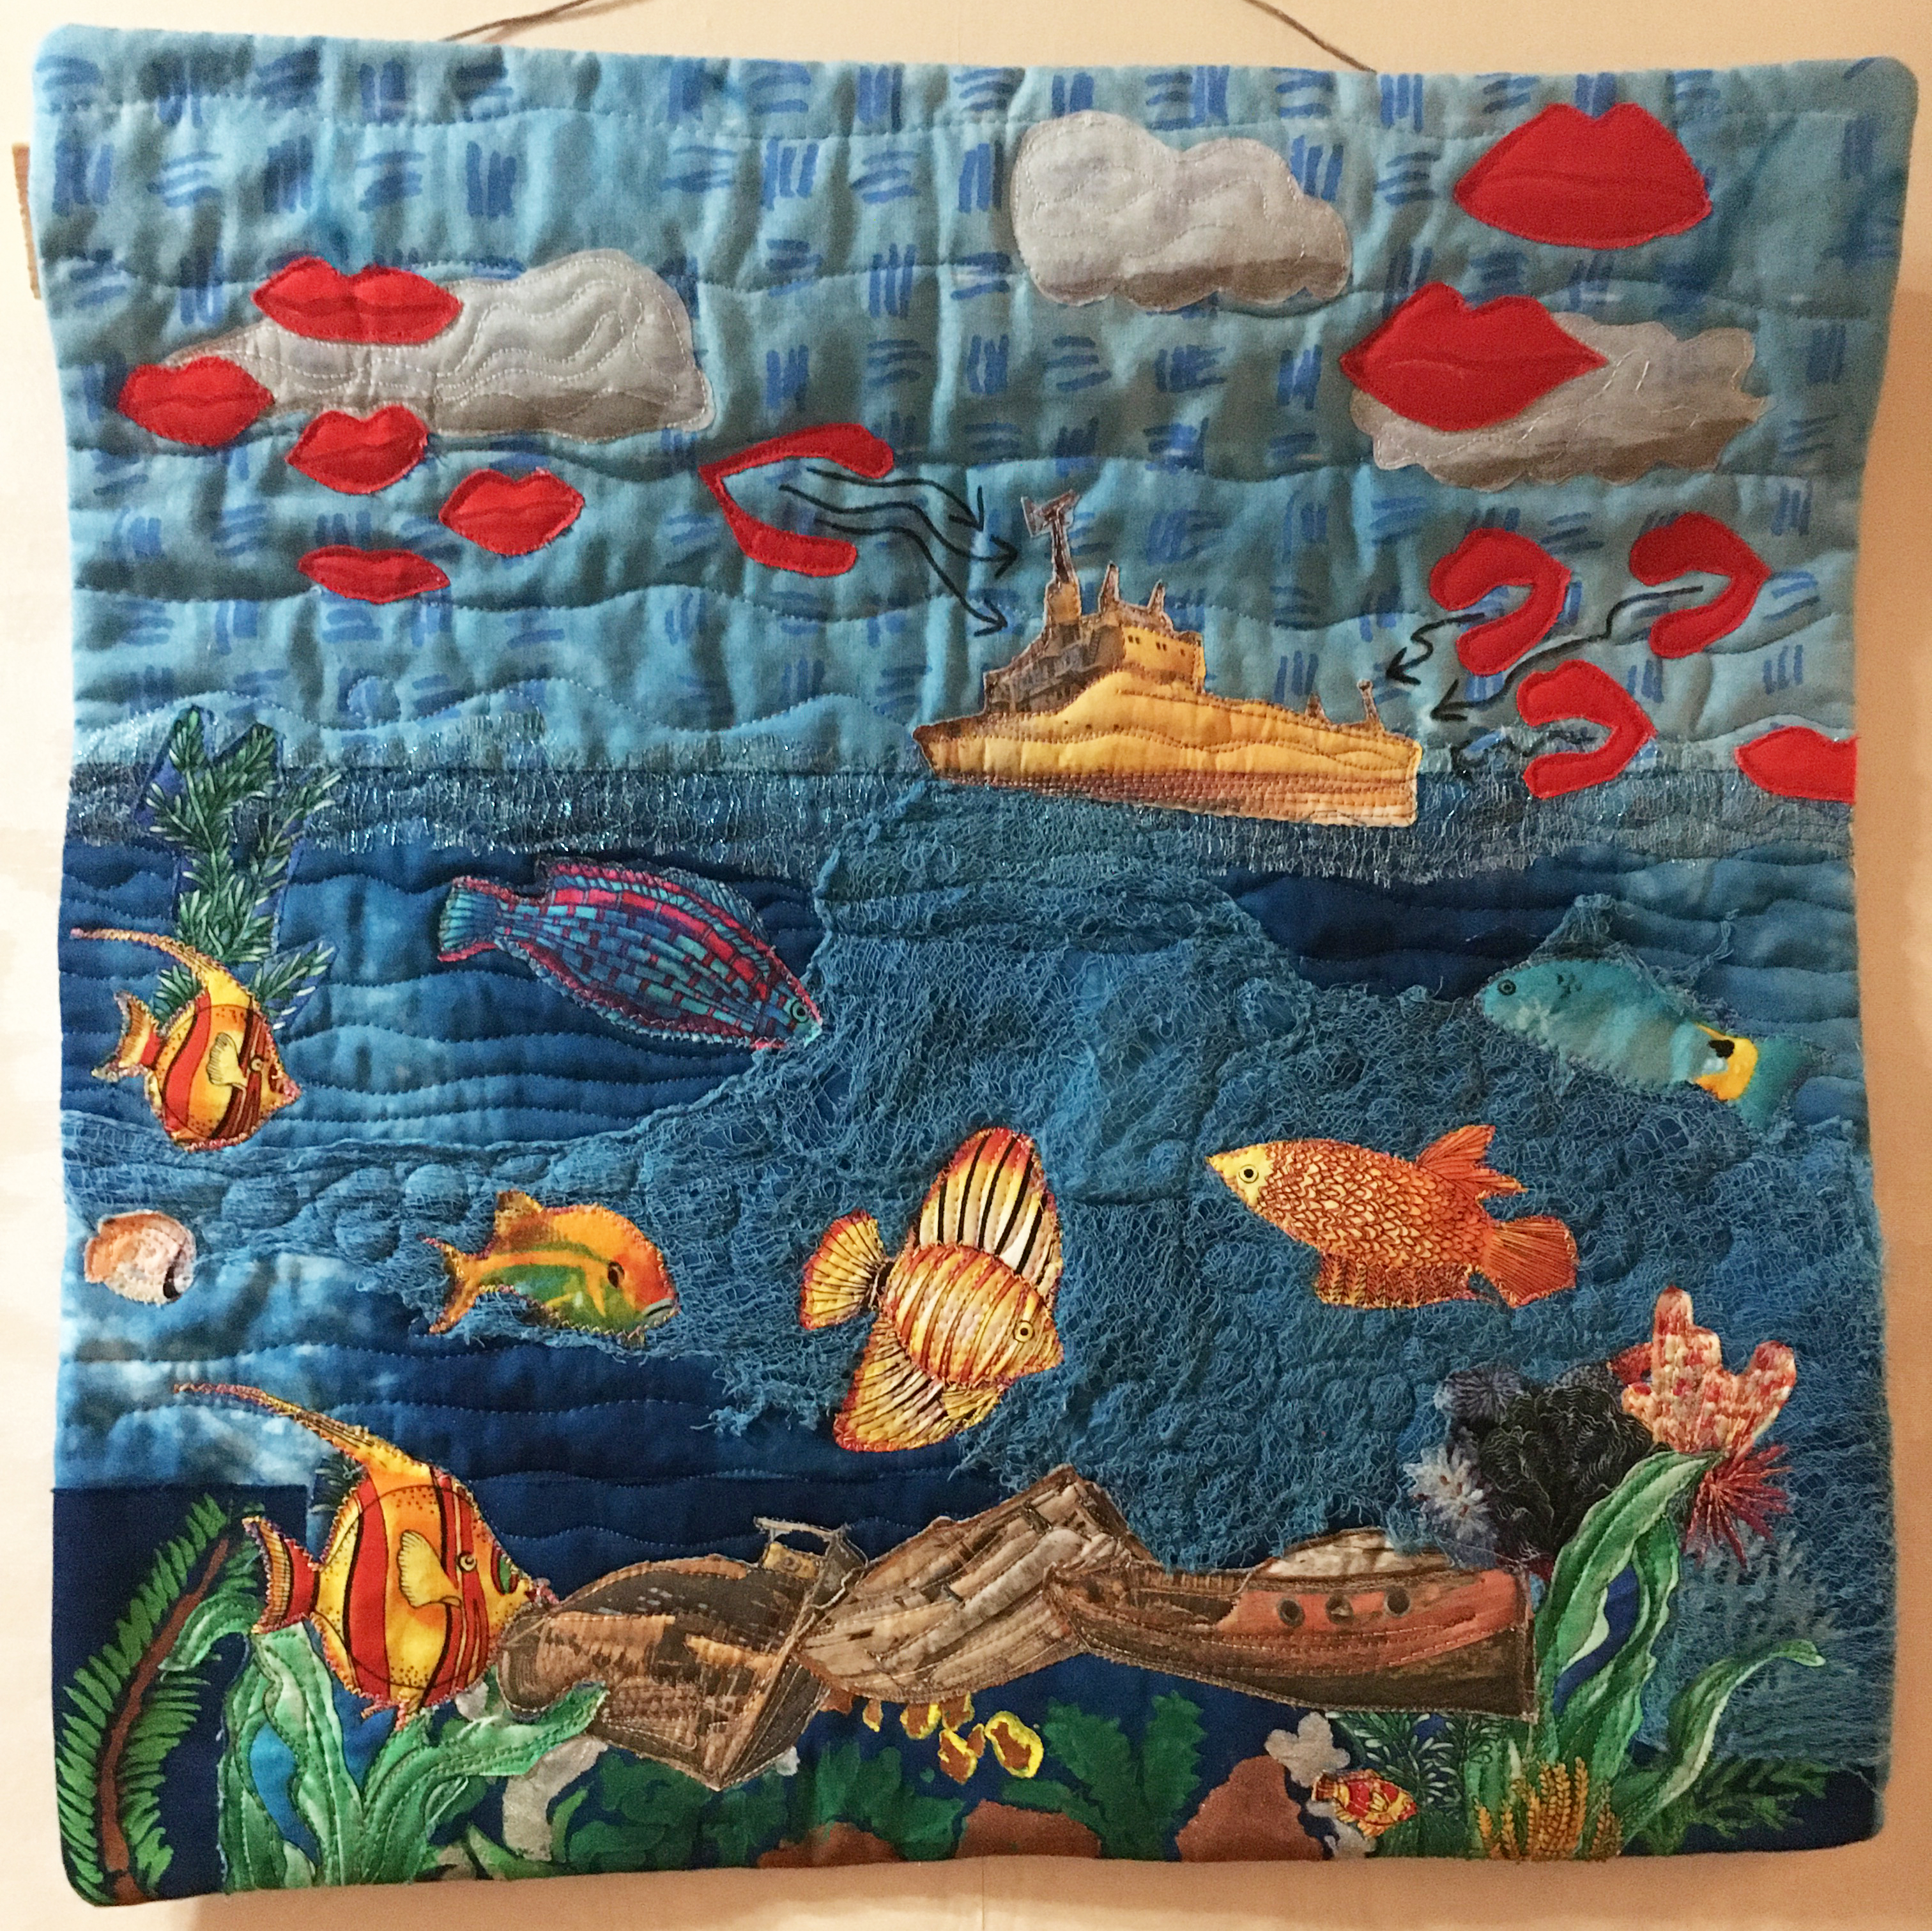
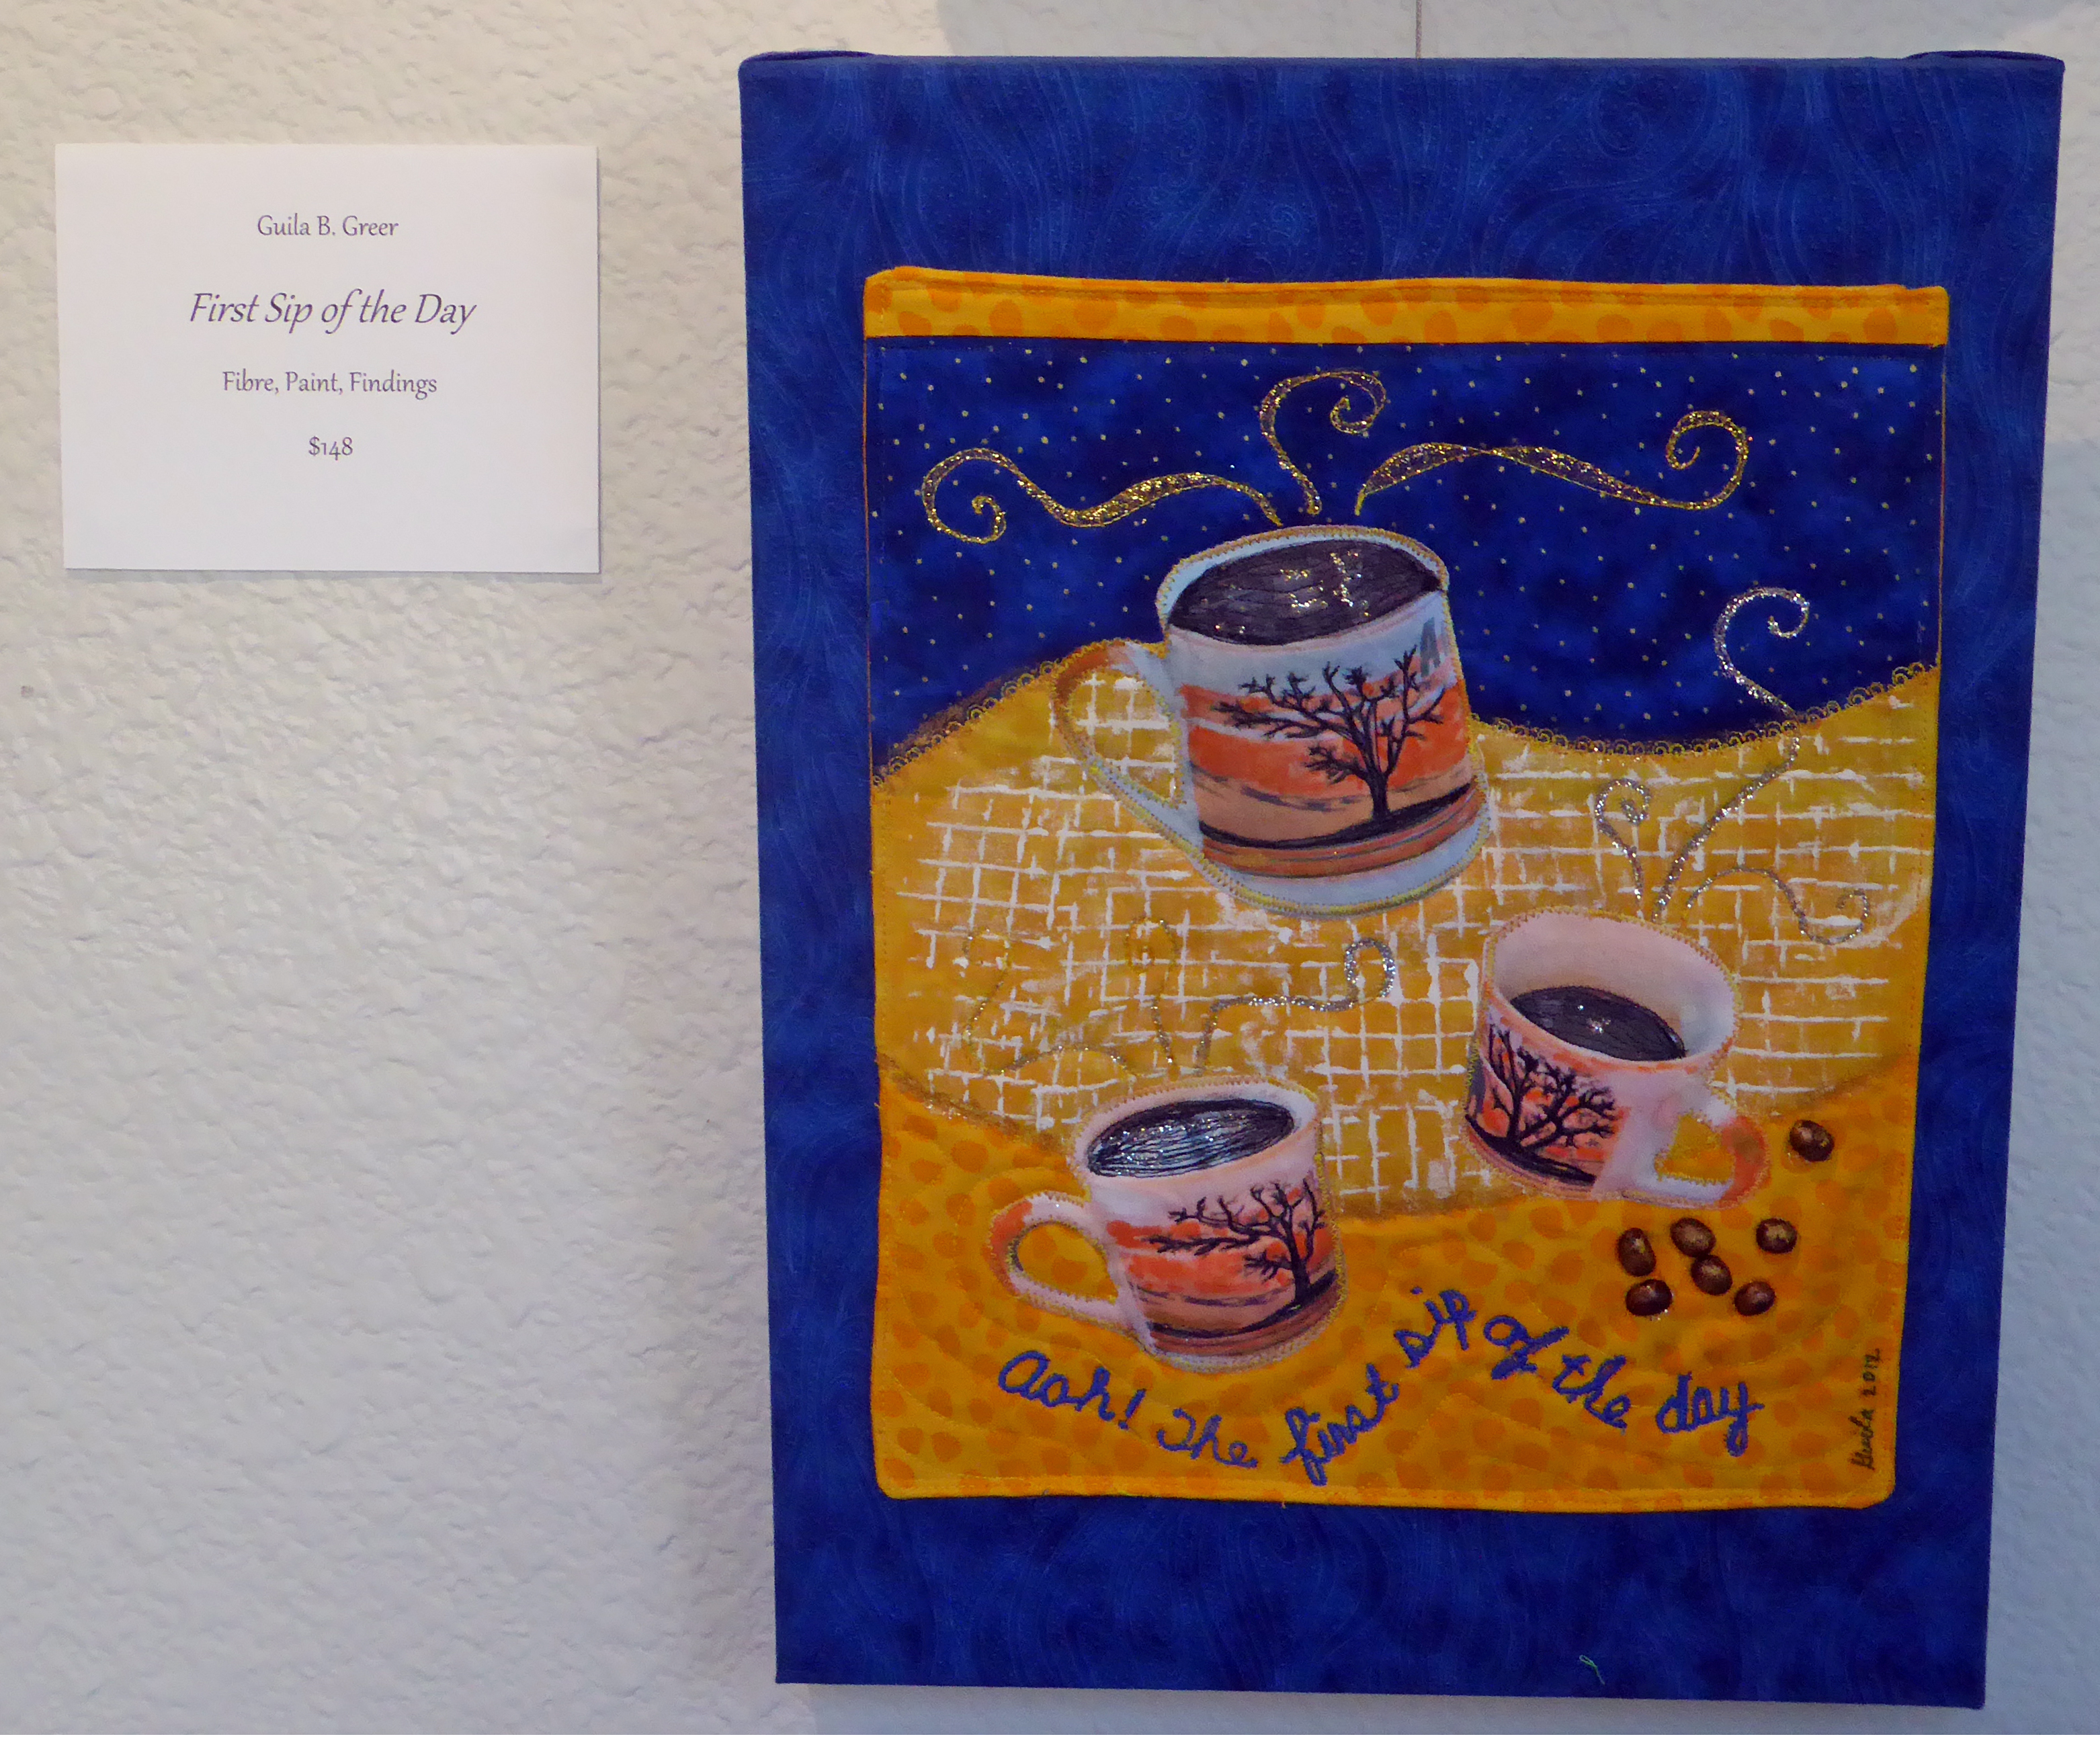
My contribution to Idioms – What a fun challenge to work on. Can you guess the title? (answer below)
If you’re in the area and have a chance to come to the show – please do.
Thousand Oaks Community Gallery, 2331 Borchard Road, Unit A, Newbury Park, California. Open Every Day through Wed. Sept. 27 from 10am until 5:M
Please contact me if you have any questions. You can message me at: honeyquilts@gmail.com or email using the same address.
ANSWER: the name of my idiom quilt is Loose Lips Sink Ships!


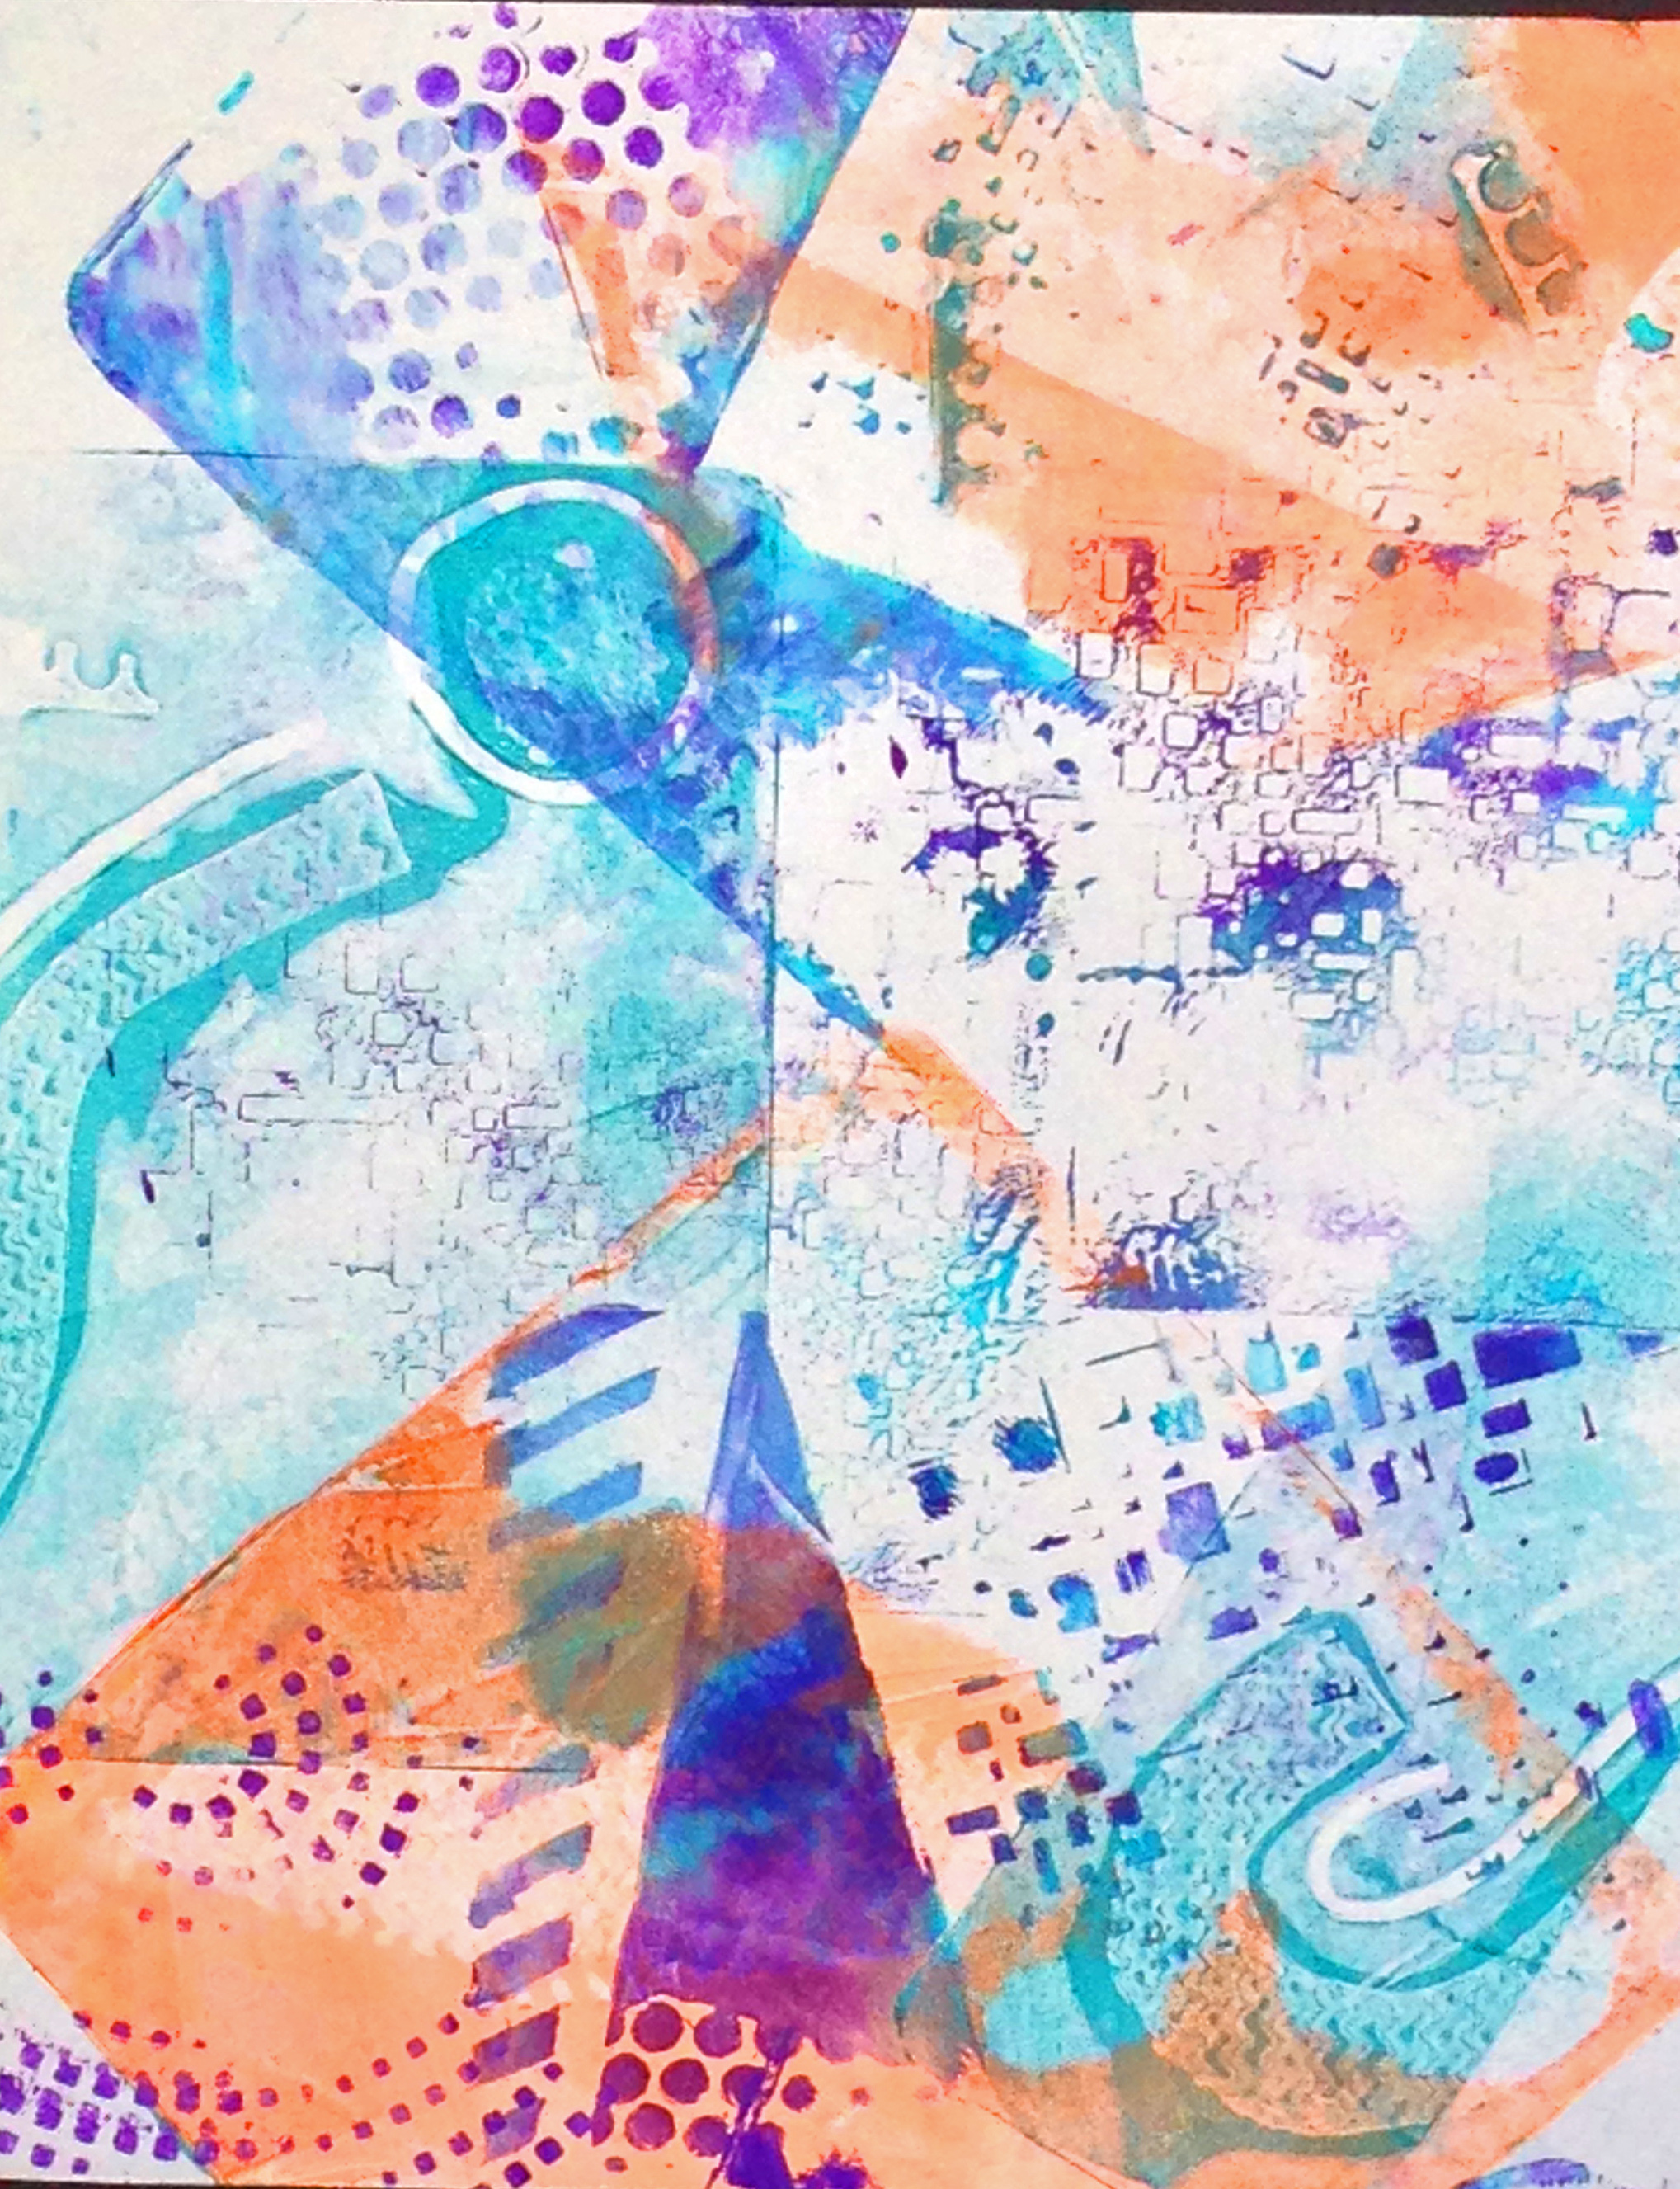
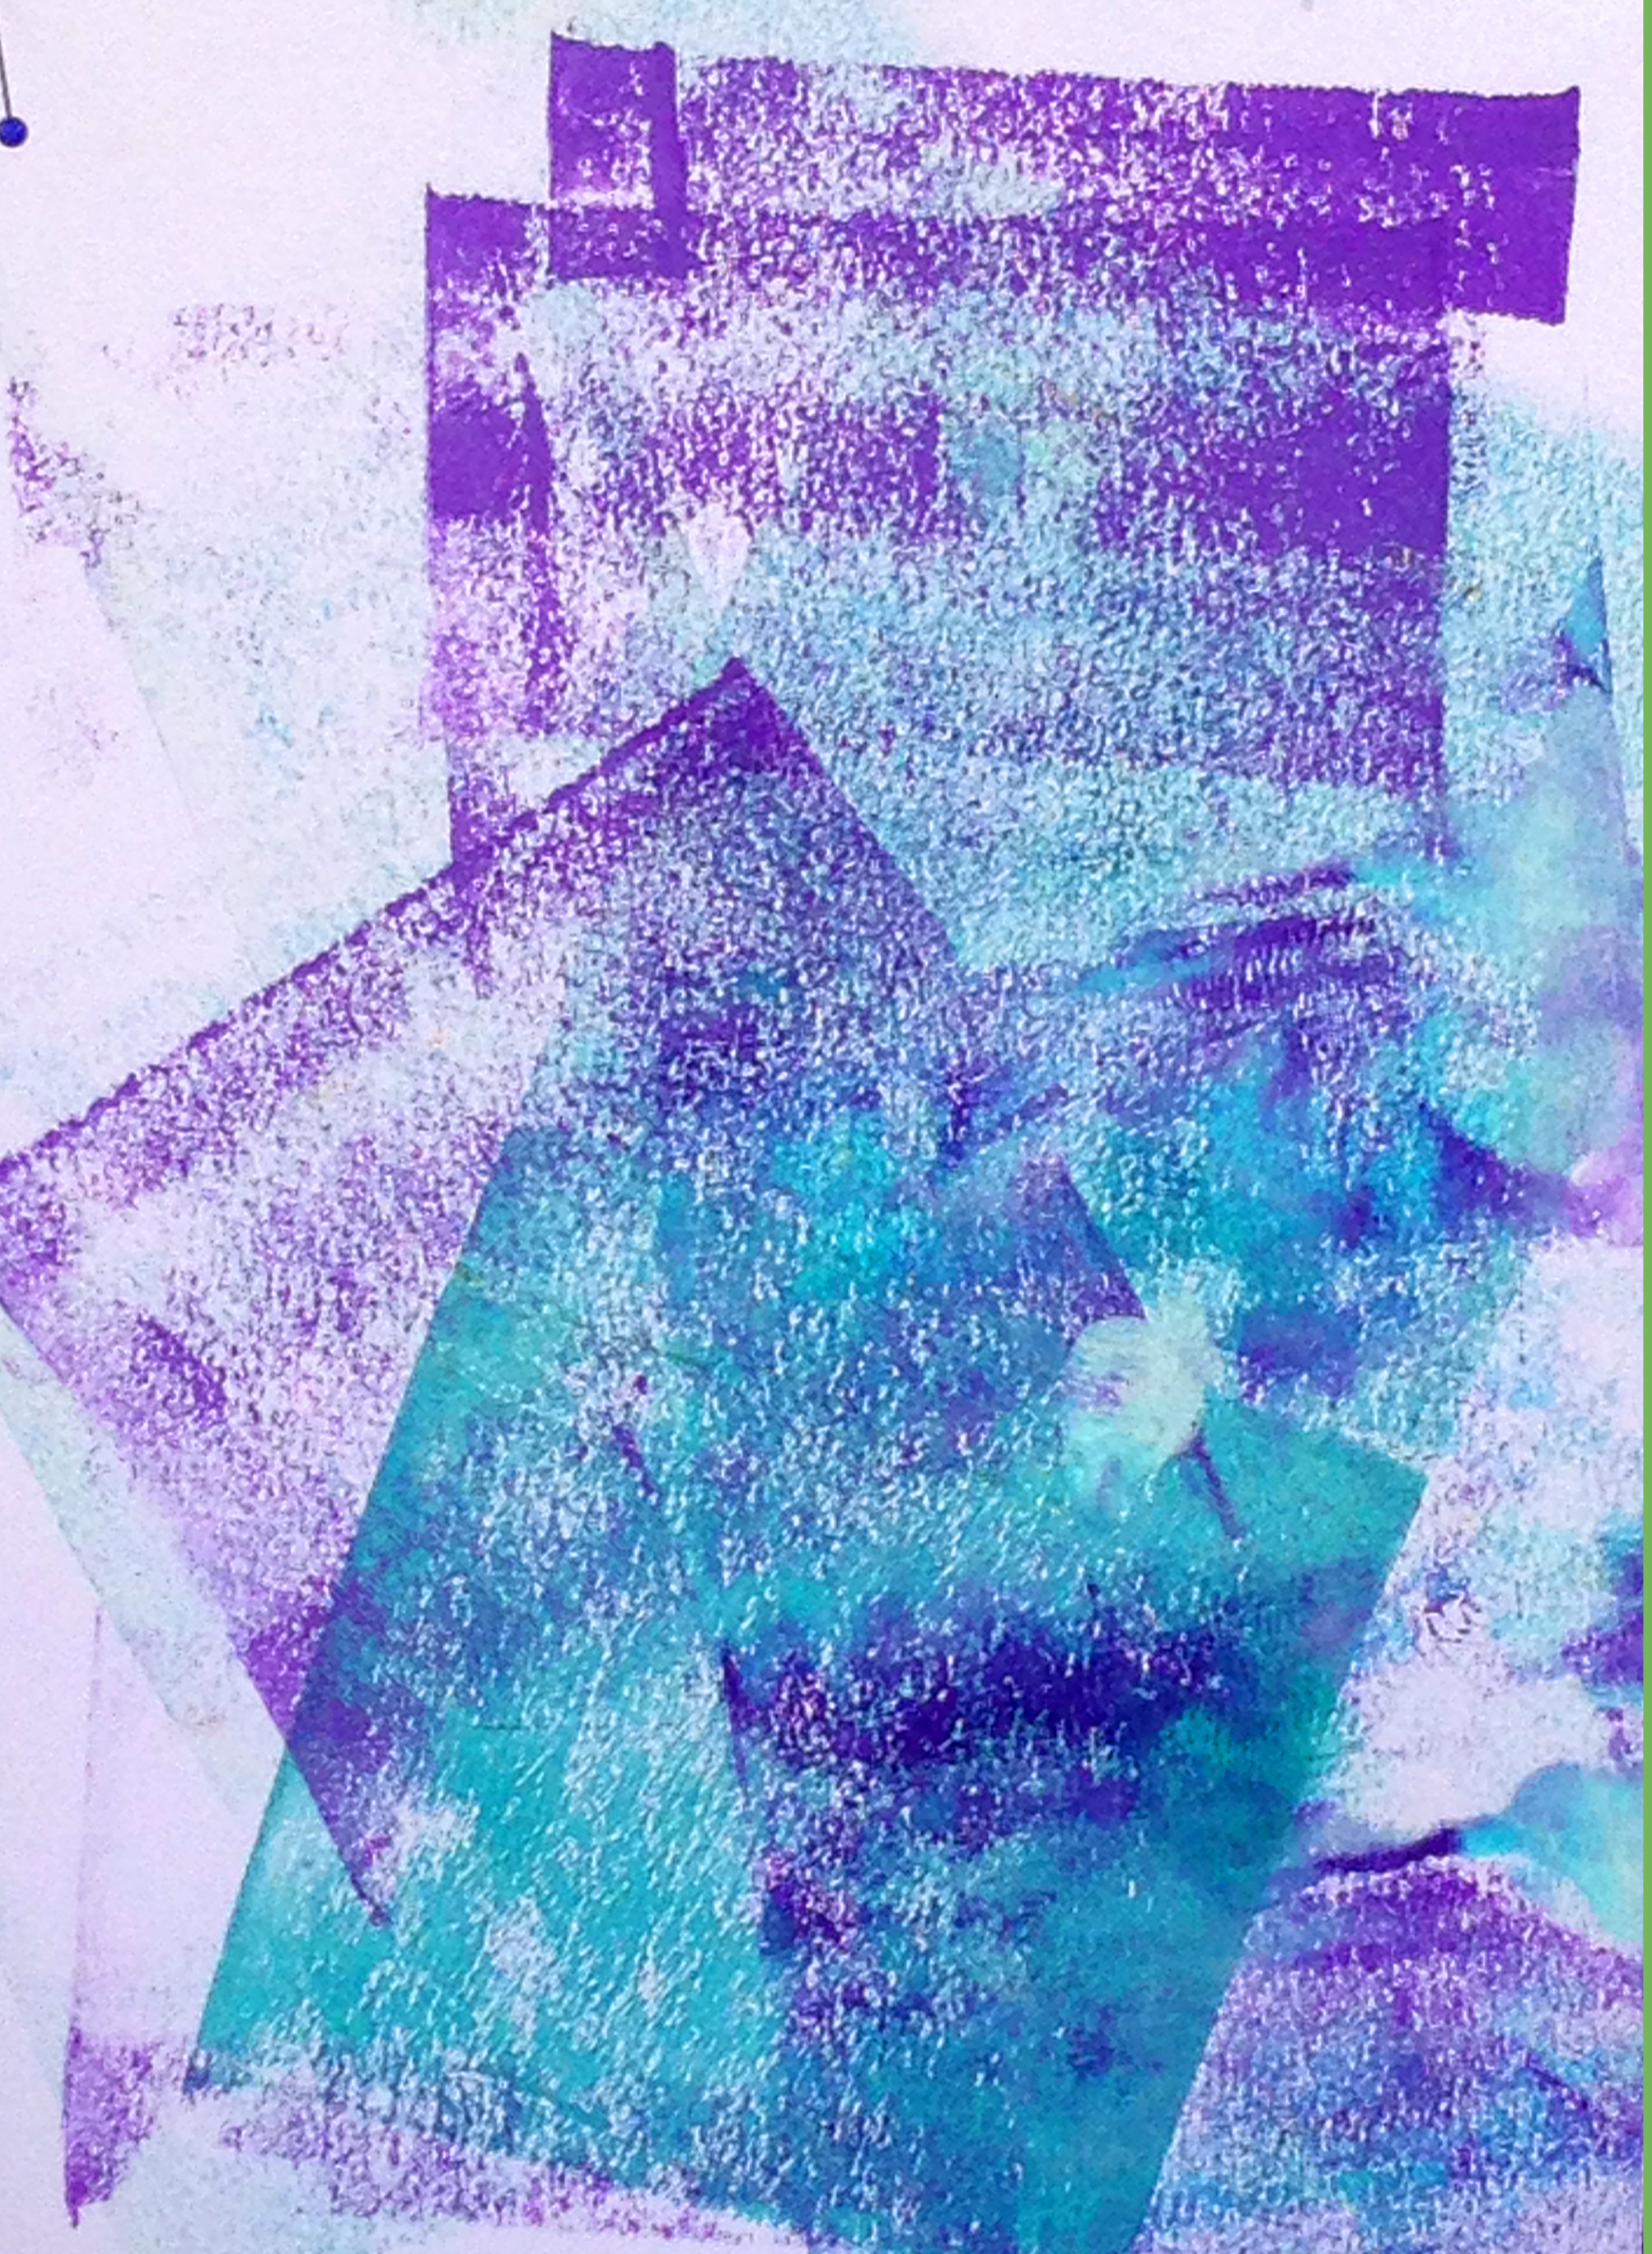
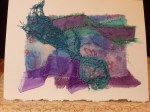
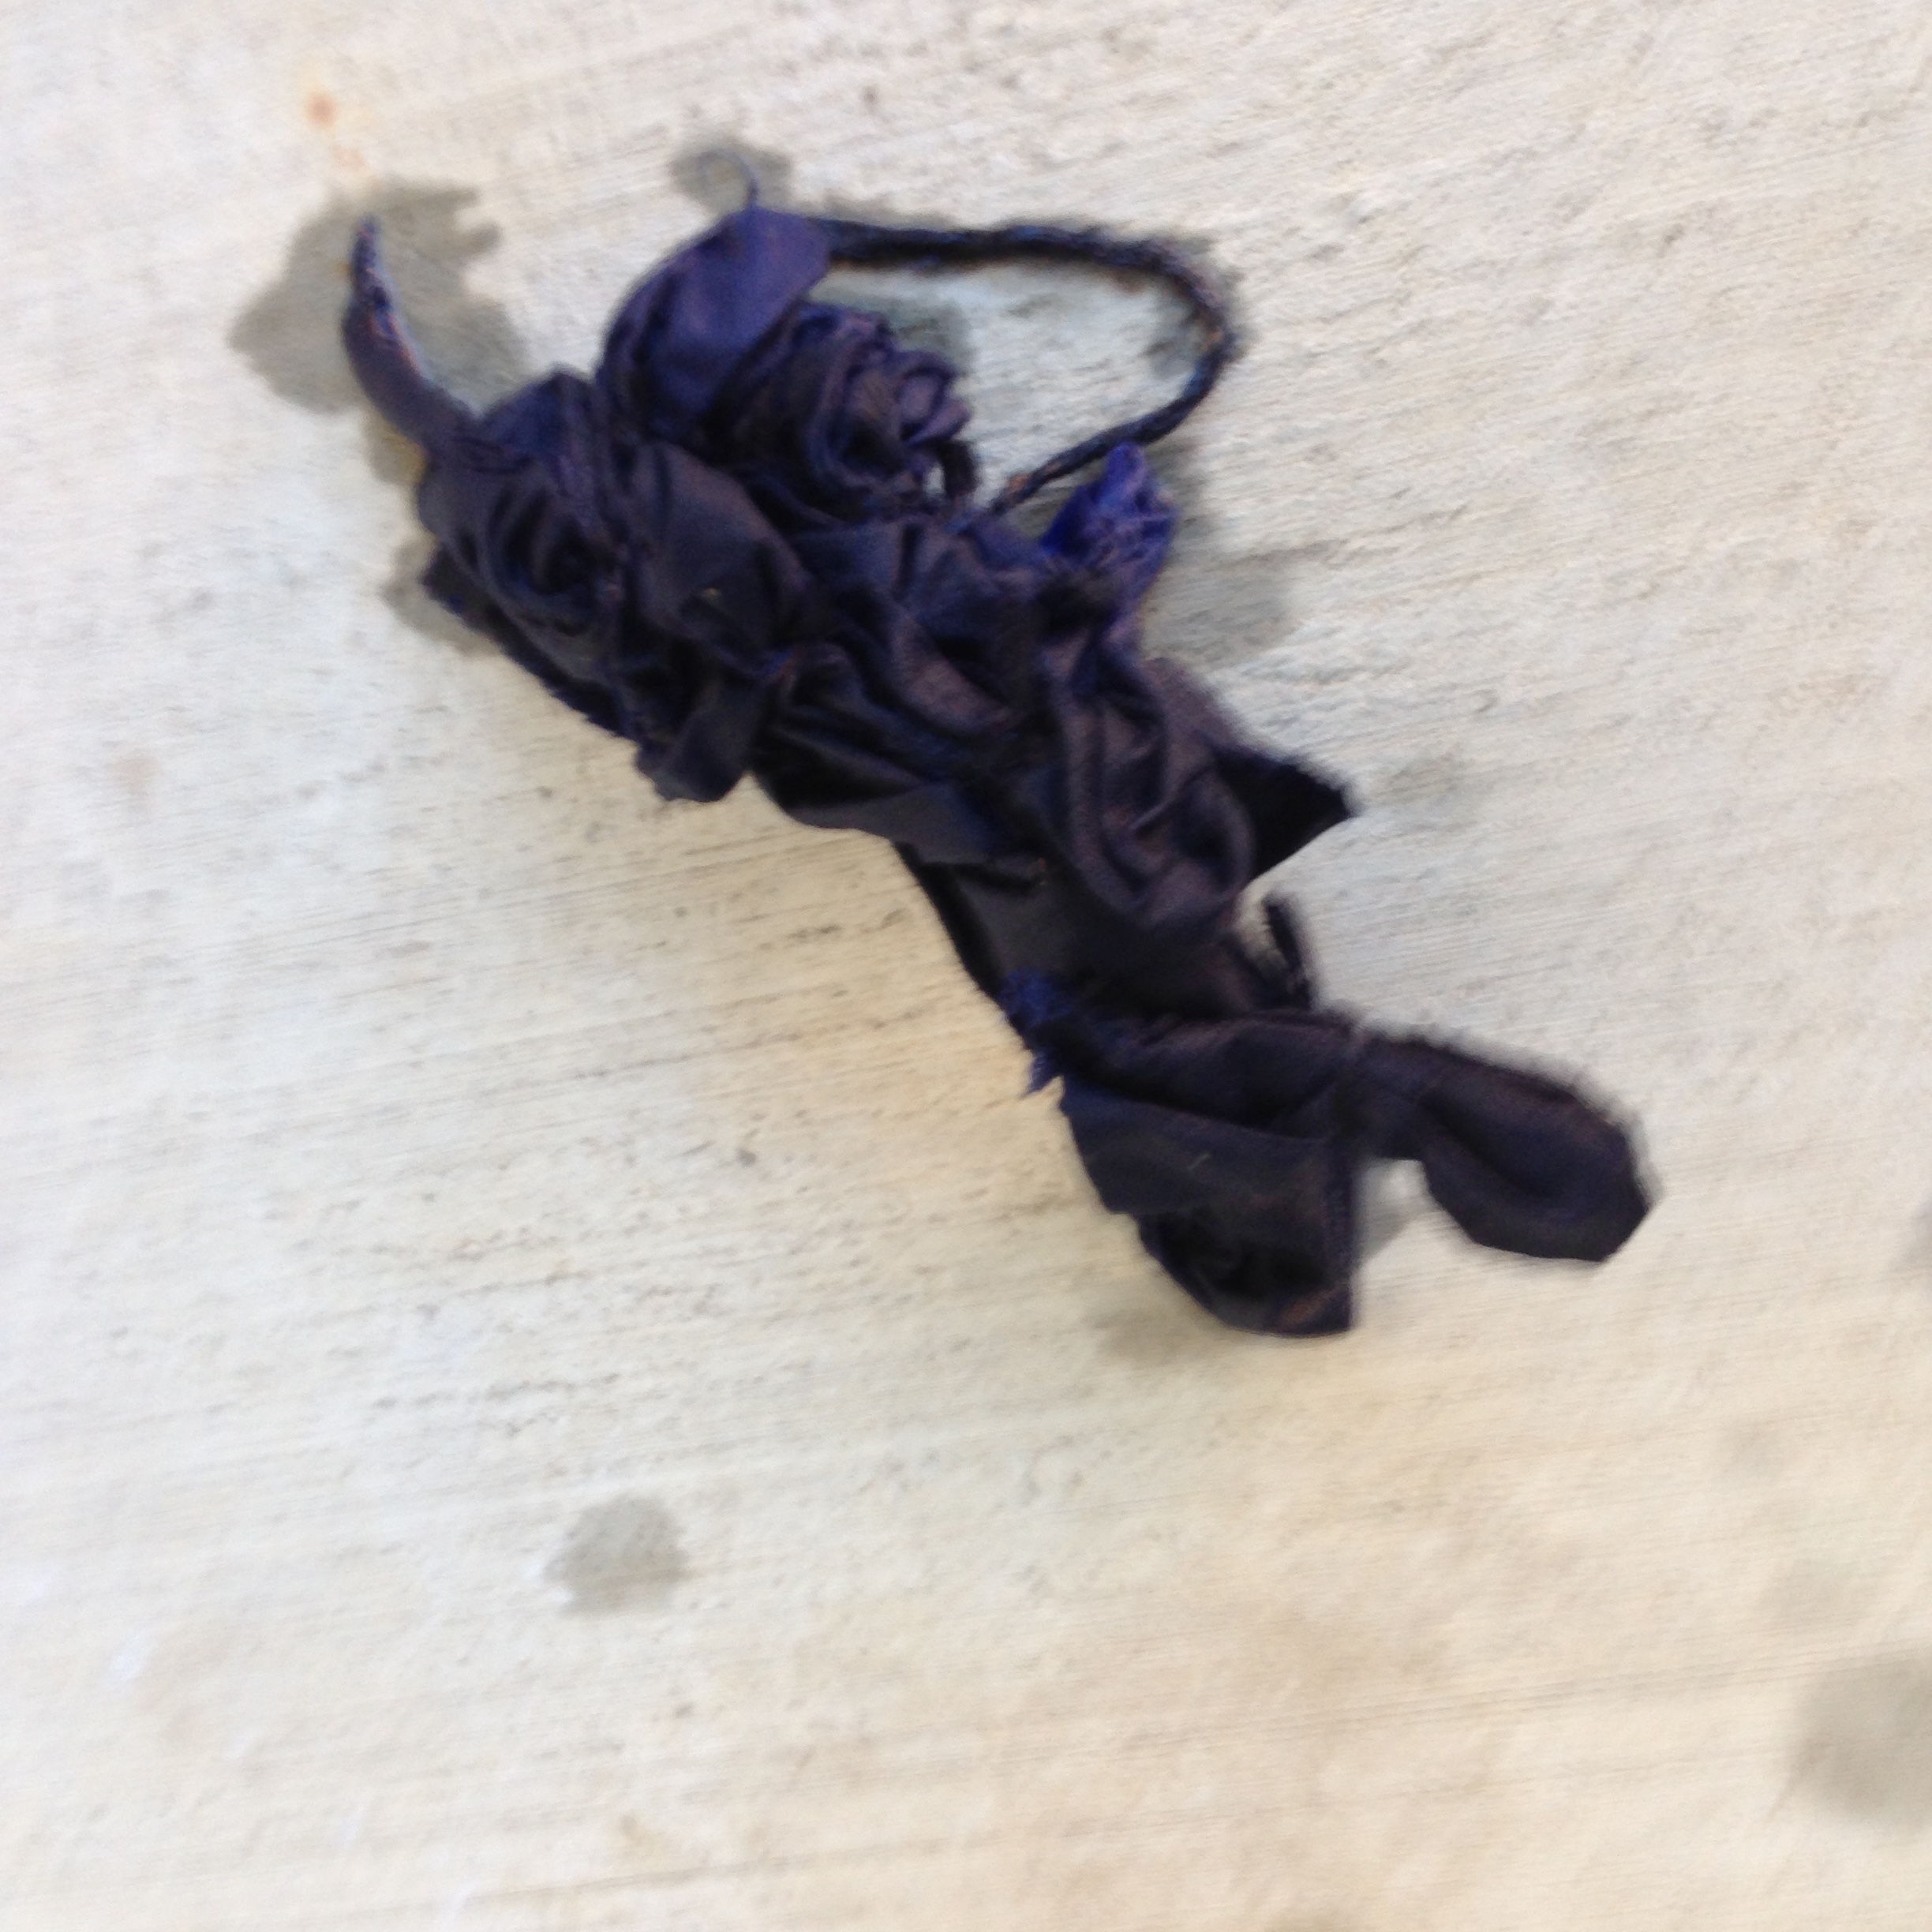
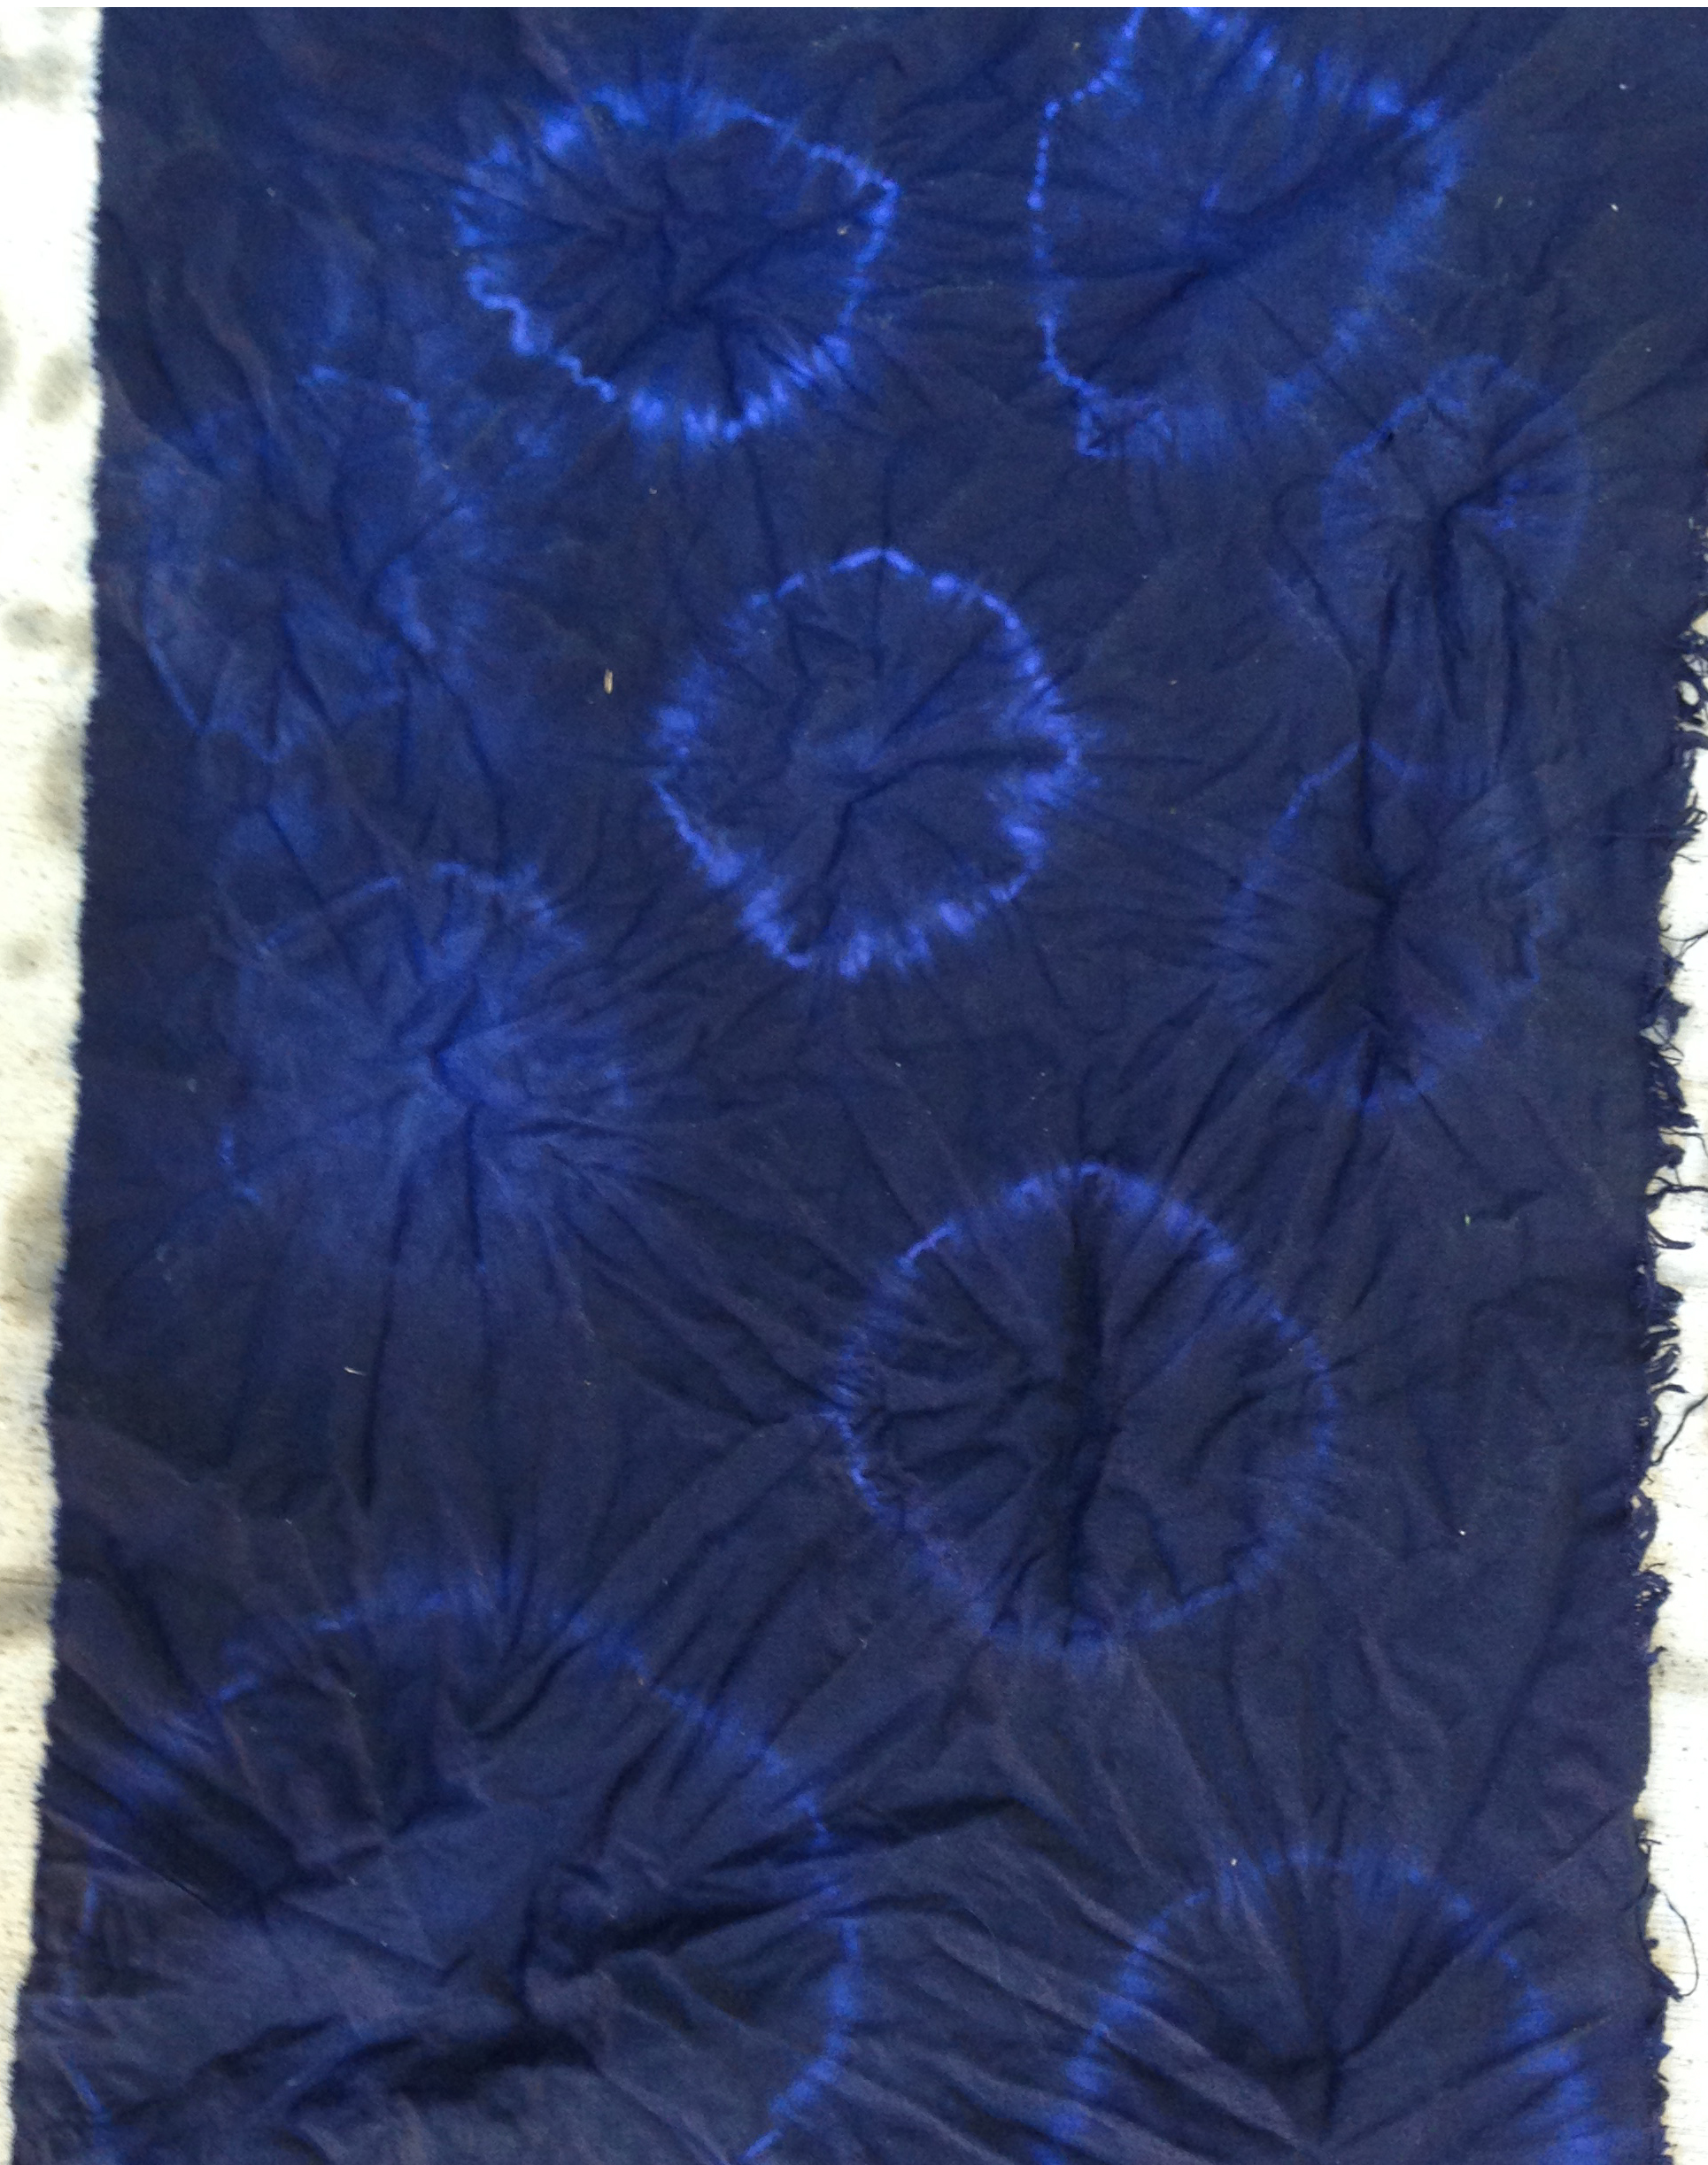
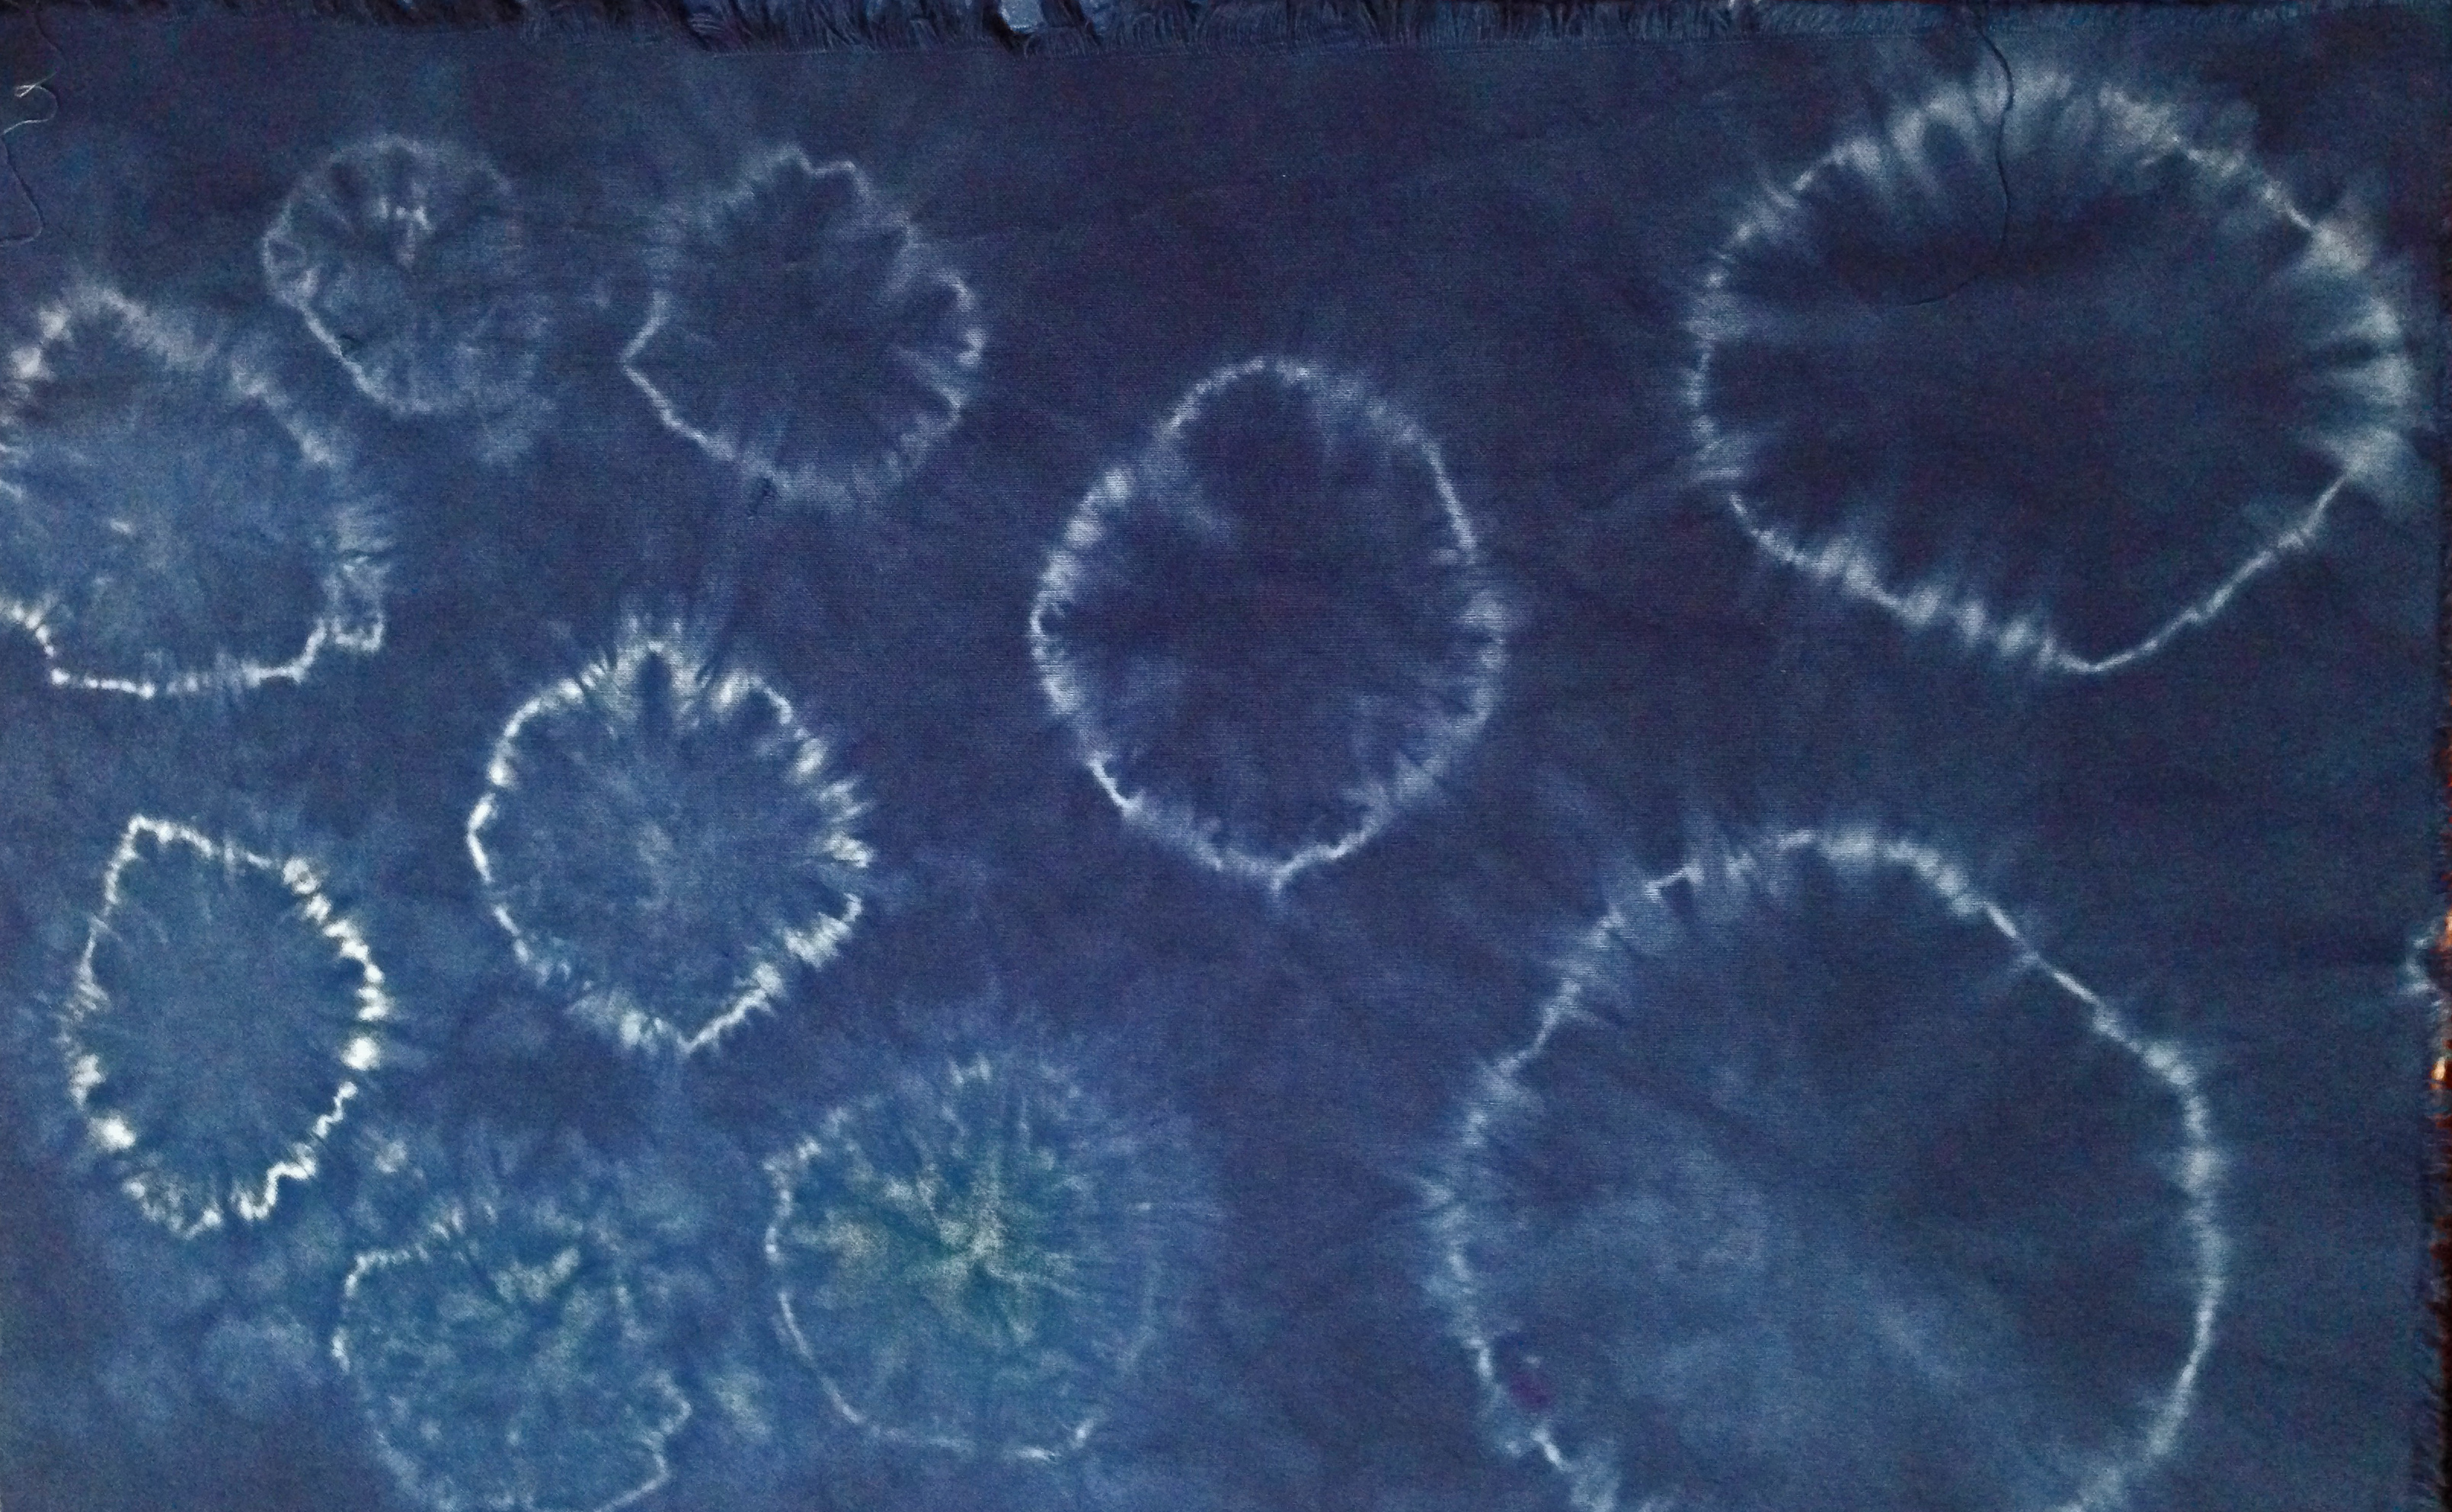
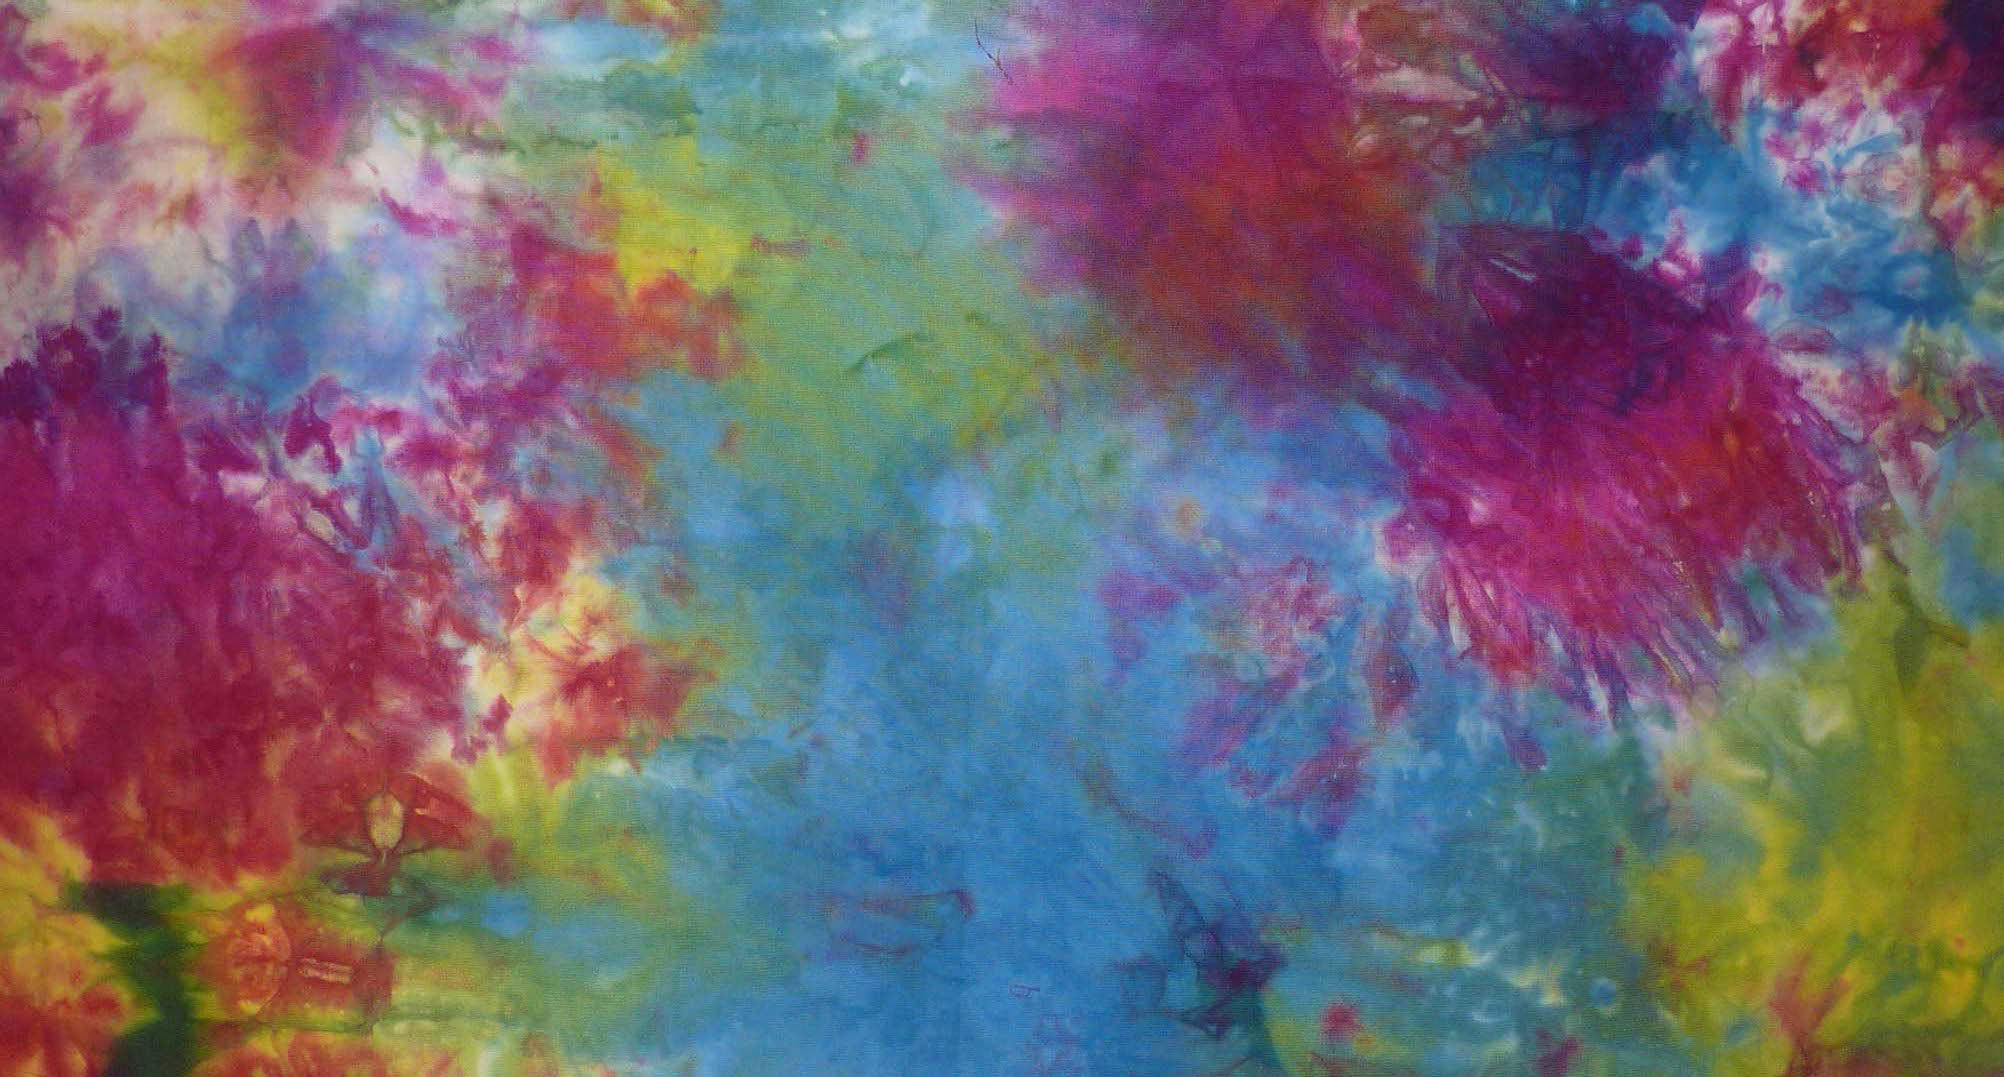 Often. to get the look that I’m after for an art piece, I have to dye my own fabric. Now, that’s not something that I see an a hardship – although it is a lot of work: messy work. Especially now that I have my own studio with a SINK!! And there was a reason I wanted to leave the concrete floors “as-is” during the garage conversion.


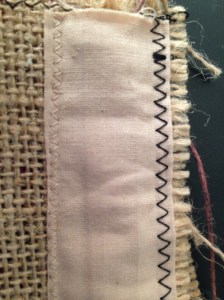 sleeve to the top. Do that now by machine UNLESS you are going to use that top space for your hand stitching later. In which case you will attach the sleeve as the last step with each flag.
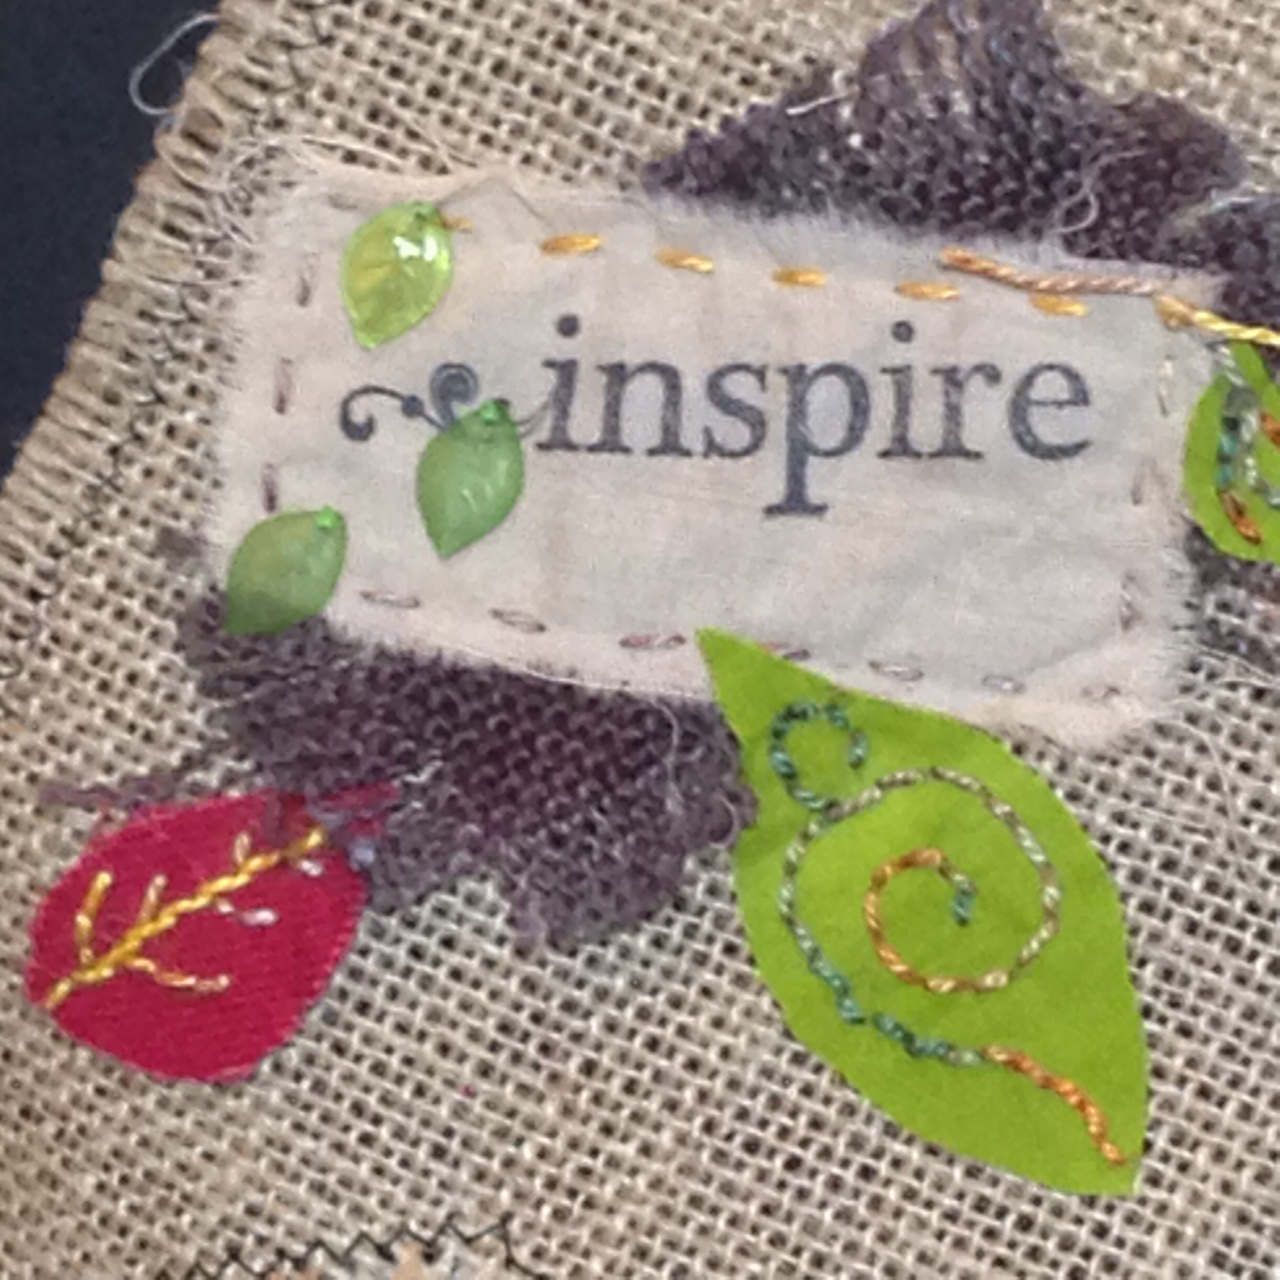
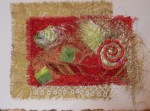
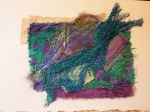
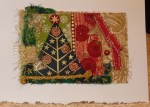
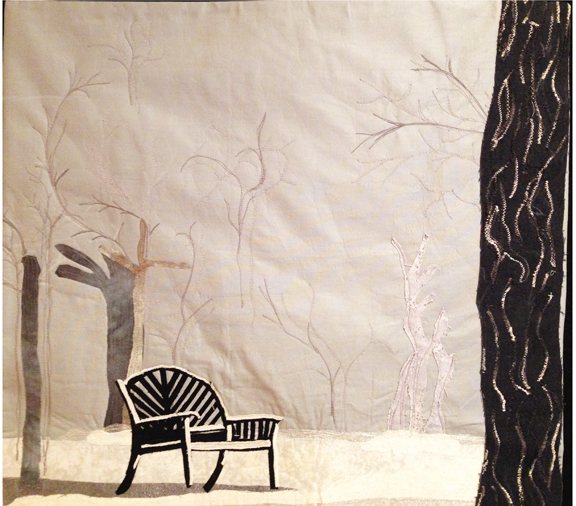
 I also added a few beads, some ribbon and buttons and hand stitched with embroidery cotton of various sizes.