So I’m trying to get back on track and catch you all up with what I’ve been up to for the past 5+ months. Only a PART of that time has been non art related – boo-hoo, but it will be in the future 🙂
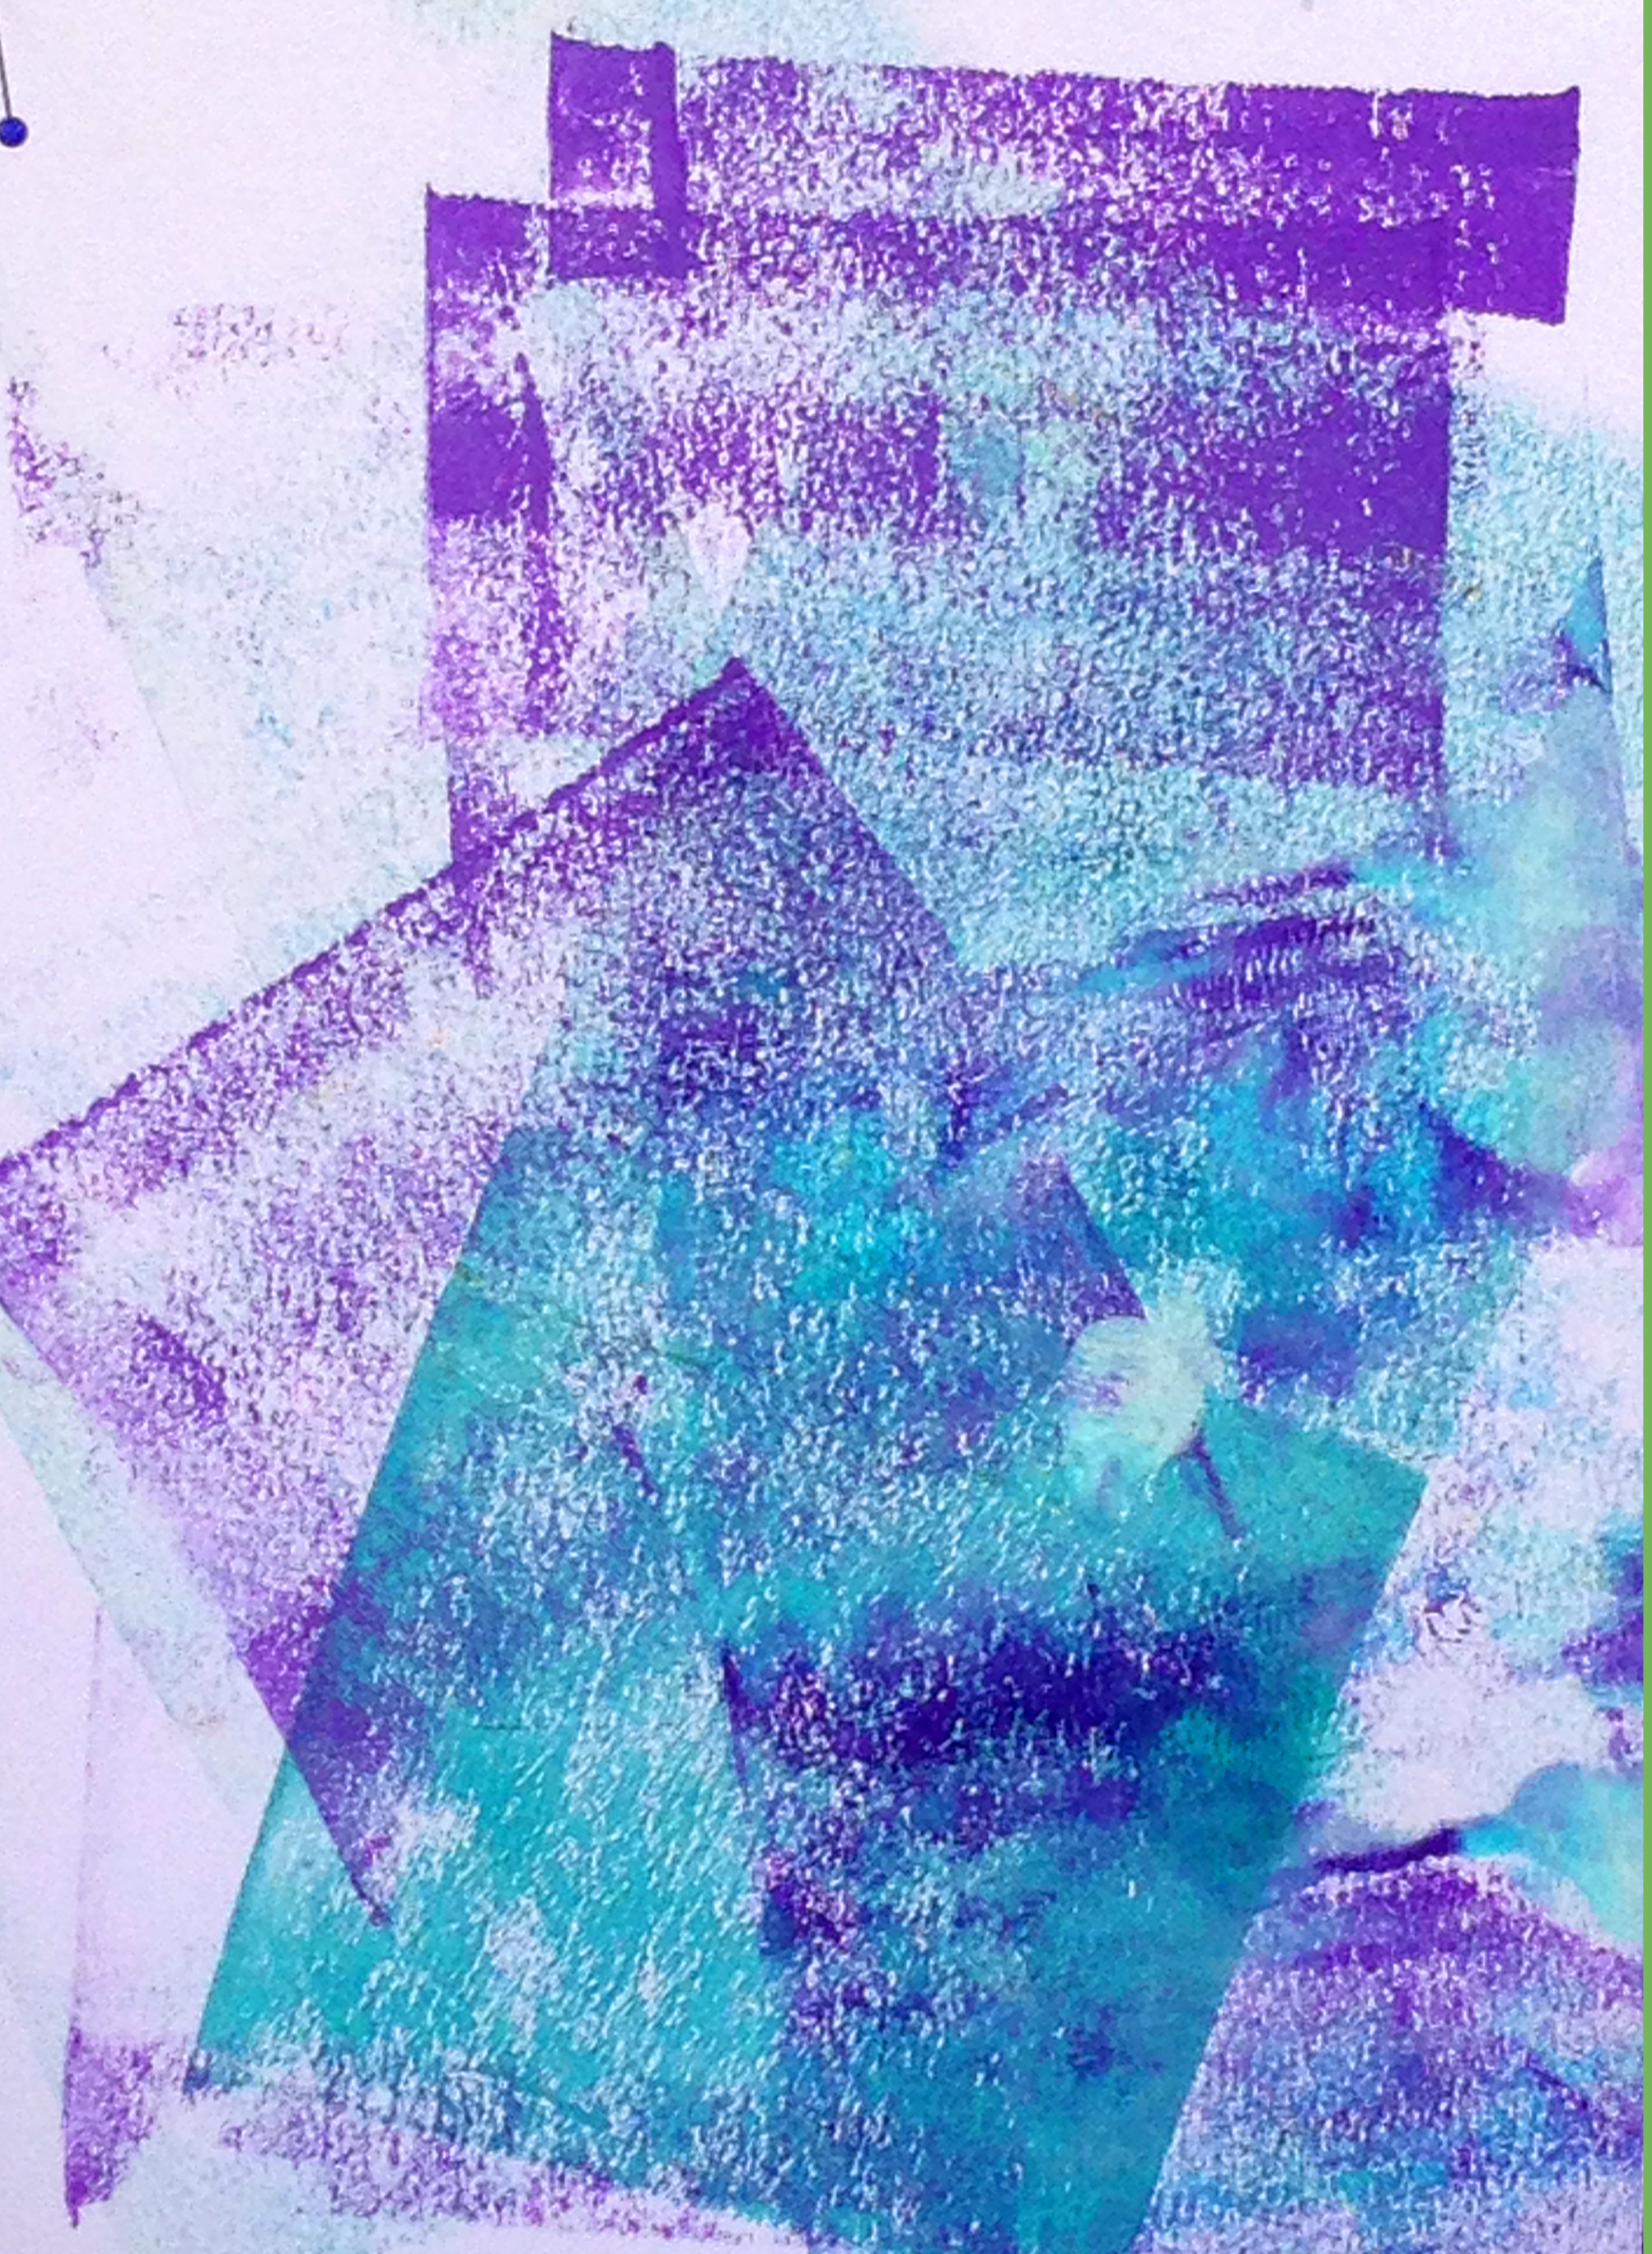
Rather than try to squish it all into one post I want to tell you about an exciting day I had about a month ago making mono prints. How many of you broke down and bough a Gelli plate when they came out? Or at least were tempted to?
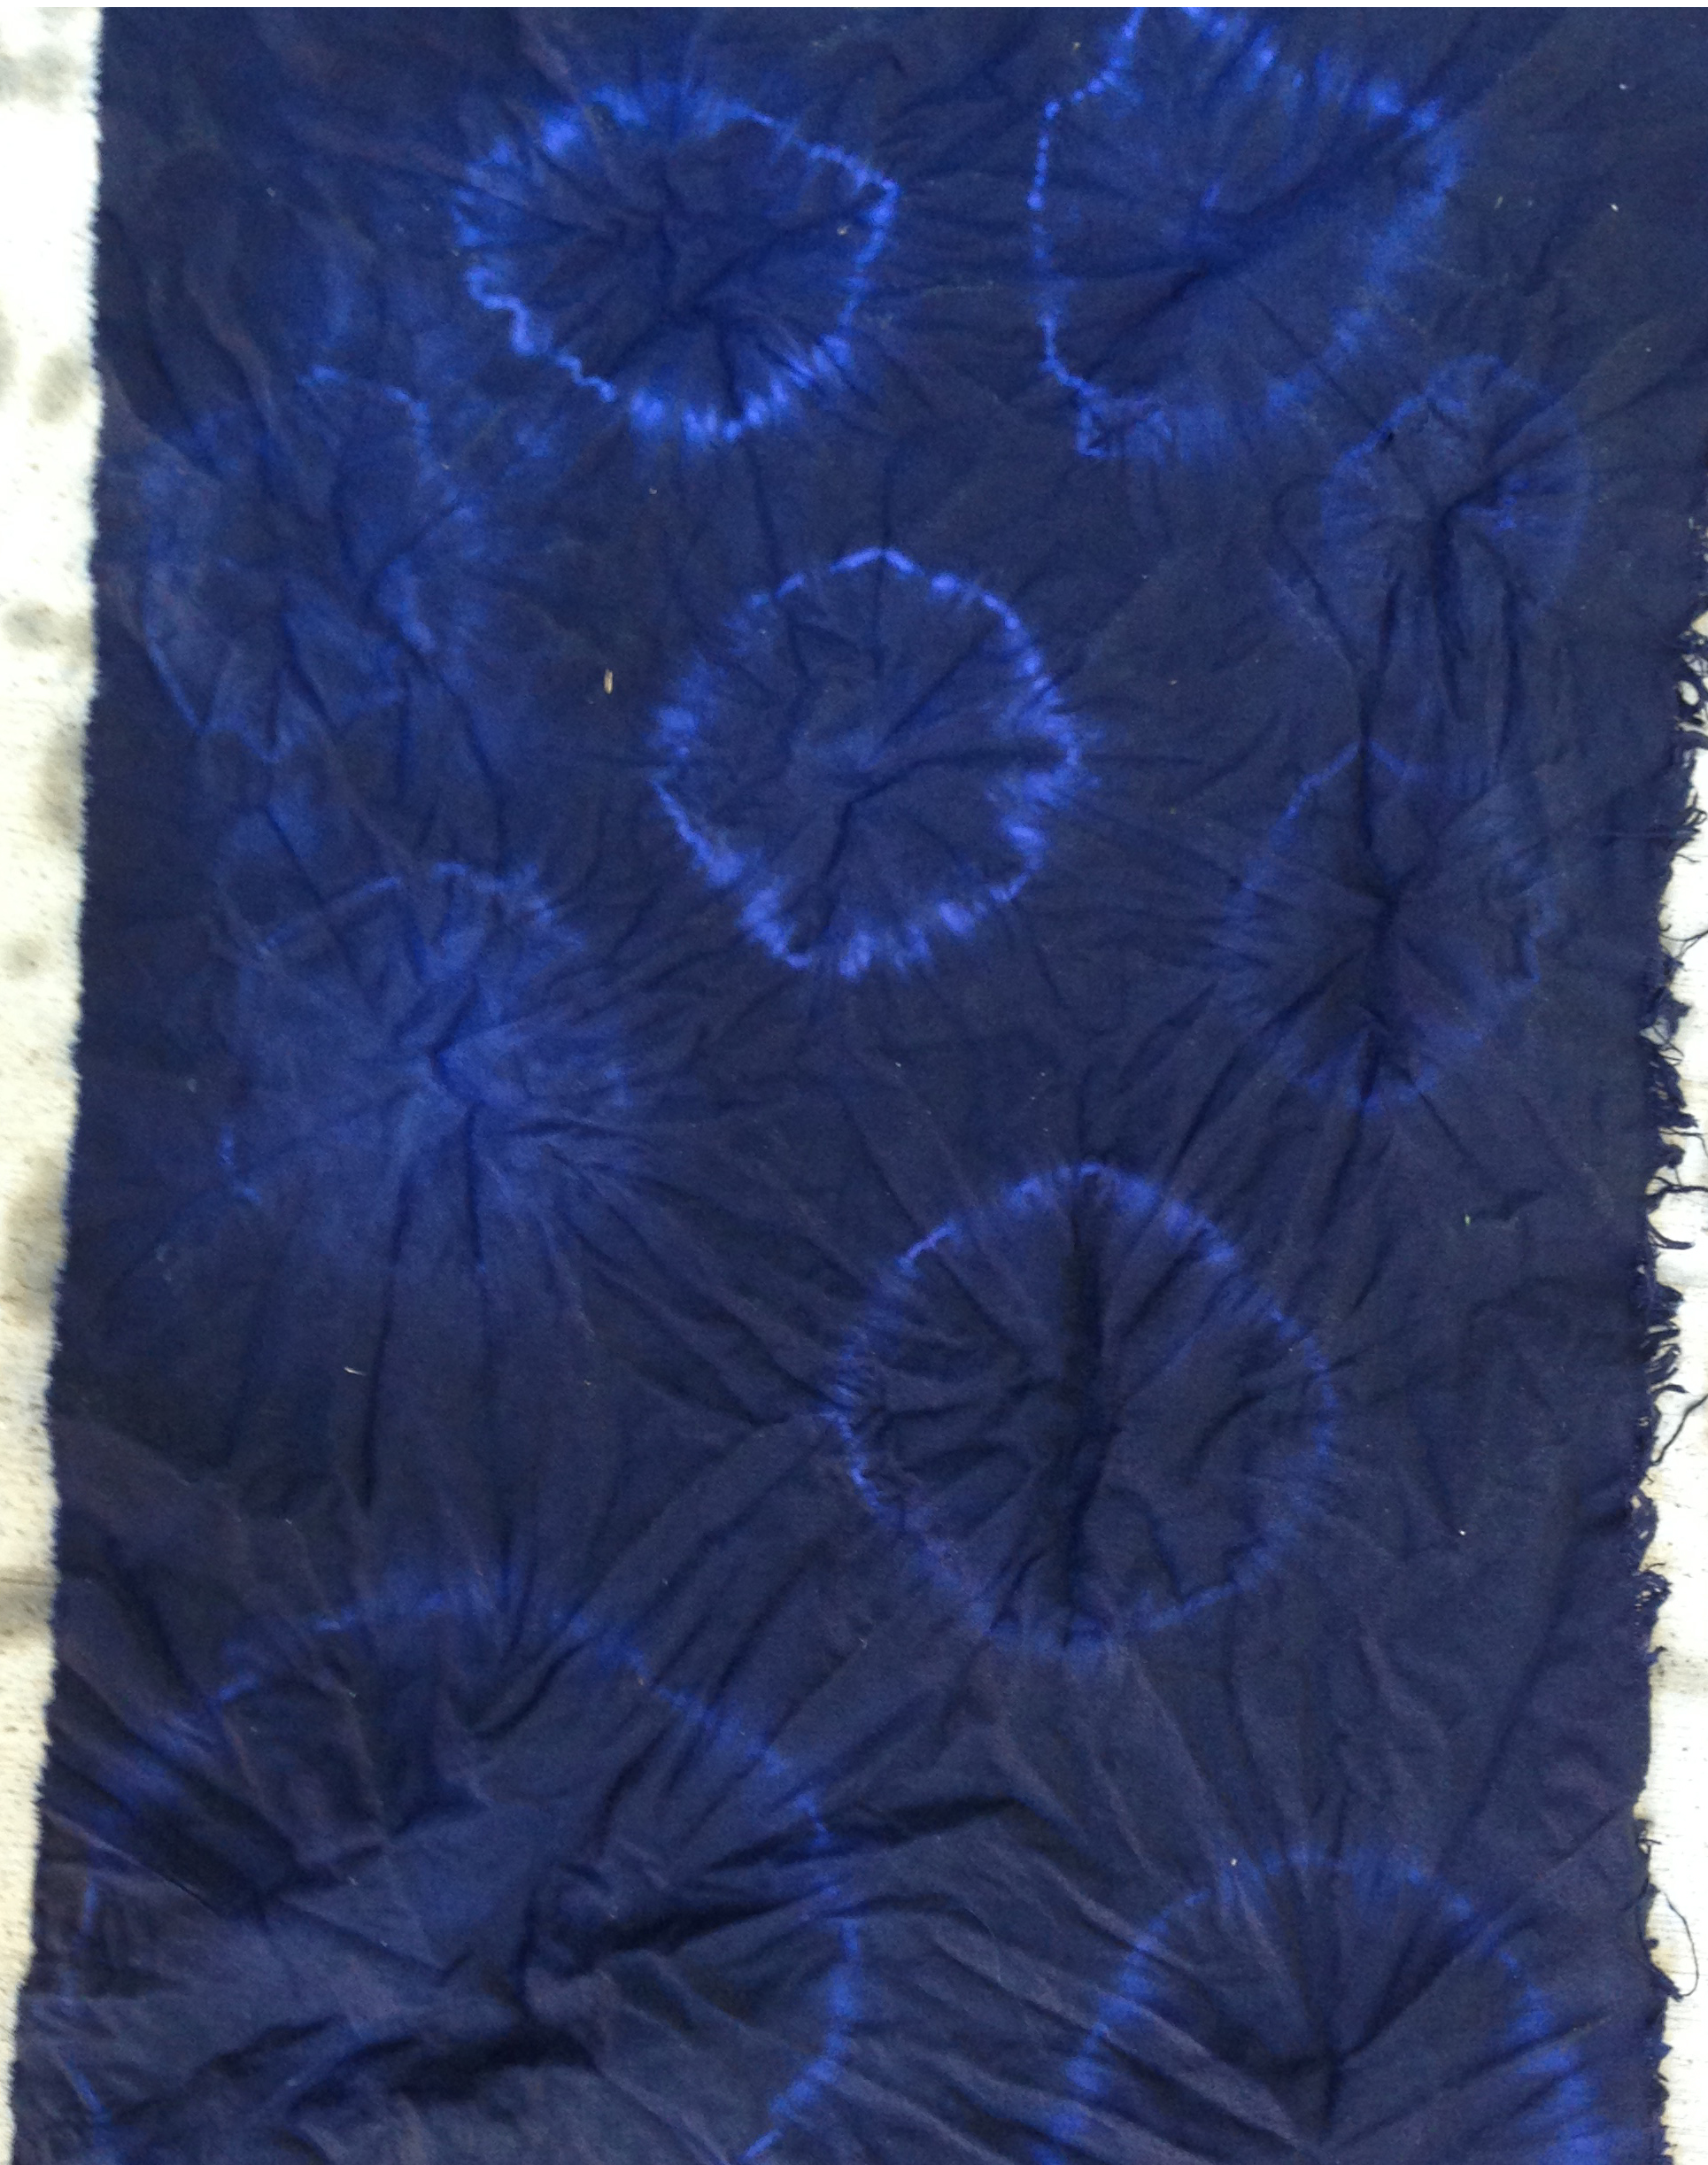
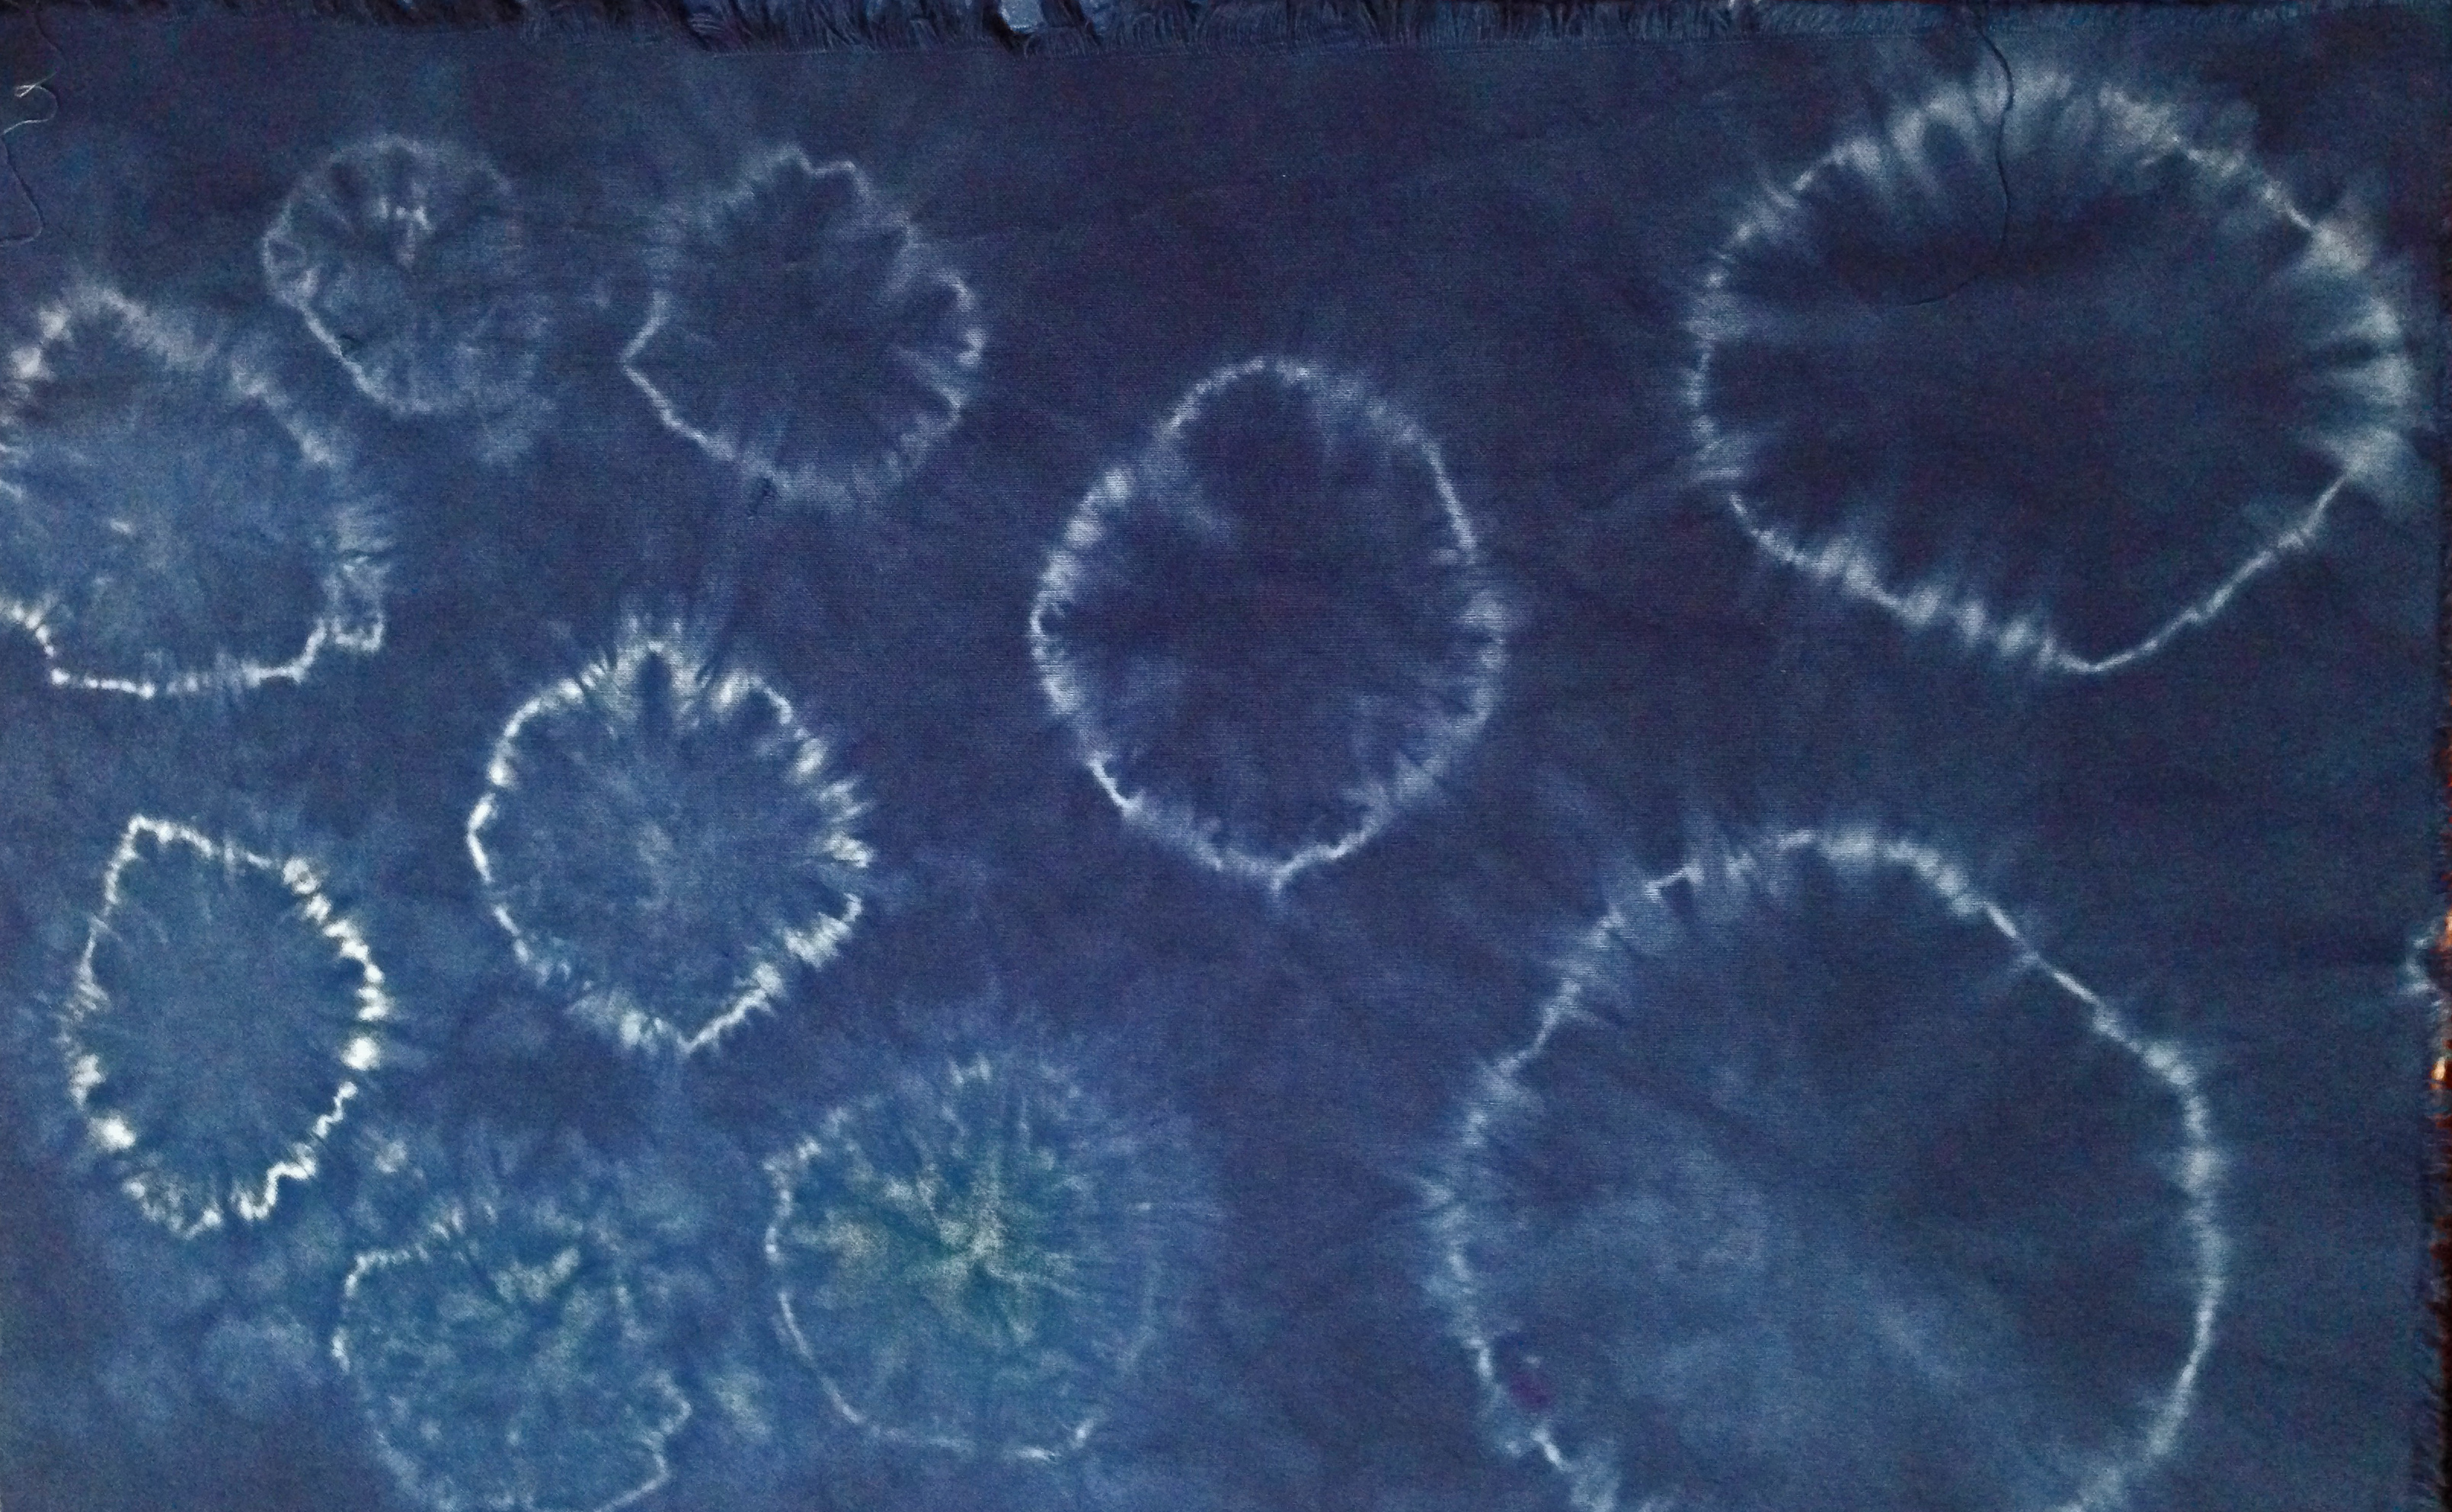
Well, I did, and it has been very busy collecting dust – well except for once when my friend and I got together and messed around with some fabric; neither of us knowing what we were doing.
So a local Art Supply store sponsored a half day workshop – a ‘how to’ to create mono prints with a Gelli Plate and I was first in line.
I can’t go through ALL that I learned that day but it was extremely productive and in addition to some beautiful prints that I brought home with me – here are the main points that I picked up.
1. It can get messy: Do your printing in an area that can withstand the mess of spattered paint – get dressed with that in mind as well.
2. Use OPEN acrylics. Yes they made a huge difference! I suppose if you’re very sure of yourself and can work very quicky you could get away with the much shorter drying time of regular acrylics. But for a novice like me – or if you want to work extemporaneously, do use the Open type.
3. Have a variety of objects at the ready to make marks. Make sure that none of them are too pointy. You don’t want to damage your plate.
4. Use every bit of paint left on your plate – have a journal at the ready for instance so you can use the leftover paint to start backgrounds.
5. Become intimately familiar with the color wheel and which colors NOT to mix together if you want to avoid mud.
6. Just let ‘er rip – Use your imagination. What’s the worst that can happen? You’ll have an ugly print which you can then gesso over and reuse.
I’m eager to show you some of what I brought home with me that day. Most of these were done on printing paper; some on card stock, and a few on 140 wt watercolor paper.
Next up – as soon as I can work in a day – will be fabric prints!
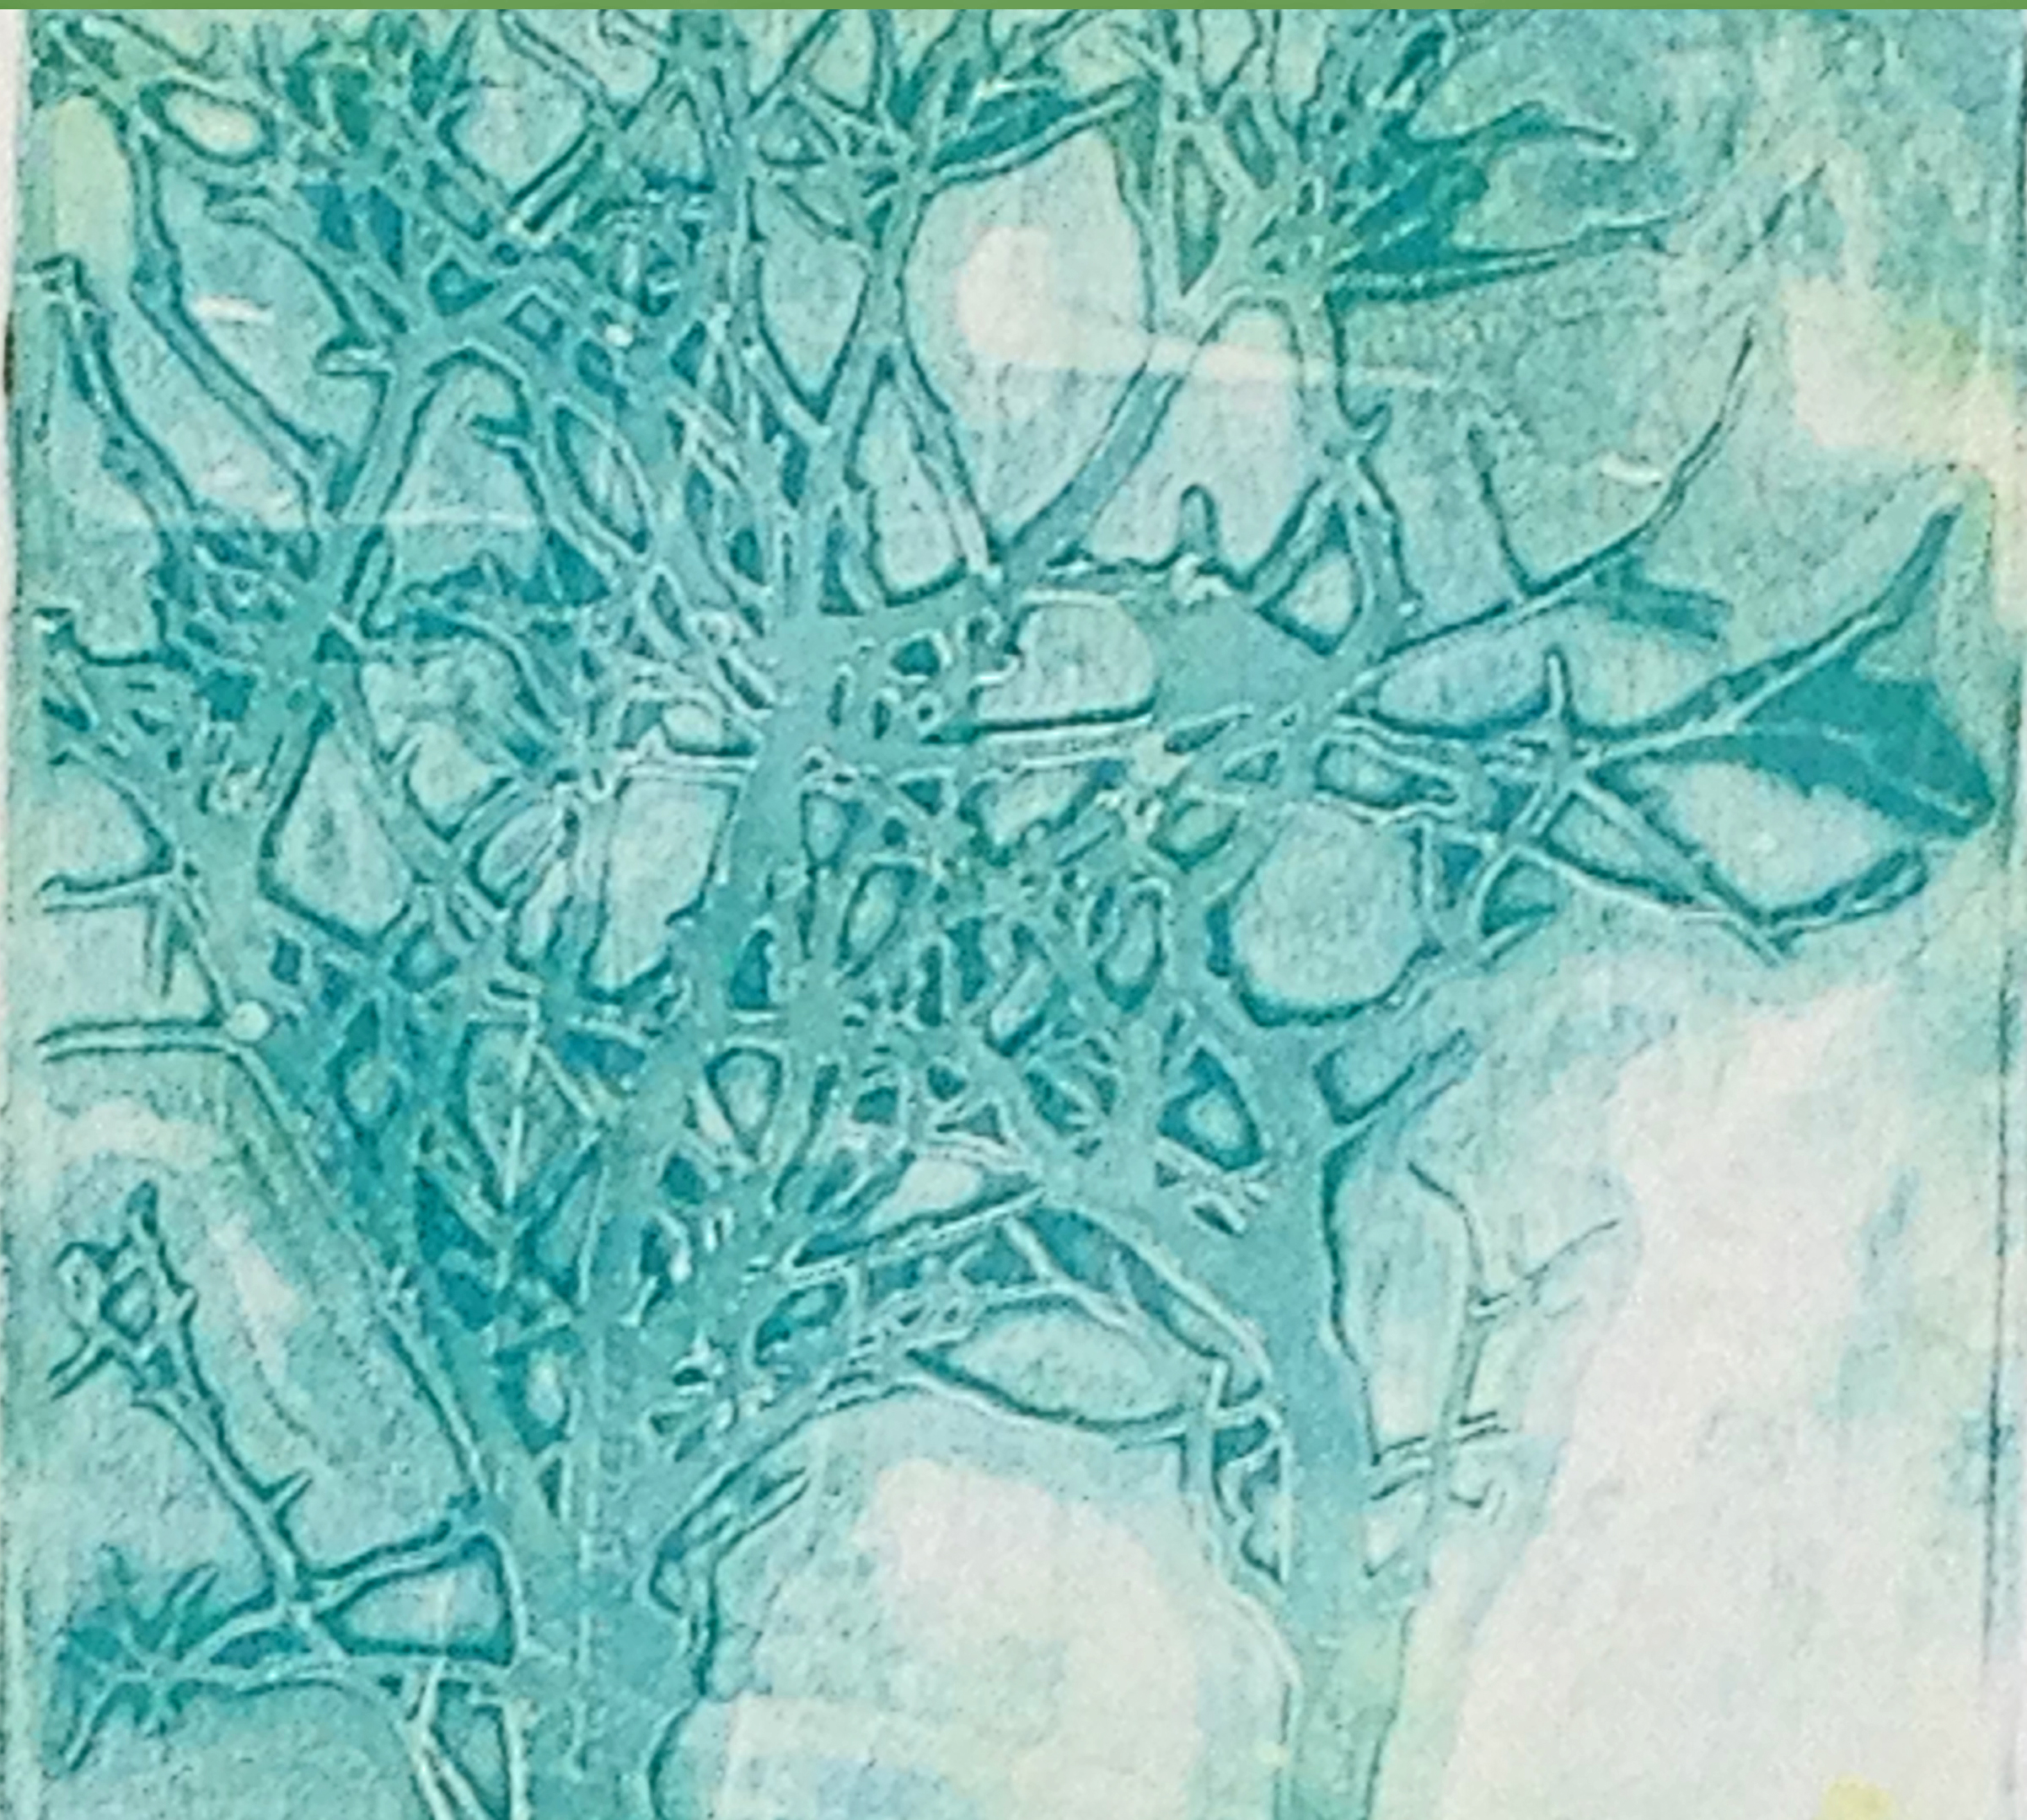
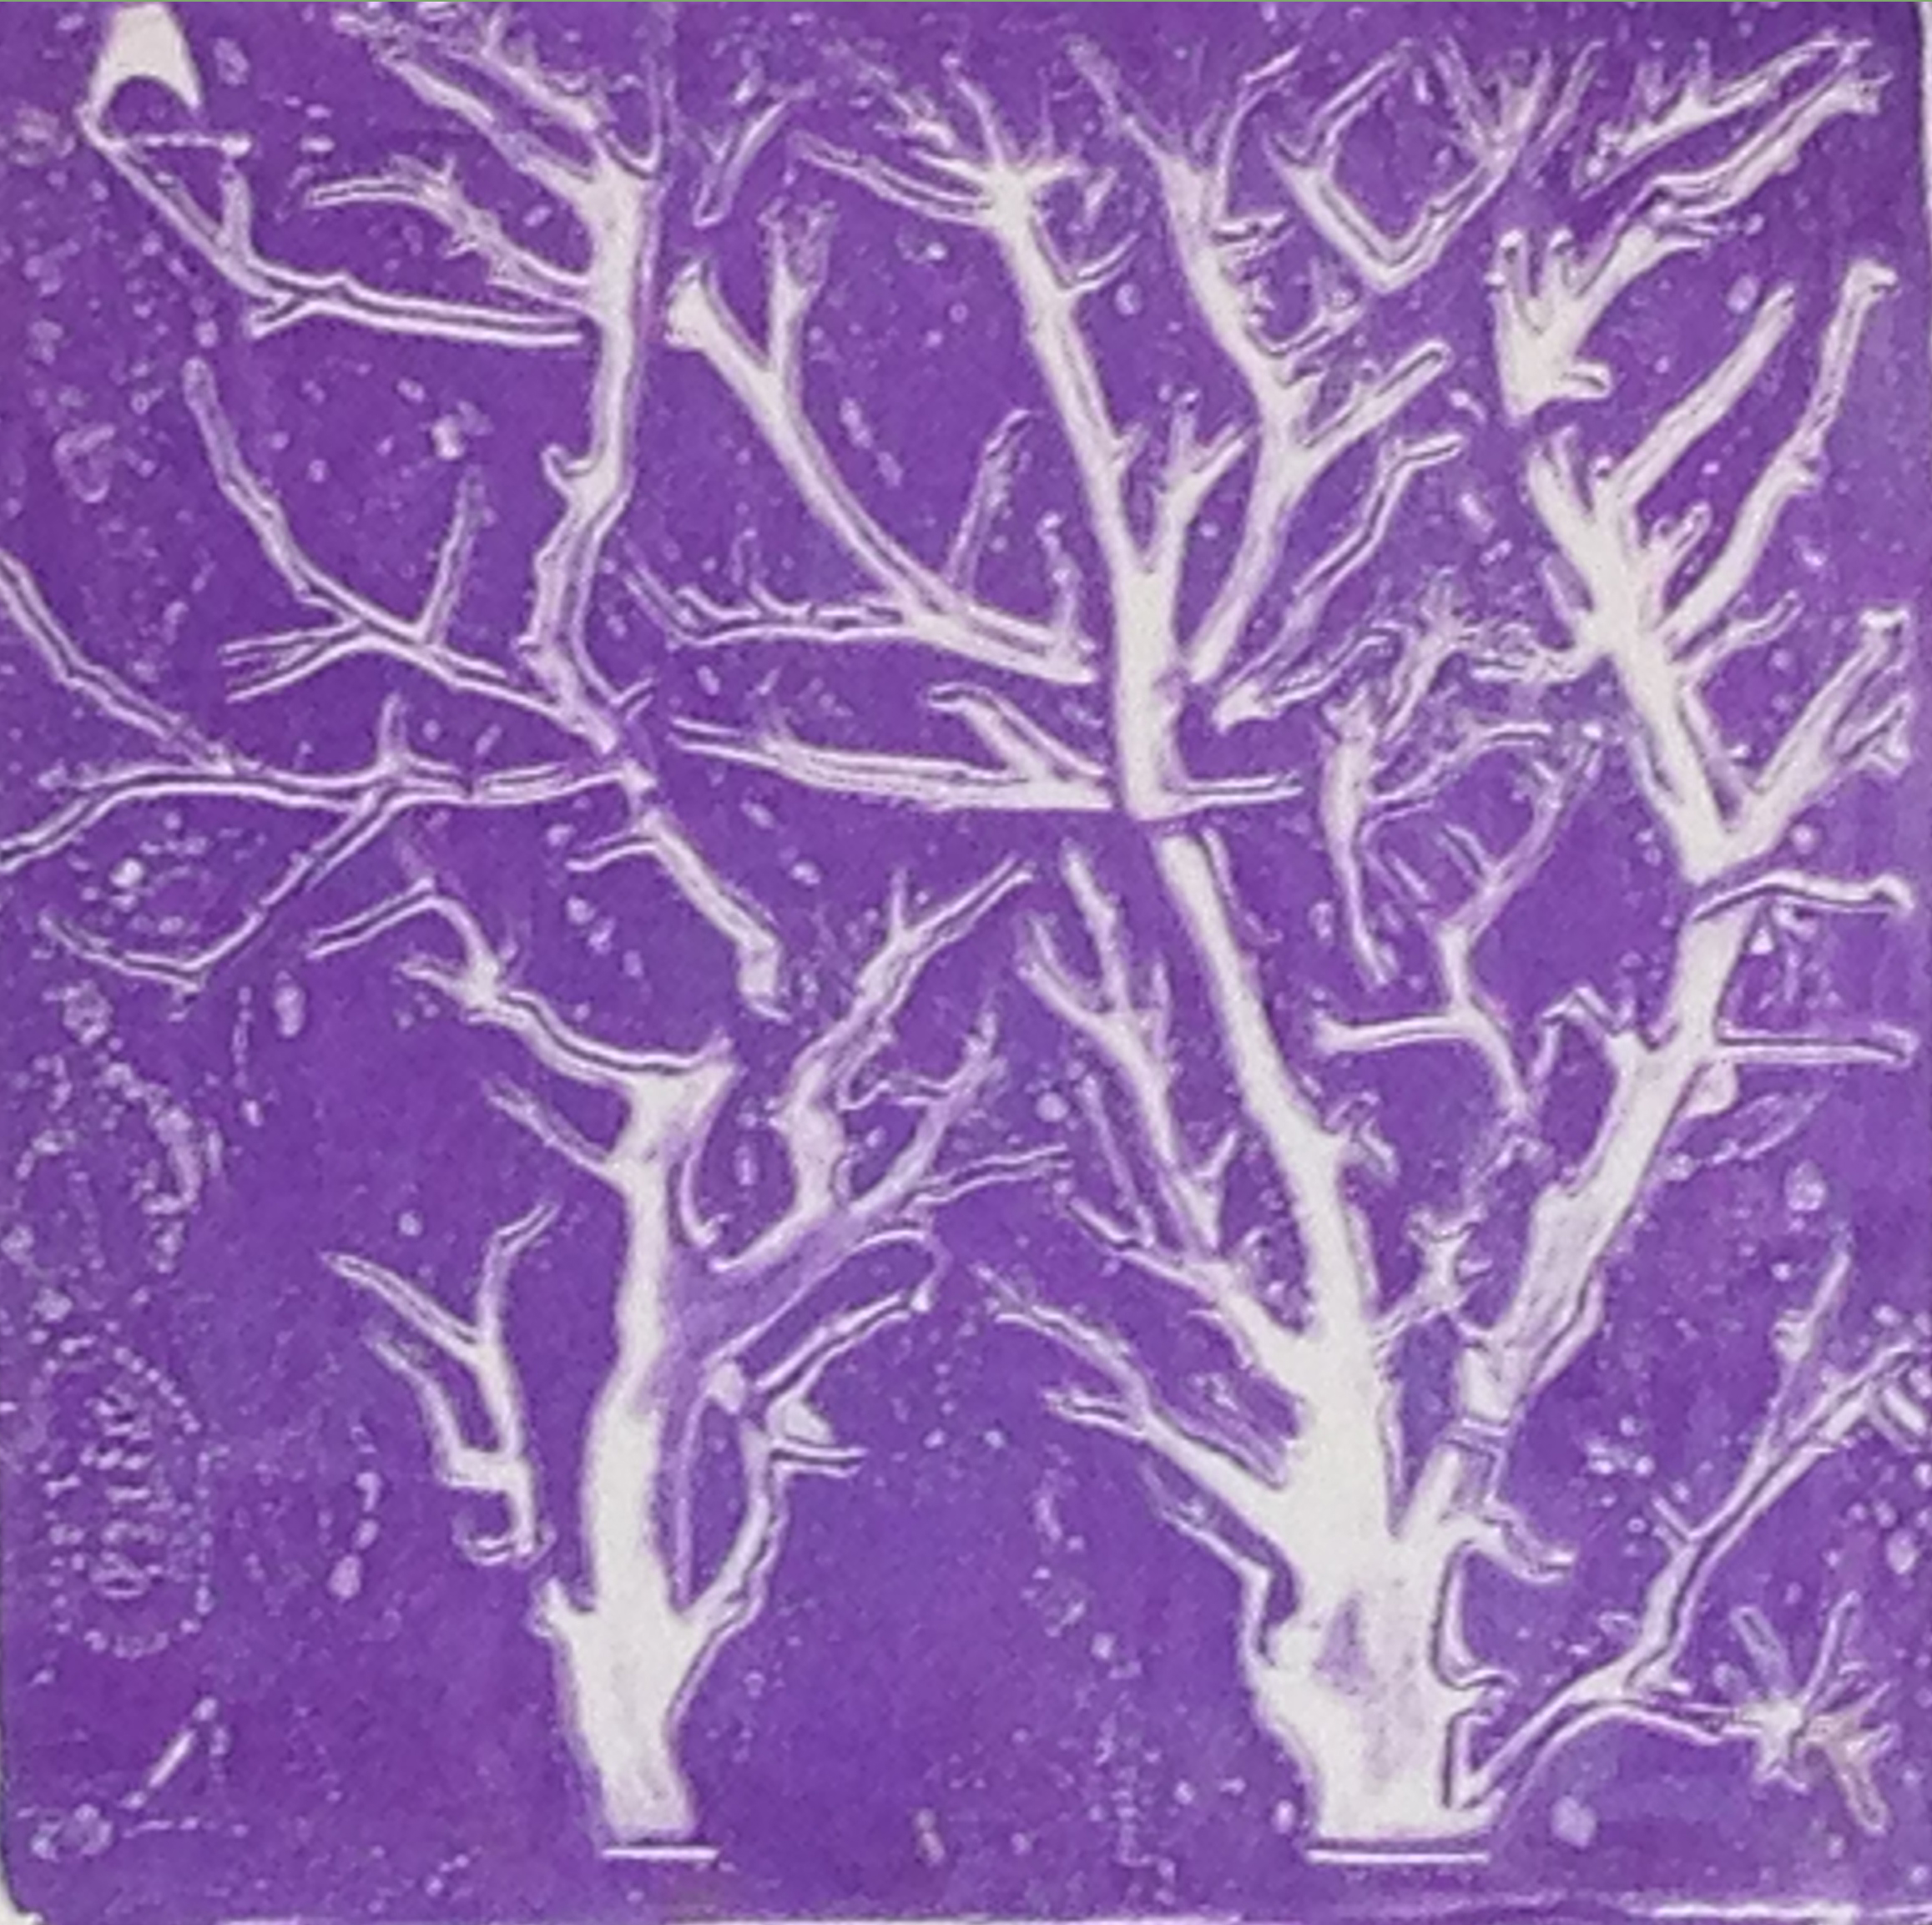
Some cards using Monoprint techniques with a Gelli Plate:


Using Stencils with Monoprints


Some are even suitable for framing themselves; others can be used in whole or in part in other pieces.


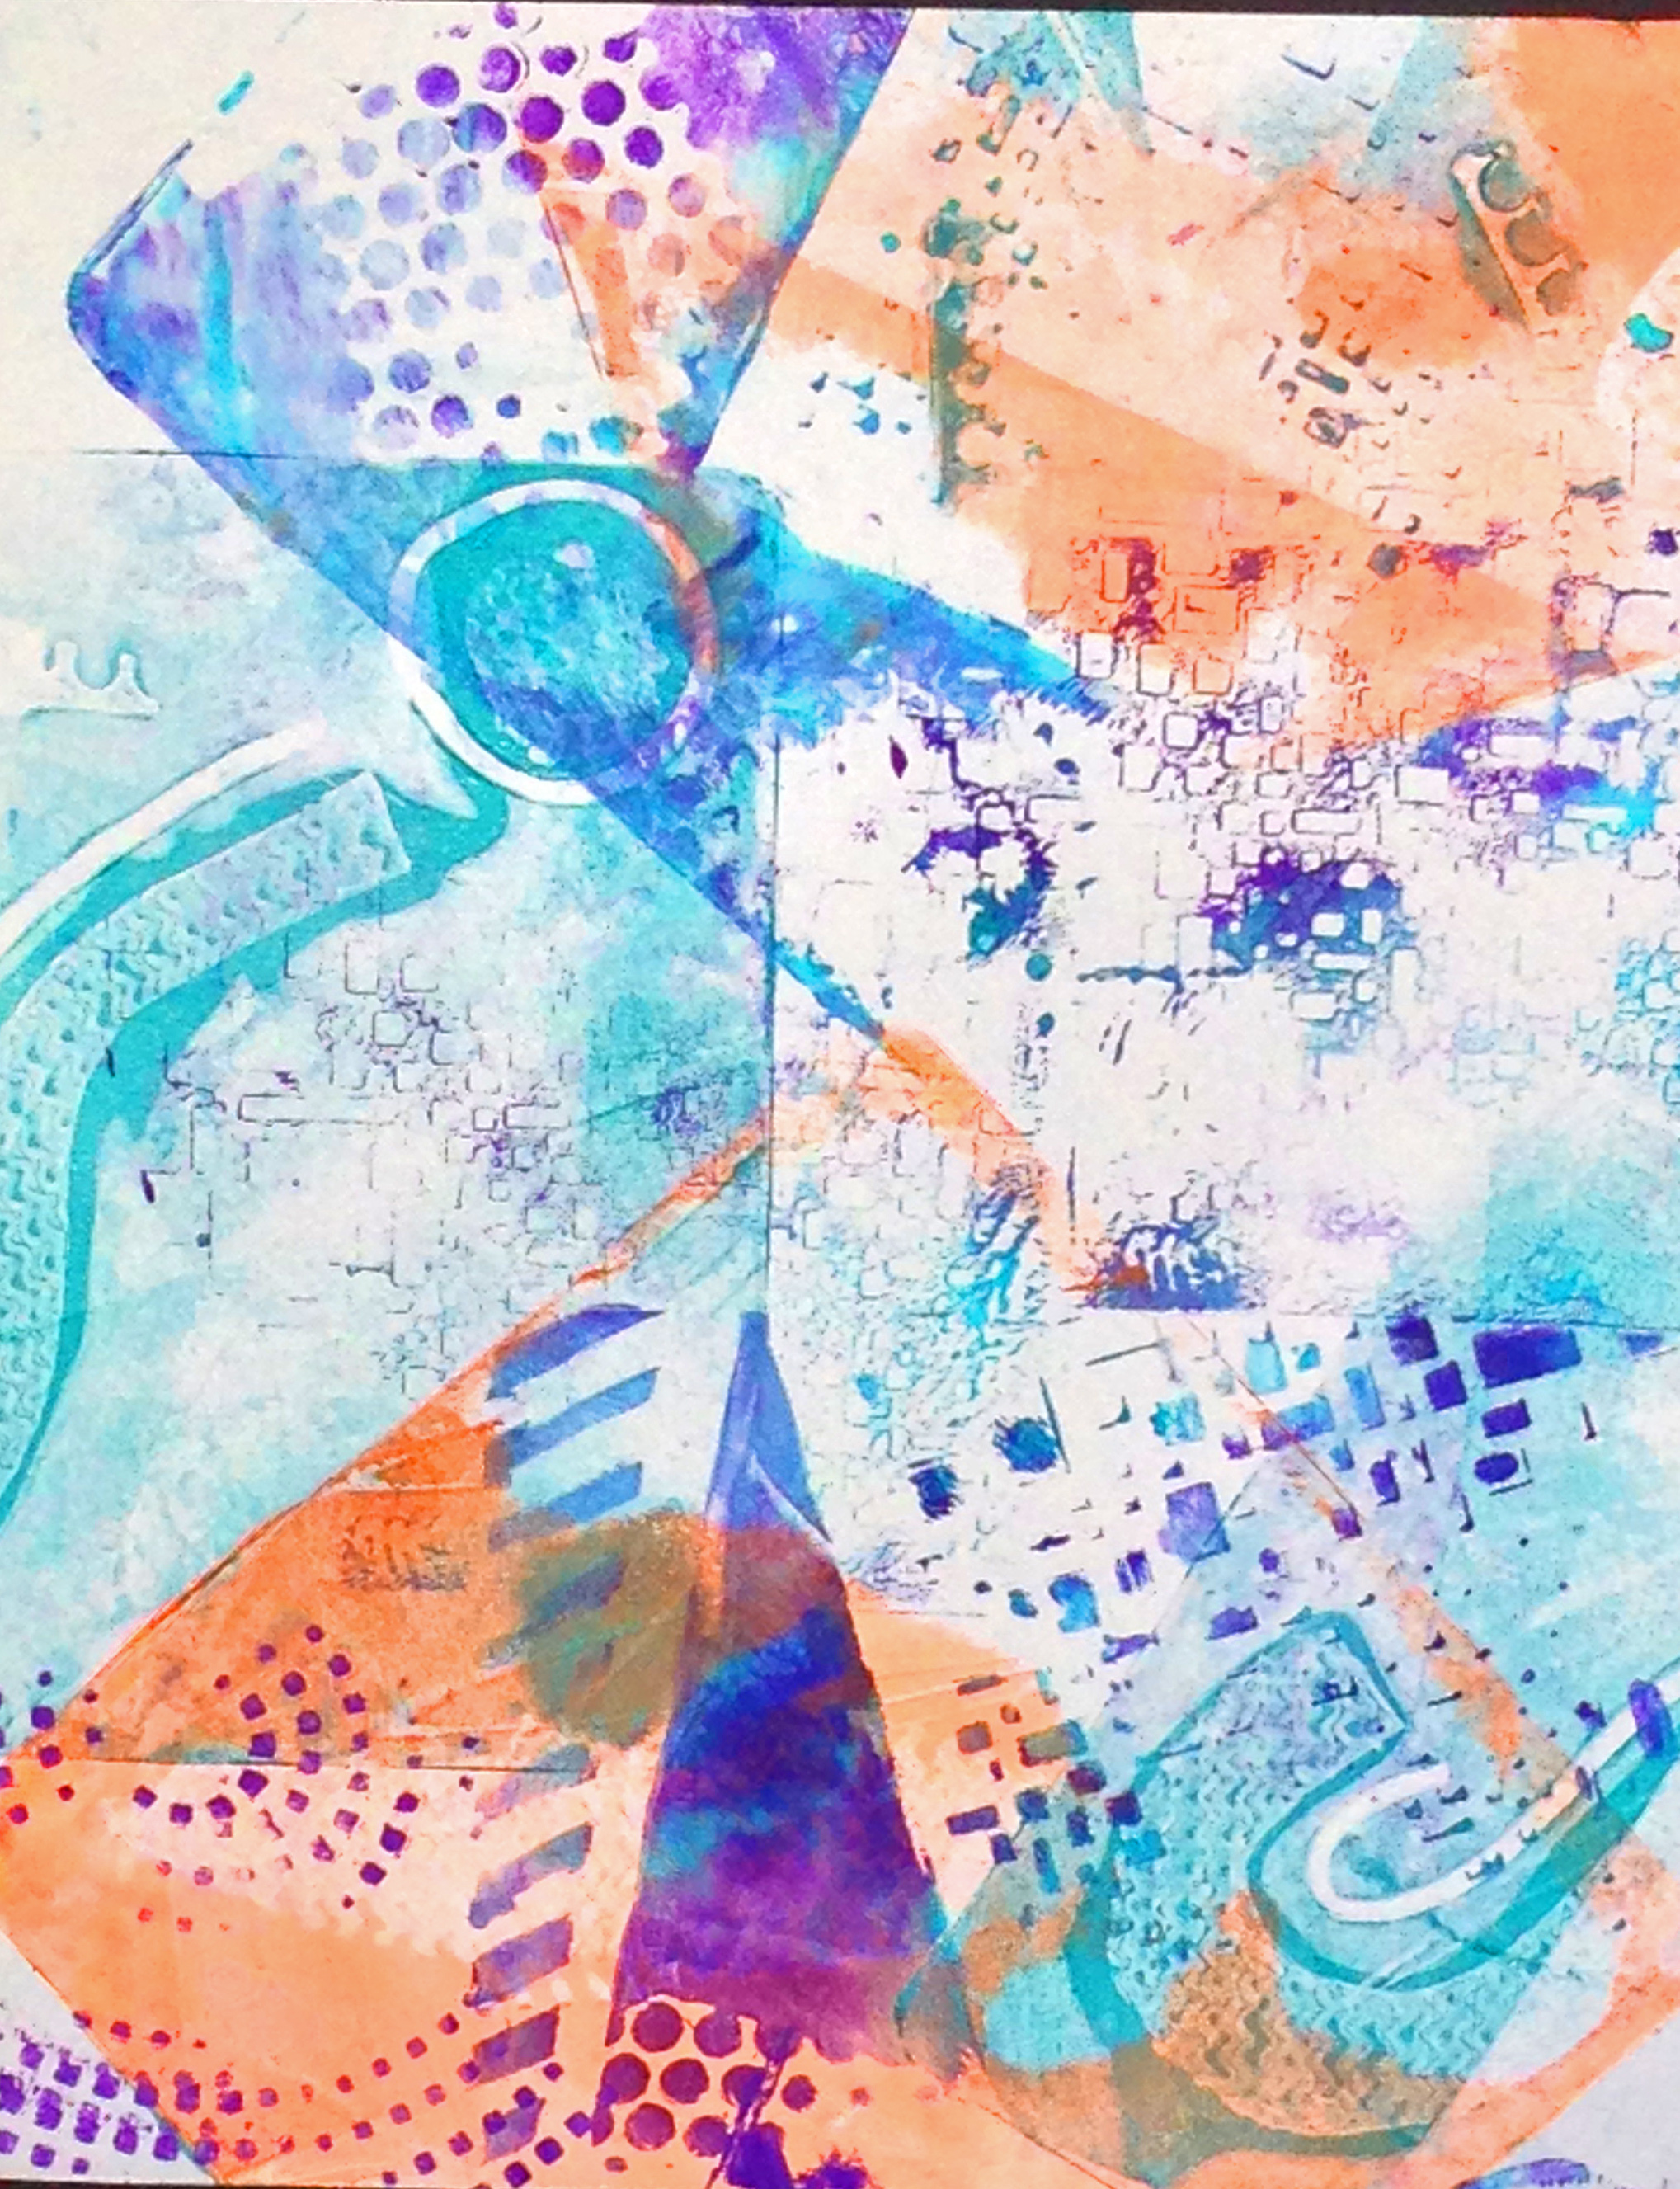
And look at what you can do by cleaning off your brayer on a sheet of printing paper!!! 🙂


Tee, hee – Not bad for brayer cleaning, huh? I won’t tell if you won’t tell!
Who wants to try mono printing next?


 sleeve to the top. Do that now by machine UNLESS you are going to use that top space for your hand stitching later. In which case you will attach the sleeve as the last step with each flag.
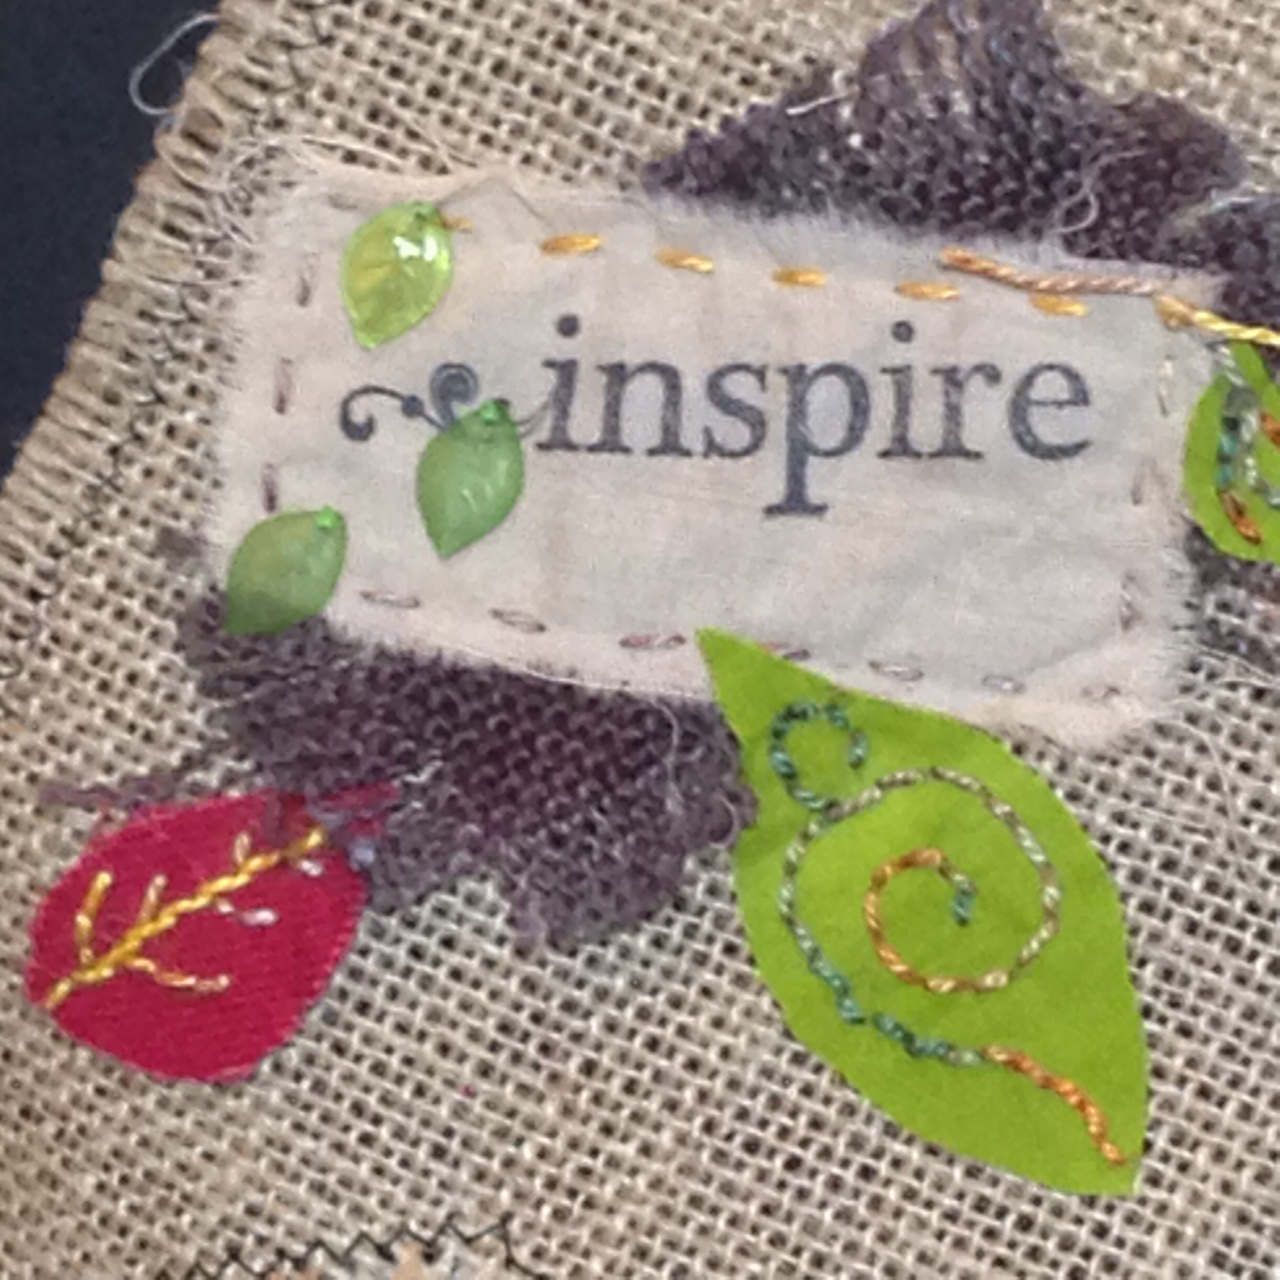
 I also added a few beads, some ribbon and buttons and hand stitched with embroidery cotton of various sizes.