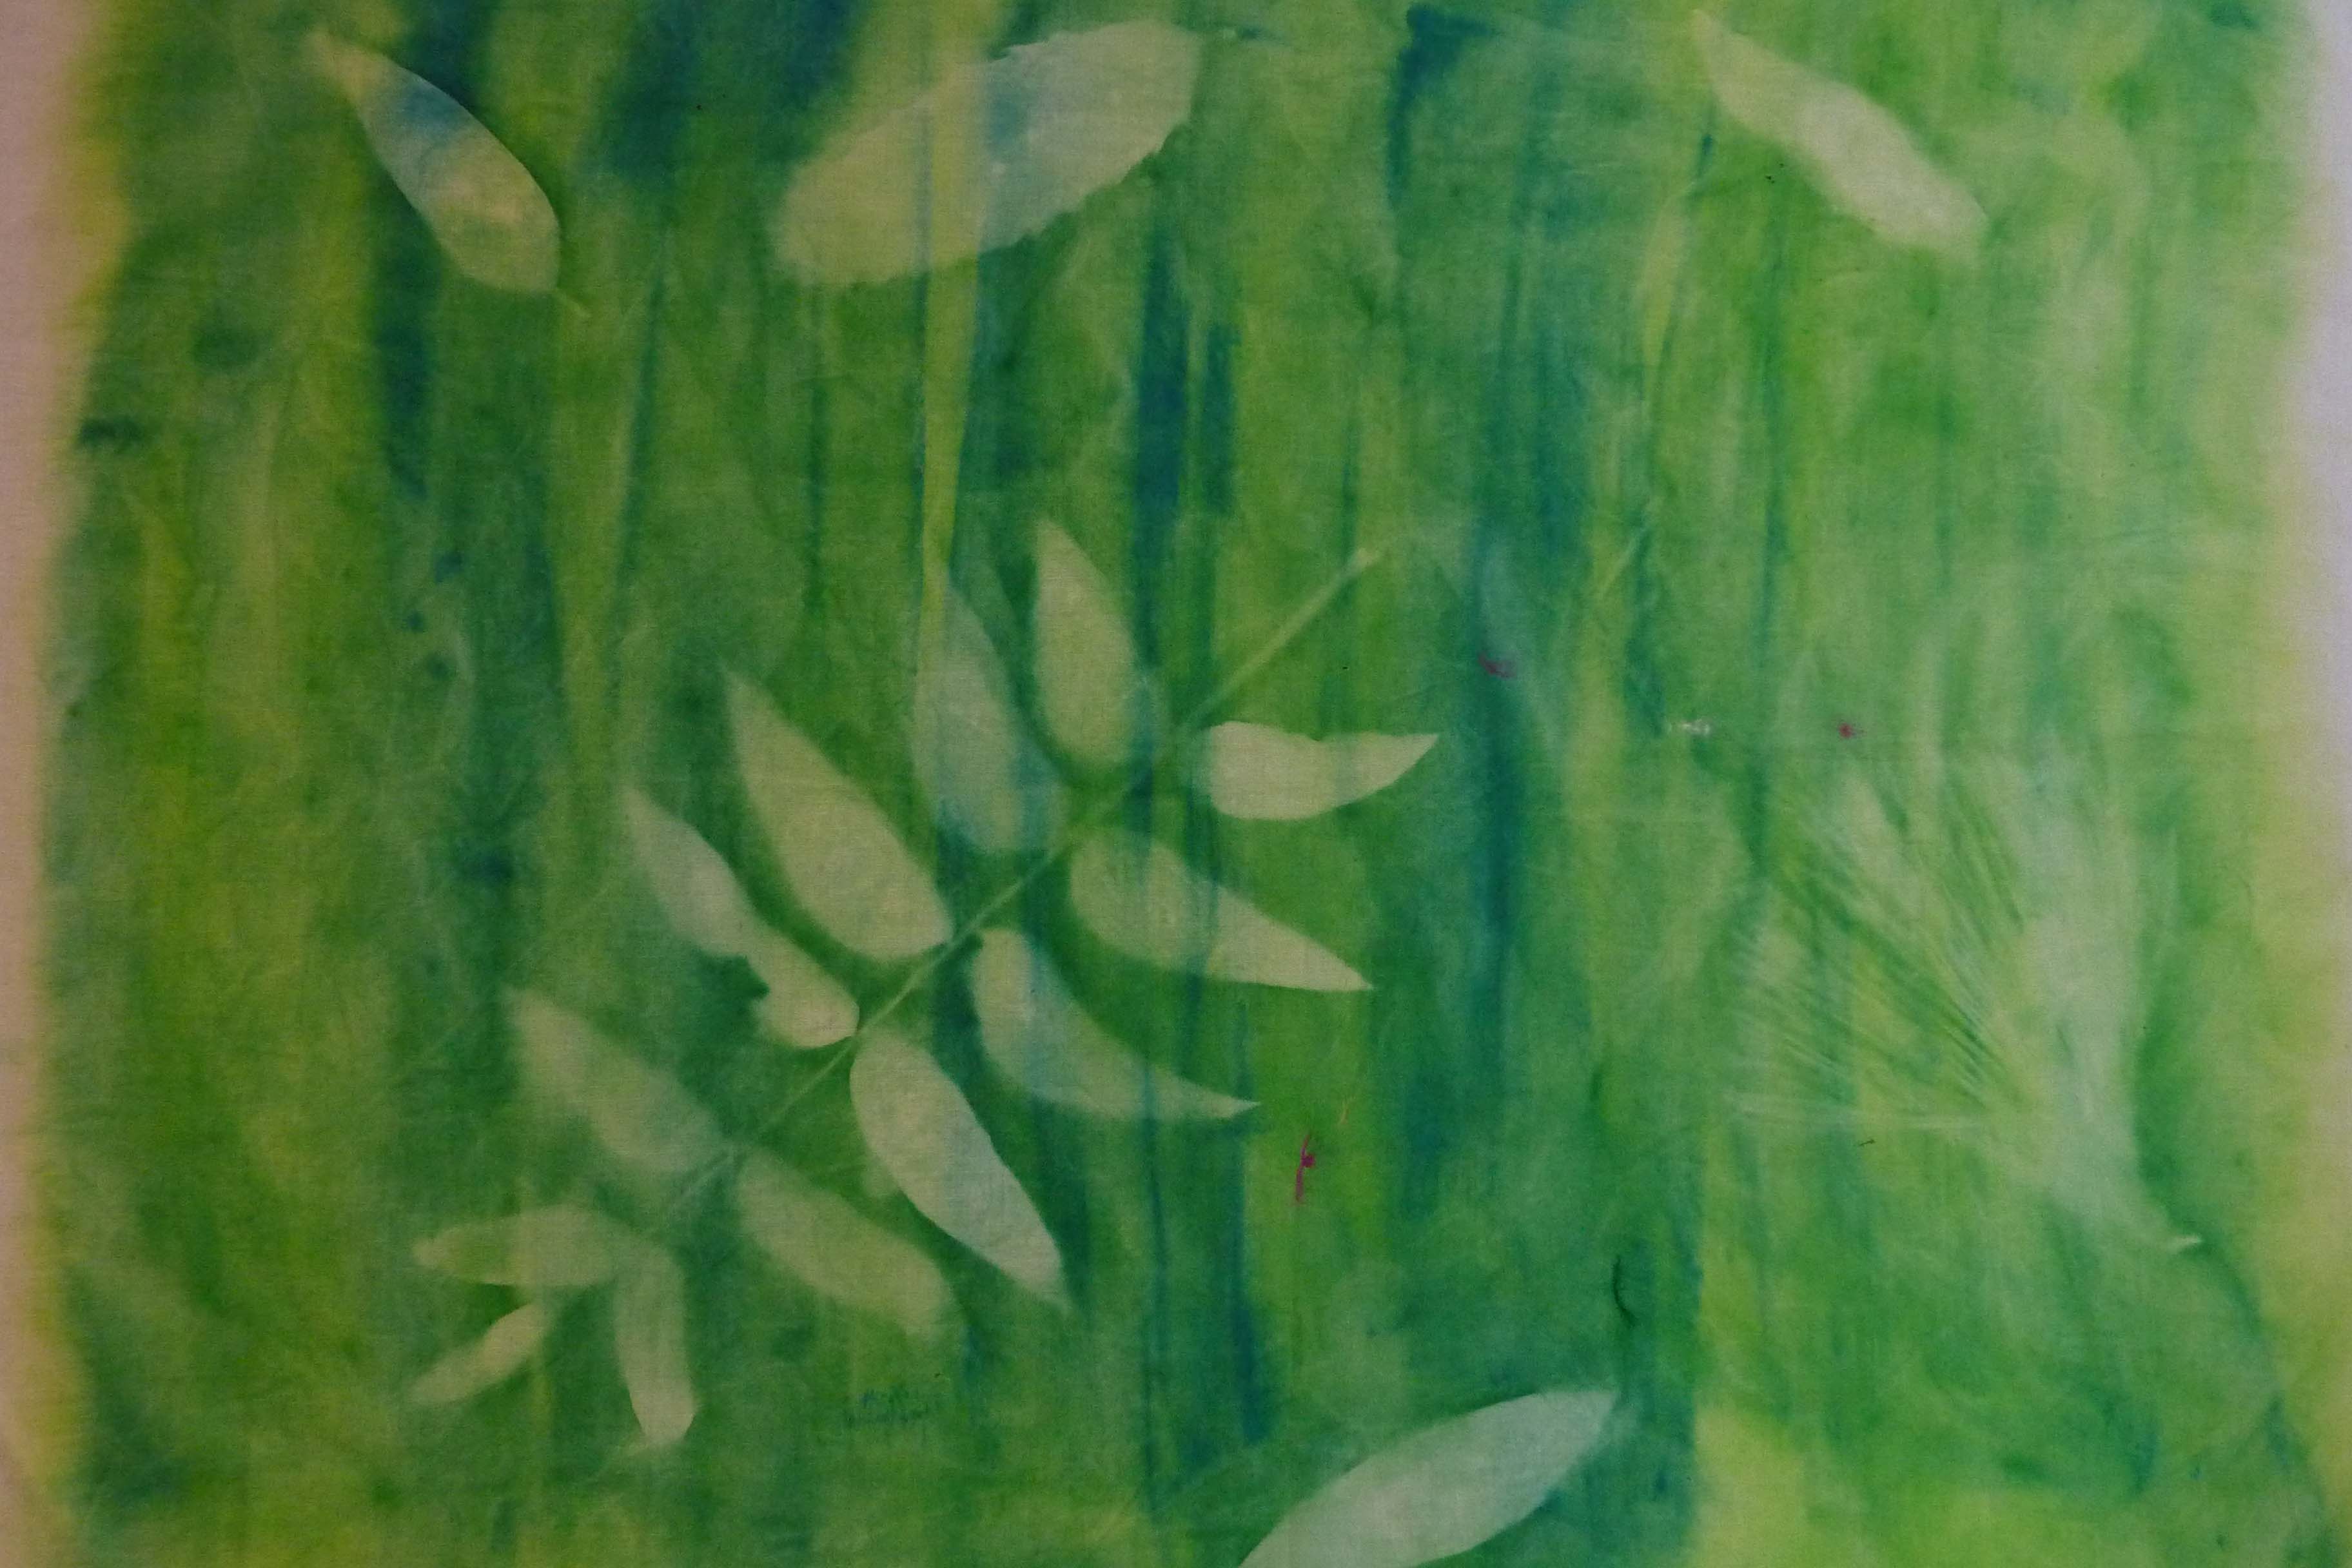
I love Sun Printing – the serendipity aspects are marvelous, especially using organic masks – you’re never quite sure how it’s going to turn out. And, if you don’t like the results just repaint your fabric and start over.
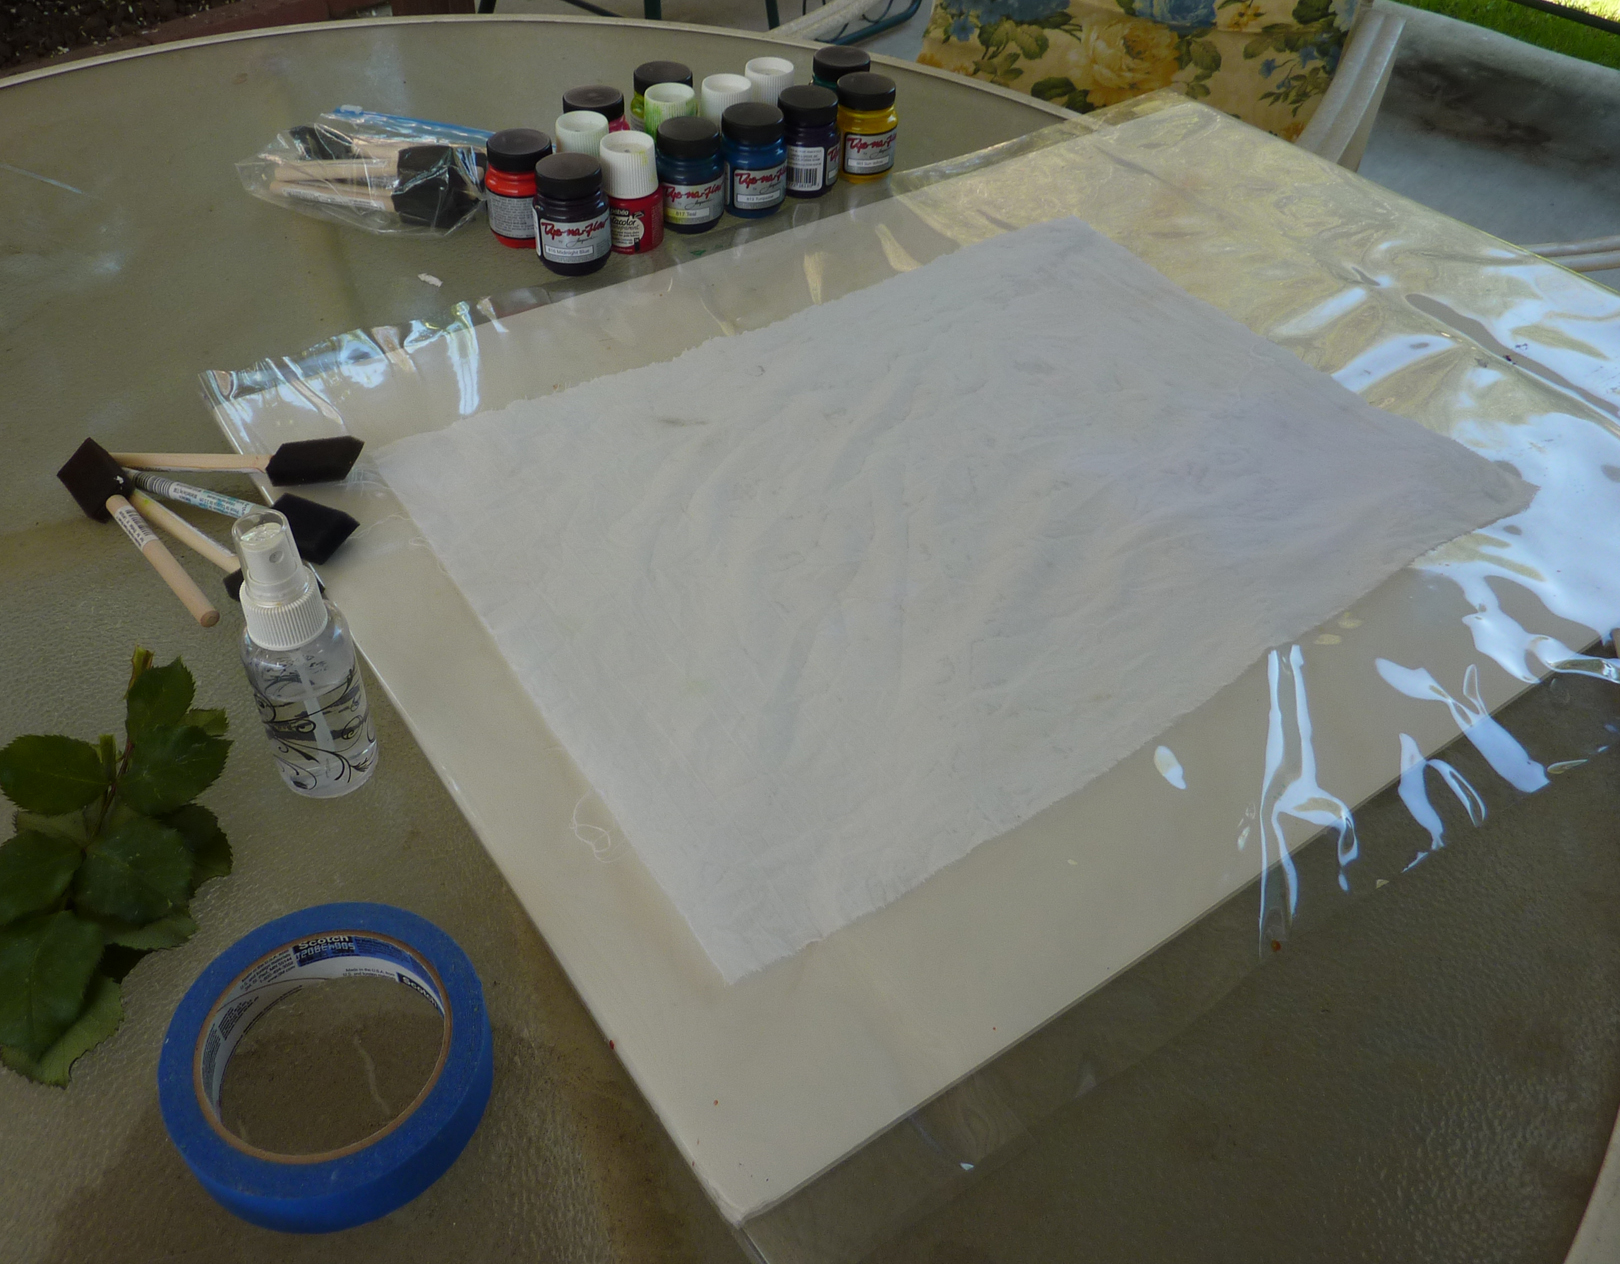
Materials you will need:
- Fabric – 100% white cotton – prewashed in detergent and dried
- Clothes you don’t mind getting paint on
- a portable work surface: cover a piece of heavy cardboard with plastic and tape the plastic securely to the reverse side of the cardboard. The work surface should be a couple of inches larger than your fabric piece all around.
- Straight pins
- Paint: sun sensitive fabric paint such as Dye-Na-Flow (from Lumiere) or light sensitive Setacolor fabric paint Use from 1 to 3 different colors.
- Foam brushes ½ inch to 1 ½ inch
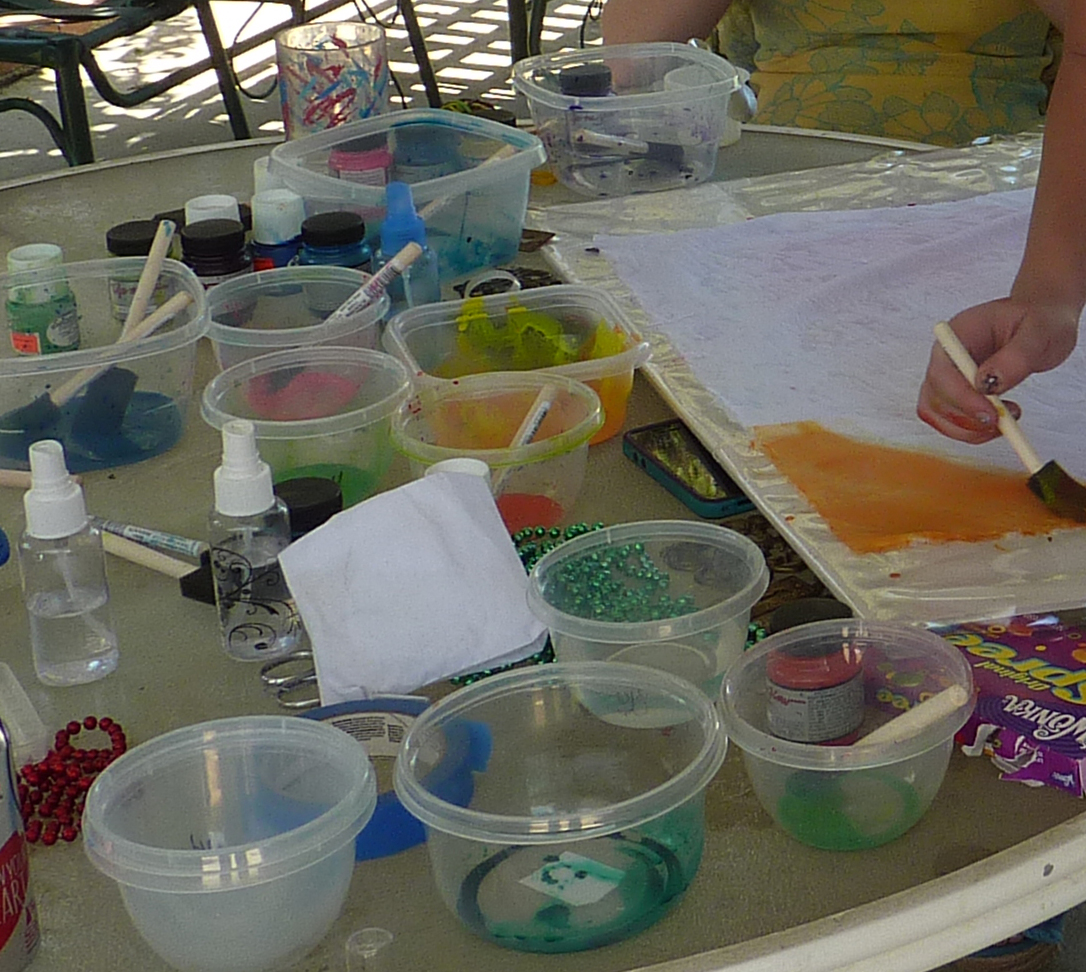
- Plastic bowls (one for each color that you will use –
- Spritzer bottle with water
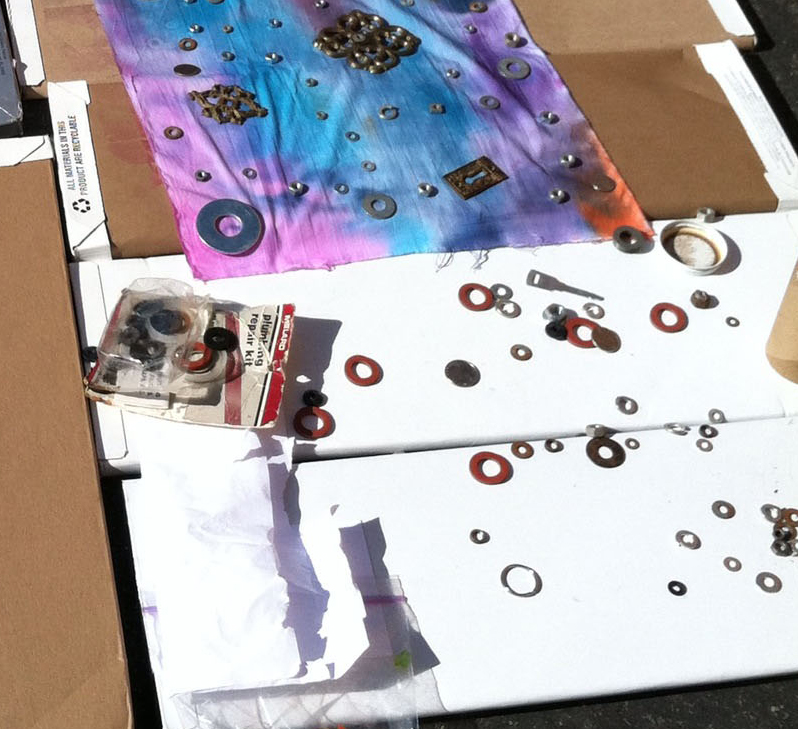
A variety of items to use as masks to create your design:
Use items that have enough weight to sit firmly on the fabric so that the sunlight doesn’t leak in under the edges in order to create a nice crisp print. Lighter items will give you a more subtle look. If there’s a light breeze you may want to place a weight such as a hardware washer on top of a mask that could blow away or shift position. (such as a leaf) A fine straight pin could be used to hold your item to the fabric as well. Just make sure that it doesn’t cast a shadow -unless you want that effect.
The paint used in Sun Printing works by seeking out a light source. So when you place a mask over a section of painted cloth, the paint will migrate into uncovered areas of fabric.
Here are some examples of masks you can readily find:
- Found items such as old keys, coins of various sizes, buttons, safety pins, string of beads, botte caps
- hardware items such as washers, screws, nuts and bolts
- items you can pick up on a walk like leaves, petals, stones, fronds, stems
- stencils (your pattern will be reversed)
- shapes you cut out yourself from cardboard.
Method
- Secure your fabric to work board with pins or use masking tape to secure the edges.
- Wet down fabric thoroughly with water/spritzer bottle. Keep the fabric wet until you’ve finished arranging your design.
- Choose between 1 and 3 paint colors for your first project. Mix a small amount of each color with 2 parts water, placing one color solution in each bowl.

- Wet foam brush and start painting fabric. Remember this is a background. It doesn’t have to resemble anything; it is simply a colorful backdrop for your printing items. While painting with color #1, leave white spaces for additional colors.
- As you add your additional colors, spritz more water to help the colors spread and mix at the edges.
- Have your masking items ready to arrange on your fabric immediately, especially if you are outside on a warm sunny day!

7. Quickly arrange masking items on to wet painted surface of fabric.
8. Take fabric – along with work surface to a sunny spot and allow to dry for 30 minutes to an hour – depending on temperature and humidity.
9. Remove masks when completely dry.
10. Press fabric with a hot dry iron for about 4 minutes to set the paint.