If you’re looking to get jump started with some Journal pages – take a look at this!
Techniques For Using Stencils In Your Art.
Another wonderful video from Barbara at Joggles

Guila's Art & Other Assorted Joys
Let's make the world more beautiful…together…
If you’re looking to get jump started with some Journal pages – take a look at this!
Techniques For Using Stencils In Your Art.
Another wonderful video from Barbara at Joggles


rectangles – press according to package directions to fuse in place.

 middle. Then fold in half lengthways. Edge stitch both long sides.


These directions and images are the work and property of Guila Greer and may not be reproduced without permission.
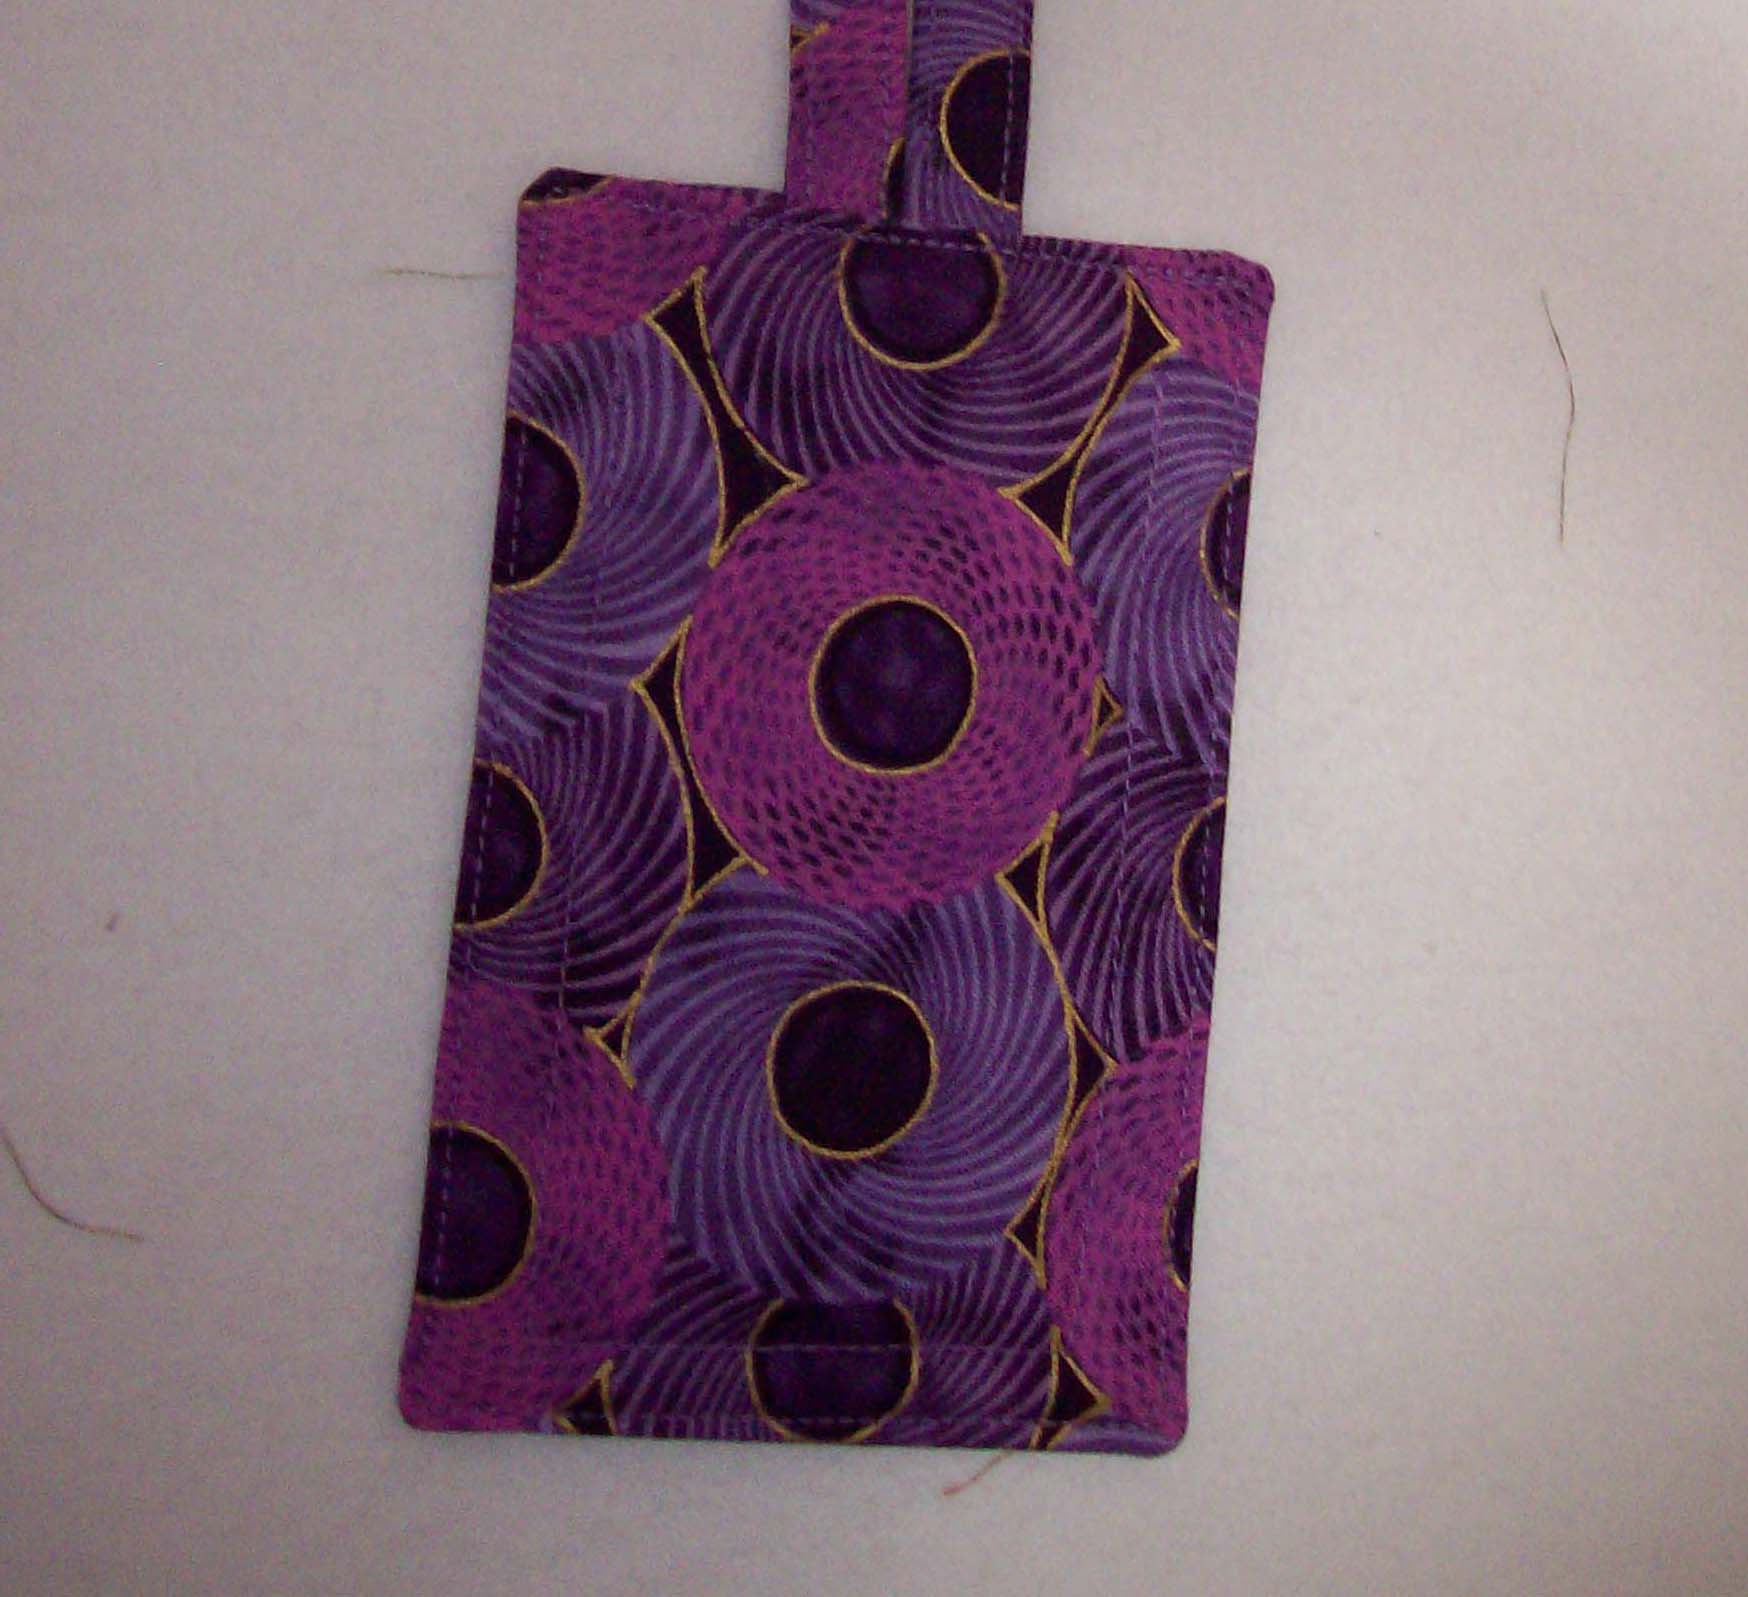
These are selling on Etsy for $ 5.80 ea. includes shipping until end of year within US.
Do you need to give a gift that is inexpensive yet want it to be unique and special?


This is a wonderful jam packed full of information video from Joggles.com
For my first effort back at fabric dyeing after a long break I decided to do some experimenting and to use up fabric that was in my stash, left over from other projects or who knew what? So I ended up with a stack of Mystery Fabric.
A couple of pieces were obviously muslin, the rest either Kona cotton or Pimatex. Just for good measure I threw in a piece of (I think it’s cotton) lace and some cheesecloth. I cut the fabric into fat quarter size pieces.

 To gain some kind of ability to measure results against predicted results in the instructions, I carefully labeled each piece of fabric. I used a Pitt pen on Tyvek and stapled the label to a corner of each piece.
Not only didn’t I know WHAT the fabric was I didn’t know if it was PFD or had been pretreated. So it all went in the washing machine and enjoyed a soda ash bath. The lace and cheesecloth were included and were put into a mesh laundry bag so they wouldn’t get chewed up.
My equipment was arranged on the counter. Helpful Hint It all came from the Dollar Store – and is stored away between dyeing sessions so that it won’t get mixed up with the ‘people’ utensils. Make sure you have a set of dedicated measuring cups and spoons. Plastic is fine – Do not use metal because of the chemicals. You will also need plastic bowls and stirring implements.

Helpful Hint Make sure you carefully label everything. But don’t use a Pitt pen on your Tyvek – it came out in the wash!!
Following one of the recipes in my guide book I mixed up a series of dye concoctions – each one a little weaker in color than the next. I wanted to end up with a variety of green fabric – envisioning some nice brights amongst them. Helpful Hint – I substituted colors – how much difference could it make? Right? Wrong! Don’t substitute colors if you want the results shown in your directions! Here is a photo of the fabrics enjoying their dye bath in tightly zipped up baggies.
 When I first put the fabrics into the baggies I smooshed them around so that they would get thoroughly exposed to the dye.
It’s very interesting how different the instructions can be in reference books. The two that I use are:
Previously I had used a 3 hour steeping time; this time I went with overnight. The next morning I removed the fabric from the bags, rinsed it under running water then washed it with Synthrapol. And here is the dyed fabric. Not exactly the Brights that I was going for but nevertheless a nice array of greens to add to my stash.

 Unfortunately all the numbers from my markers disappeared! I’ll have to try another pen next time.
Cut your fabric the finished size of the napkin plus 1/2 inch. I think that I cut 16 1/2 inch squares for these – 2 squares for each napkin.
Note: You can easily get 4 single thickness or 2 double thickness napkins from a yard of fabric if it’s at least 36 in. wide. Most quilting weight cottons are between 40 and 42 in. wide.
I like to use 100% cotton rather than a poly blend for these; feels good and better absorption.
Consider the weight of the fabric when deciding whether to use single or double weight. Also consider whether you want double faced or single faced napkins.
For Double Thickness Napkins:
Pair 2 squares together RIGHT sides facing and sew around the edges with a 1/4 inch seam. Leave a 2 to 3 inch gap for turning. Turn to the right side – poke out the corners (a chop stick works nicely) and hand stitch the remaining opening.
Press.
At this point you have the option of top stitching around the perimeter – and doing a couple of straight stitch lines across the napkin to better hold the front and back together.
I bundled them together using a leftover scrap of the fabric.
Single Thickness Napkins:
Method 2 – if you have a fabric with enough ‘body’. (look in the home decorating section)
Cut 1 16 to 18 inch square for each napkin.
(I actually used regular cotton for the Thanksgiving napkins. They are pretty but a little flimsy feeling.)
Use a serger to do a rolled hem around all edges.
Until just recently my sewing/art/studio shared space with our guest room. A lot of you know the drill: Company’s coming, start wheeling out the portable carts, last minute putting away of supplies (that you can’t find for weeks after your company goes home) and no access to your machine for a week. So along with my decision to go on “hiatus” from real estate I decided to convert my home office to a dedicated art studio. Number one requirement – a design wall – so sorely needed. Current design wall being the sliding doors of the guest room closet or a sheet on the floor for larger projects. The futon had to go and the ideal spot for it was my husband’s study. Of course he didn’t know anything about that but it didn’t take long to convince him that it was a wonderful idea :-). So I helped clear space for the futon and we proceeded to take it apart.
And that’s when the fun began.
Picture this – a queen size mattress – a relatively narrow door – 2 height challenged people
 So we each have an end of the mattress – John’s pulling I’m pushing and he starts doing some deep cleansing “labor” type breathing – saying “now push” breathe – Well I lost it – rolling on the floor lost it.
Shortly thereafter, with the mattress out of the room I left John to tackle the job of dismantling the frame. I couldn’t watch. It was like watching a scary movie.

 Next step was to turn that now beautifully empty wall into my dream design wall. I had purchased some fiber board and proceeded to put it up using double sided tape to adhere it to the wall.
Measure your space carefully before you buy the fiber board. It comes in a variety of sizes and I decided on the 30″ by 20″ size, easier to handle and more versatile so far as filling the space. You can get it in one of the chain crafts stores. I was lucky to find it on sale. You also want to note where your electrical outlets are so that you don’t cover them up. I started at the top because I didn’t want to run out of wall space with leftover fiber board to trim if possible. I figured that I would use the space at the top more readily than near the floor anyway.
.

My other purchase was a length of white cotton flannel yardage. I calculated the width of the board and multiplied by 2. Then I cut the yardage in half so that I ended up with 2 lengths the width of the design board. I used a staple gun to attach the flannel to the fiber board being careful to keep it taut and straight.
The last touch was to add a sturdy curtain rod across the top. This will be used to hang quilts for photographing. This design wall is now in constant use and I have found the hanging rod to be a necessary tool as well.
If you have any questions about how I did this please leave me a comment and I’ll do my best to provide an answer.
Journal Page Background Techniques.
This is a terrific video from Joggles.com

