Art, Fiber Art, Mixed Media

“The Faster I Go The Behinder I Get”

Okay, who said that first?

Anybody remember?

Well, it must’ve been during the last half of December when those words were uttered.  What’s the deal, folks?  It doesn’t seem to matter when I start the preparations, this time comes and there’s so much left:  shopping, cooking, sewing, painting…..Ahhhhh, but I love it all !!!

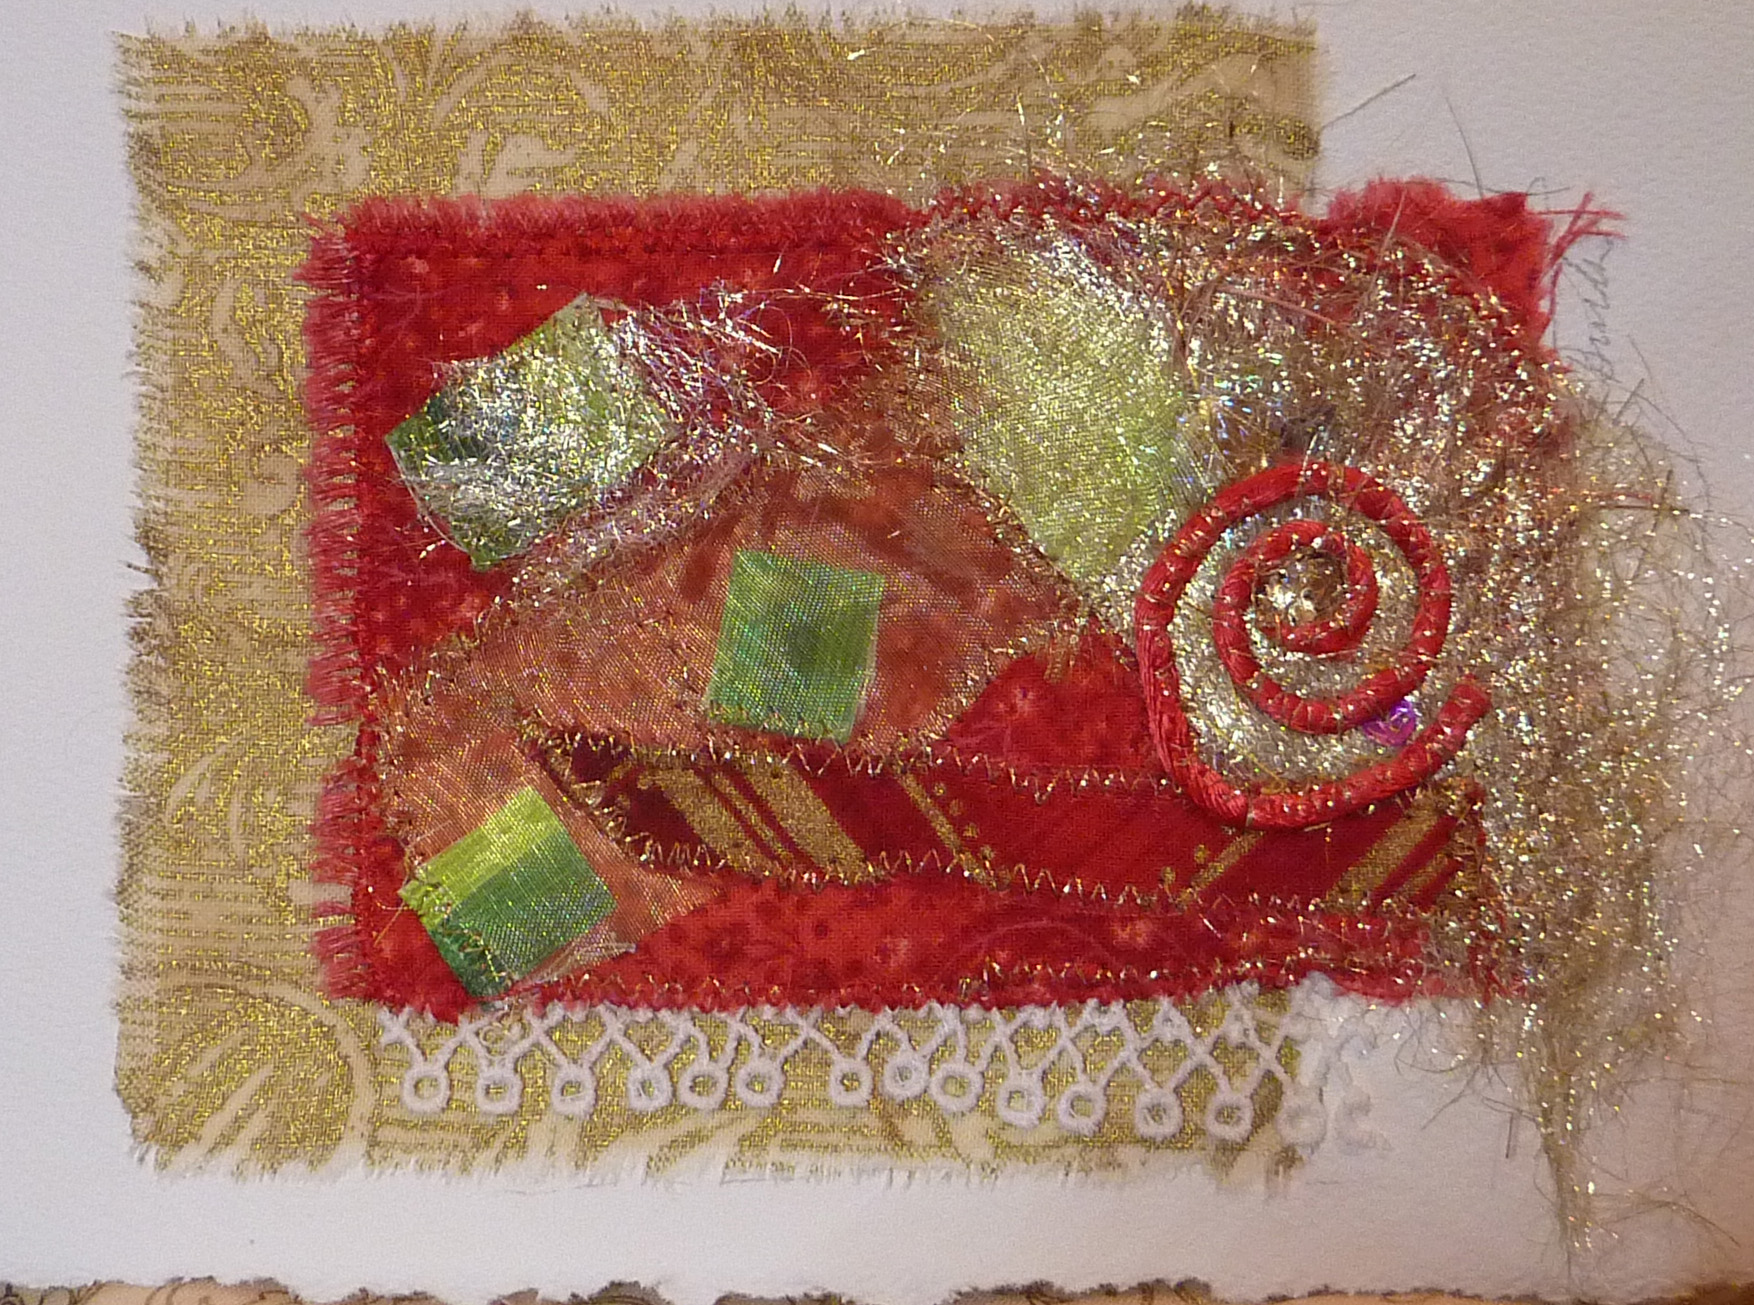
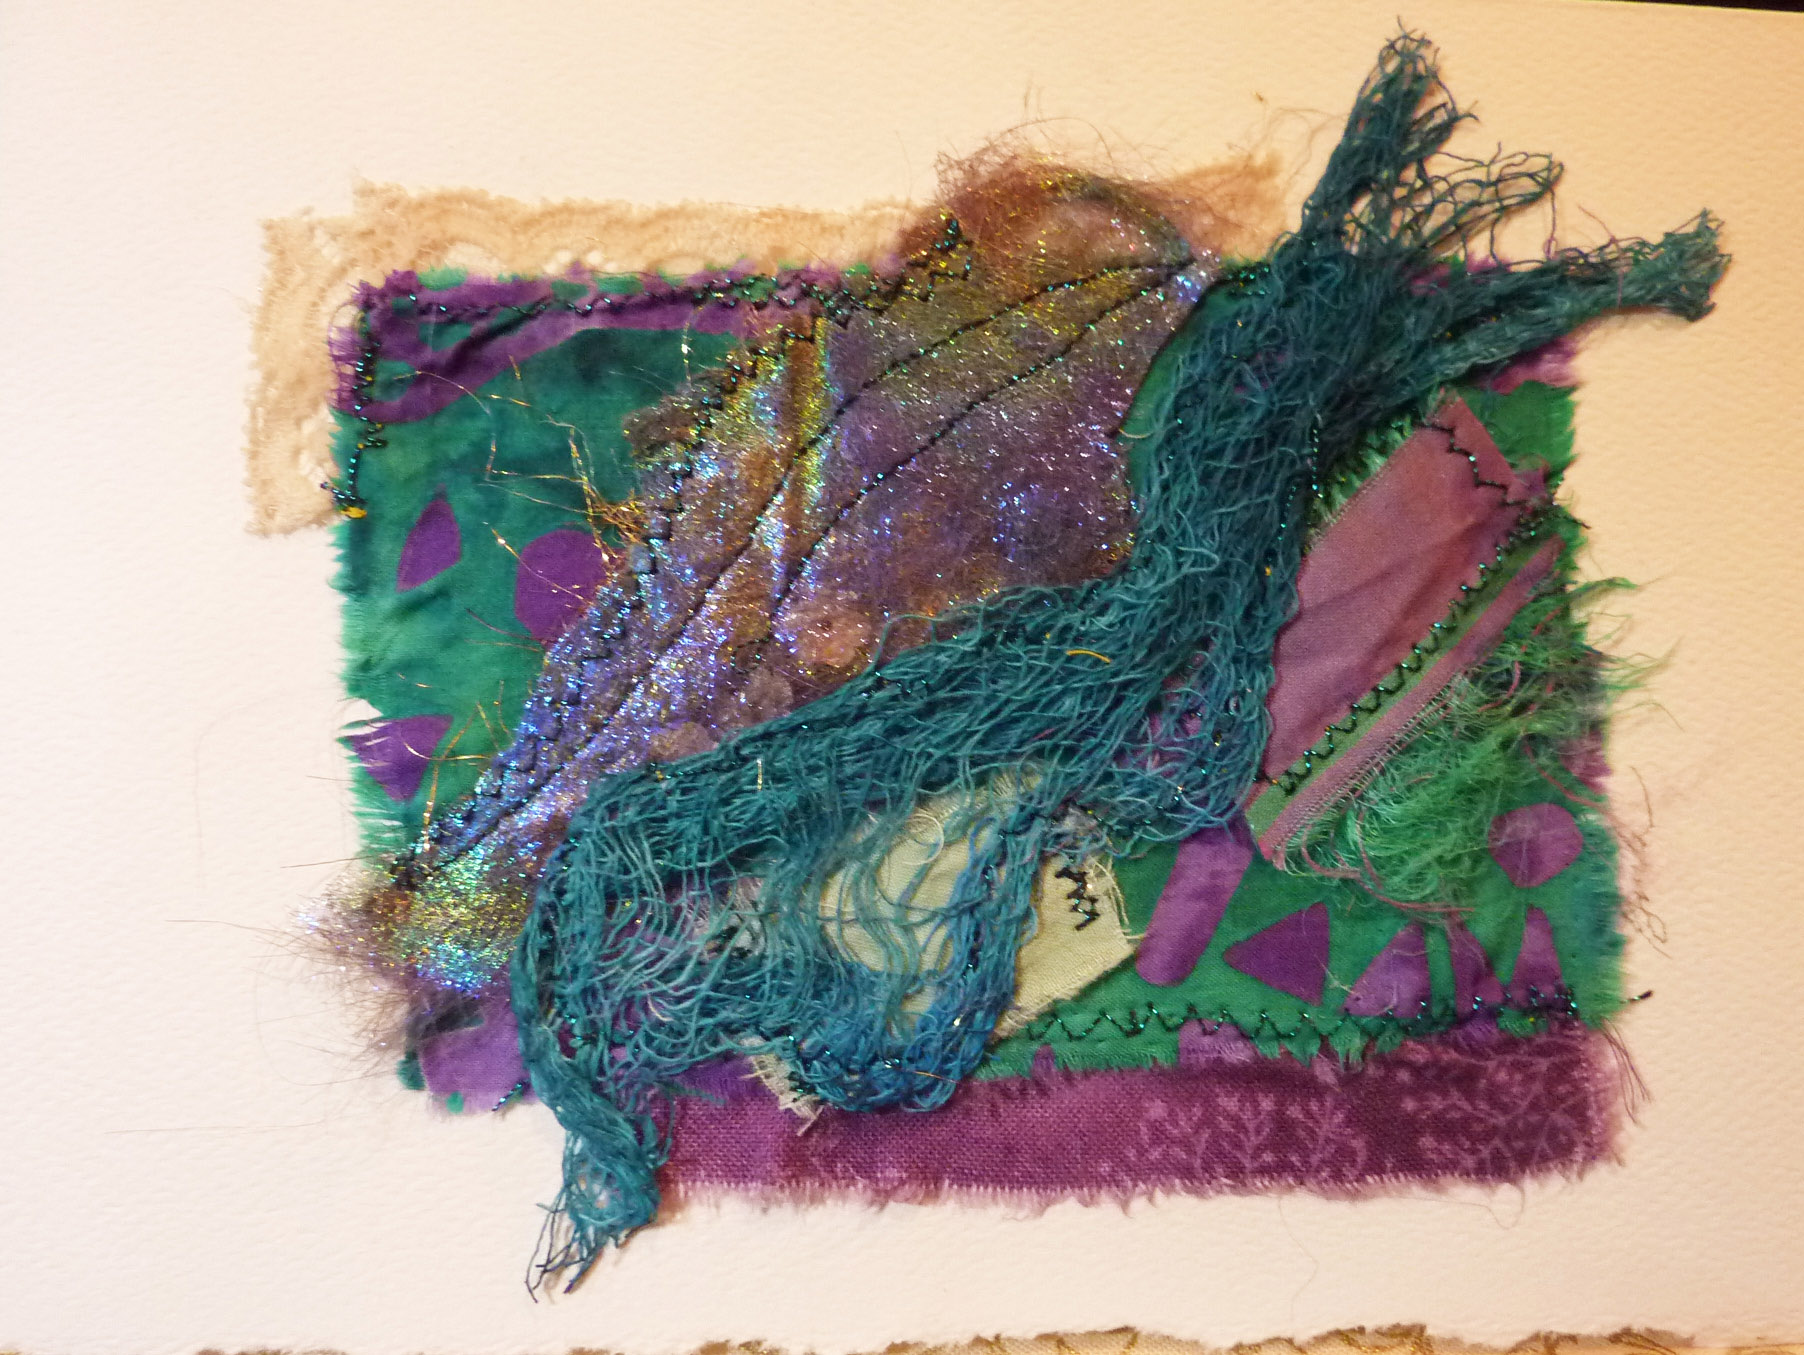
Speaking of which, I just put these on Etsy.  (Click on ‘shopping’ on my home page OR type in:  honeyquilts.etsy.com

They are mini Fiber Collages mounted on an acid free 5 by 7 inch Strathmore deckled edge card.  The card itself is blank inside so you can write the message of your choice OR just put the card in a frame.  Either way, if it’s a gift it will be sure to be enjoyed for a long time.

Burstweb Candle Glowweb Tree Trimweb Swirl Card for Romanceweb Card for Romance 2web celebrate Autumn

Art

Open Studio & Art Bazaar

Hey – L.A. area friends – This coming Saturday I will be participating in an Open Studio and Art Bazaar in downtown Los Angeles. Come and see a wonderful display of art and start early on your Holiday gift search!

RSVP required – Please contact Amy –  amyshawley@gmail.com

ArtBazaarFlyertoPrintFinal

Accessories and Ornaments, bracelets, Jewelry

Festive Red Bracelet Added to Etsy

Remember to use your 20% off coupon on any item until the end of December/2011. No additional charge for shipping within the U.S. until end of December.

http://honeyquilts.etsy.com

When checking out enter coupon code:    20HOL2011      enter exactly as shown

This beautiful bracelet measures 7″ from bead to bead.  Add about 1/2 inch for the sterling silver toggle closure.

The list price (before coupon discount) is $29.00.

Accessories and Ornaments, I.D. Tags, Luggage Tag, Tutorials

I.D./Luggage Tag – a Tutorial

Materials Needed

Cotton Fabricfor  tag –  cut 2 pieces –  4” by 6” each   (finished tag will be 3 ½ by 5 ½ “.)

              for loop attachment –  cut 1 piece         14 “ long by 1 ½ inches.

Vinyl –cut 1 piece 4 ½  by 2 ½ inches

Stabilizer – 1 piece of fusible batting or Craft Bond cut 3  ½ by 5 ½ inches.

Fabric Pieces
  1. Center batting or craft fuse on wrong side of one of fabric
    Stabilizer Fused to Fabric (1)

    rectangles – press according to package directions to fuse in place.

  2. Place fabric rectangles right sides together and stitch with 1/4 inch seam around perimeter leaving a gap of 1 and 1/2 “ in the middle of one short end.  You will use this gap to turn the tag and to insert the ends of the loop.
  3. Press loop piece in half (the long way).  Open it up and press each side toward the middle.  Then fold in half lengthways. Edge stitch both long sides.
  4. Trim corners and turn the tag inside out through the gap you left so that right side is now on the outside.
  5.   Push corners out neatly and press.  TipTime:  I have found that a wooden chopstick is helpful to poke those little corners out without going through the fabric.
  6. Insert raw ends of loop about ½ inch into the gap you left.
  7. Top stitch around perimeter of the tag. Double stitch the area where the loop is inserted to make it extra secure.
  8. Place vinyl piece in center of tag.
  9. Sew 3 sides of the vinyl using a longer stitch than normal.  I set my Pfaff at 3.0.
  10. TipTime:  If you use too short a stitch you may cause the vinyl to tear.
  11. TipTime:  the open end of the vinyl should be pointing toward the loop to make it more difficult for the ID card to slip out.
    • I bought my vinyl in the home decorating department at JoAnn’s  You’ll want one that has some body to it so that it will hold up better..
    • I made ID tag inserts using Print Shop – A regular size business card will fit nicely.

    These directions and images are the work and property of Guila Greer and may not be reproduced without permission.